
If you had the choice, would you rather take Salsa or Guacamole? Let me explain, why you should choose Guacamole over Salsa.
In this blog article, we want to take a look at one of the smaller Apache projects out there called Apache Guacamole. Apache Guacamole allows administrators to run a web based client tool for accessing remote applications and servers. This can include remote desktop systems, applications or terminal sessions. Users can simply access them by using their web browsers. No special client or other tools are required. From there, they can login and access all pre-configured remote connections that have been specified by an administrator.
Thereby, Guacamole supports a wide variety of protocols like VNC, RDP, and SSH. This way, users can basically access anything from remote terminal sessions to full fledged Graphical User Interfaces provided by operation systems like Debian, Ubuntu, Windows and many more.
Convert every window application to a web application
If we spin this idea further, technically every window application that isn’t designed to run as an web application can be transformed to a web application by using Apache Guacamole. We helped a customer to bring its legacy application to Kubernetes, so that other users could use their web browsers to run it. Sure, implementing the application from ground up, so that it follows the Cloud Native principles, is the preferred solution. As always though, efforts, experience and costs may exceed the available time and budget and in that cases, Apache Guacamole can provide a relatively easy way for realizing such projects.
In this blog article, I want to show you, how easy it is to run a legacy window application as a web app on Kubernetes. For this, we will use a Kubernetes cluster created by kind and create a Kubernetes Deployment to make kate – a KDE based text editor – our own web application. It’s just an example, so there might be better application to transform but this one should be fine to show you the concepts behind Apache Guacamole.
So, without further ado, let’s create our kate web application.
Preparation of Kubernetes
Before we can start, we must make sure that we have a Kubernetes cluster, that we can test on. If you already have a cluster, simply skip this section. If not, let’s spin one up by using kind.
kind is a lightweight implementation of Kubernetes that can be run on every machine. It’s written in Go and can be installed like this:
# For AMD64 / x86_64
[ $(uname -m) = x86_64 ] && curl -Lo ./kind https://kind.sigs.k8s.io/dl/v0.22.0/kind-linux-amd64
# For ARM64
[ $(uname -m) = aarch64 ] && curl -Lo ./kind https://kind.sigs.k8s.io/dl/v0.22.0/kind-linux-arm64
chmod +x ./kind
sudo mv ./kind /usr/local/bin/kind
Next, we need to install some dependencies for our cluster. This includes for example docker and kubectl.
$ sudo apt install docker.io kubernetes-client
By creating our Kubernetes Cluster with kind, we need docker because the Kubernetes cluster is running within Docker containers on your host machine. Installing kubectl allows us to access the Kubernetes after creating it.
Once we installed those packages, we can start to create our cluster now. First, we must define a cluster configuration. It defines which ports are accessible from our host machine, so that we can access our Guacamole application. Remember, the cluster itself is operated within Docker containers, so we must ensure that we can access it from our machine. For this, we define the following configuration which we save in a file called cluster.yaml:
kind: Cluster
apiVersion: kind.x-k8s.io/v1alpha4
nodes:
- role: control-plane
  extraPortMappings:
  - containerPort: 30000
    hostPort: 30000
    listenAddress: "127.0.0.1"
    protocol: TCP
Hereby, we basically map the container’s port 30000 to our local machine’s port 30000, so that we can easily access it later on. Keep this in mind because it will be the port that we will use with our web browser to access our kate instance.
Ultimately, this configuration is consumed by kind . With it, you can also adjust multiple other parameters of your cluster besides of just modifying the port configuration which are not mentioned here. It’s worth to take a look kate’s documentation for this.
As soon as you saved the configuration to cluster.yaml, we can now start to create our cluster:
$ sudo kind create cluster --name guacamole --config cluster.yaml
Creating cluster "guacamole" ...
 ✓ Ensuring node image (kindest/node:v1.29.2) 🖼
 ✓ Preparing nodes 📦
 ✓ Writing configuration 📜
 ✓ Starting control-plane 🕹️
 ✓ Installing CNI 🔌
 ✓ Installing StorageClass 💾
Set kubectl context to "kind-guacamole"
You can now use your cluster with:

kubectl cluster-info --context kind-guacamole

Have a question, bug, or feature request? Let us know! https://kind.sigs.k8s.io/#community 🙂
Since we don’t want to run everything in root context, let’s export the kubeconfig, so that we can use it with kubectl by using our unpriviledged user:
$ sudo kind export kubeconfig \
    --name guacamole \
    --kubeconfig $PWD/config

$ export KUBECONFIG=$PWD/config
$ sudo chown $(logname): $KUBECONFIG
By doing so, we are ready and can access our Kubernetes cluster using kubectl now. This is our baseline to start migrating our application.
Creation of the Guacamole Deployment
In order to run our application on Kubernetes, we need some sort of workload resource. Typically, you could create a Pod, Deployment, Statefulset or Daemonset to run workloads on a cluster.
Let’s create the Kubernetes Deployment for our own application. The example shown below shows the deployment’s general structure. Each container definition will have their dedicated examples afterwards to explain them in more detail.
apiVersion: apps/v1
kind: Deployment
metadata:
  labels:
    app: web-based-kate
  name: web-based-kate
spec:
  replicas: 1
  selector:
    matchLabels:
      app: web-based-kate
  template:
    metadata:
      labels:
        app: web-based-kate
    spec:
      containers:
      # The guacamole server component that each
      # user will connect to via their browser
      - name: guacamole-server
        image: docker.io/guacamole/guacamole:1.5.4
        ...
      # The daemon that opens the connection to the
      # remote entity
      - name: guacamole-guacd
        image: docker.io/guacamole/guacd:1.5.4
        ...
      # Our own self written application that we
      # want to make accessible via the web.
      - name: web-based-kate
        image: registry.example.com/own-app/web-based-kate:0.0.1
        ...
      volumes:
        - name: guacamole-config
          secret:
            secretName: guacamole-config
        - name: guacamole-server
          emptyDir: {}
        - name: web-based-kate-home
          emptyDir: {}
        - name: web-based-kate-tmp
          emptyDir: {}
As you can see, we need three containers and some volumes for our application. The first two containers are dedicated to Apache Guacamole itself. First, it’s the server component which is the external endpoint for clients to access our web application. It serves the web server as well as the user management and configuration to run Apache Guacamole.
Next to this, there is the guacd daemon. This is the core component of Guacamole which creates the remote connections to the application based on the configuration done to the server. This daemon forwards the remote connection to the clients by making it accessible to the Guacamole server which then forwards the connection to the end user.
Finally, we have our own application. It will offer a connection endpoint to the guacd daemon using one of Guacamole’s supported protocols and provide the Graphical User Interface (GUI).
Guacamole Server
Now, let’s deep dive into each container specification. We are starting with the Guacamole server instance. This one handles the session and user management and contains the configuration which defines what remote connections are available and what are not.
- name: guacamole-server
  image: docker.io/guacamole/guacamole:1.5.4
  env:
    - name: GUACD_HOSTNAME
      value: "localhost"
    - name: GUACD_PORT
      value: "4822"
    - name: GUACAMOLE_HOME
      value: "/data/guacamole/settings"
    - name: HOME
      value: "/data/guacamole"
    - name: WEBAPP_CONTEXT
      value: ROOT
  volumeMounts:
    - name: guacamole-config
      mountPath: /data/guacamole/settings
    - name: guacamole-server
      mountPath: /data/guacamole
  ports:
    - name: http
      containerPort: 8080
  securityContext:
    allowPrivilegeEscalation: false
    privileged: false
    readOnlyRootFilesystem: true
    capabilities:
      drop: ["all"]
  resources:
    limits:
      cpu: "250m"
      memory: "256Mi"
    requests:
      cpu: "250m"
      memory: "256Mi"
Since it needs to connect to the guacd daemon, we have to provide the connection information for guacd by passing them into the container using environment variables like GUACD_HOSTNAME or GUACD_PORT. In addition, Guacamole would usually be accessible via http://<your domain>/guacamole.
This behavior however can be adjusted by modifying the WEBAPP_CONTEXT environment variable. In our case for example, we don’t want a user to type in /guacamole to access it but simply using it like this http://<your domain>/
Guacamole Guacd
Then, there is the guacd daemon.
- name: guacamole-guacd
  image: docker.io/guacamole/guacd:1.5.4
  args:
    - /bin/sh
    - -c
    - /opt/guacamole/sbin/guacd -b 127.0.0.1 -L $GUACD_LOG_LEVEL -f
  securityContext:
    allowPrivilegeEscalation: true
    privileged: false
    readOnlyRootFileSystem: true
    capabilities:
      drop: ["all"]
  resources:
    limits:
      cpu: "250m"
      memory: "512Mi"
    requests:
      cpu: "250m"
      memory: "512Mi"
It’s worth mentioning that you should modify the arguments used to start the guacd container. In the example above, we want guacd to only listen to localhost for security reasons. All containers within the same pod share the same network namespace. As a a result, they can access each other via localhost. This said, there is no need to make this service accessible to over services running outside of this pod, so we can limit it to localhost only. To achieve this, you would need to set the -b 127.0.0.1 parameter which sets the corresponding listen address. Since you need to overwrite the whole command, don’t forget to also specify the -L and -f parameter. The first parameter sets the log level and the second one set the process in the foreground.
Web Based Kate
To finish everything off, we have the kate application which we want to transform to a web application.
- name: web-based-kate
  image: registry.example.com/own-app/web-based-kate:0.0.1
  env:
    - name: VNC_SERVER_PORT
      value: "5900"
    - name: VNC_RESOLUTION_WIDTH
      value: "1280"
    - name: VNC_RESOLUTION_HEIGHT
      value: "720"
  securityContext:
    allowPrivilegeEscalation: true
    privileged: false
    readOnlyRootFileSystem: true
    capabilities:
      drop: ["all"]
  volumeMounts:
    - name: web-based-kate-home
      mountPath: /home/kate
    - name: web-based-kate-tmp
      mountPath: /tmp
Configuration of our Guacamole setup
After having the deployment in place, we need to prepare the configuration for our Guacamole setup. In order to know, what users exist and which connections should be offered, we need to provide a mapping configuration to Guacamole.
In this example, a simple user mapping is shown for demonstration purposes. It uses a static mapping defined in a XML file that is handed over to the Guacamole server. Typically, you would use other authentication methods instead like a database or LDAP.
This said however, let’s continue with our static one. For this, we simply define a Kubernetes Secret which is mounted into the Guacamole server. Hereby, it defines two configuration files. One is the so called guacamole.properties. This is Guacamole’s main configuration file. Next to this, we also define the user-mapping.xml which contains all available users and their connections.
apiVersion: v1
kind: Secret
metadata:
  name: guacamole-config
stringData:
  guacamole.properties: |
    enable-environment-properties: true
  user-mapping.xml: |
    <user-mapping>
      <authorize username="admin" password="PASSWORD" encoding="sha256">
        <connection name="web-based-kate">
          <protocol>vnc</protocol>
          <param name="hostname">localhost</param>
          <param name="port">5900</param>
        </connection>
      </authorize>
    </user-mapping>
As you can see, we only defined on specific user called admin which can use a connection called web-based-kate. In order to access the kate instance, Guacamole would use VNC as the configured protocol. To make this happen, our web application must offer a VNC Server port on the other side, so that the guacd daemon can then access it to forward the remote session to clients. Keep in mind that you need to replace the string PASSWORD to a proper sha256 sum which contains the password. The sha256 sum could look like this for example:
$ echo -n "test" | sha256sum
9f86d081884c7d659a2feaa0c55ad015a3bf4f1b2b0b822cd15d6c15b0f00a08  -
Next, the hostname parameter is referencing the corresponding VNC server of our kate container. Since we are starting our container alongside with our Guacamole containers within the same pod, the Guacamole Server as well as the guacd daemon can access this application via localhost. There is no need to set up a Kubernetes Service in front of it since only guacd will access the VNC server and forward the remote session via HTTP to clients accessing Guacamole via their web browsers. Finally, we also need to specify the VNC server port which is typically 5900 but this could be adjusted if needed.
The corresponding guacamole.properties is quite short. By enabling the enabling-environment-properties configuration parameter, we make sure that every Guacamole configuration parameter can also be set via environment variables. This way, we don’t need to modify this configuration file each and every time when we want to adjust the configuration but we only need to provide updated environment variables to the Guacamole server container.
Make Guacamole accessible
Last but not least, we must make the Guacamole server accessible for clients. Although each provided service can access each other via localhost, the same does not apply to clients trying to access Guacamole. Therefore, we must make Guacamole’s server port 8080 available to the outside world. This can be achieved by creating a Kubernetes Service of type NodePort. This service is forwarding each request from a local node port to the corresponding container that is offering the configured target port. In our case, this would be the Guacamole server container which is offering port 8080.
apiVersion: v1
kind: Service
metadata:
  name: web-based-kate
spec:
  type: NodePort
  selector:
    app: web-based-kate
  ports:
    - name: http
      protocol: TCP
      port: 8080
      targetPort: 8080
      nodePort: 30000
This specific port is then mapped to the Node’s 30000 port for which we also configured the kind cluster in such a way that it forwards its node port 30000 to the host system’s port 30000. This port is the one that we would need to use to access Guacamole with our web browsers.
Prepartion of the Application container
Before we can start to deploy our application, we need to prepare our kate container. For this, we simply create a Debian container that is running kate. Keep in mind that you would typically use lightweight base images like alpine to run applications like this. For this demonstration however, we use the Debian images since it is easier to spin it up but in general you only need a small friction of the functionality that is provided by this base image. Moreover – from an security point of view – you want to keep your images small to minimize the attack surface and make sure it is easier to maintain. For now however, we will continue with the Debian image.
In the example below, you can see a Dockerfile for the kate container.
FROM debian:12

# Install all required packages
RUN apt update && \
    apt install -y x11vnc xvfb kate

# Add user for kate
RUN adduser kate --system --home /home/kate -uid 999

# Copy our entrypoint in the container
COPY entrypoint.sh /opt

USER 999
ENTRYPOINT [ "/opt/entrypoint.sh" ]
Here you see that we create a dedicated user called kate (User ID 999) for which we also create a home directory. This home directory is used for all files that kate is creating during runtime. Since we set the readOnlyRootFilesystem to true, we must make sure that we mount some sort of writable volume (e.g EmptyDir) to kate’s home directory. Otherwise, kate wouldn’t be able to write any runtime data then.
Moreover, we have to install the following three packages:
- x11vnc
- xvfb
- kate
These are the only packages we need for our container. In addition, we also need to create an entrypoint script to start the application and prepare the container accordingly. This entrypoint script creates the configuration for kate, starts it in a virtual display by using xvfb-run and provides this virtual display to end users by using the VNC server via x11vnc. In the meantime, xdrrinfo is used to check if the virtual display came up successfully after starting kate. If it takes to long, the entrypoint script will fail by returning the exit code 1.
By doing this, we ensure that the container is not stuck in an infinite loop during a failure and let Kubernetes restart the container whenever it couldn’t start the application successfully. Furthermore, it is important to check if the virtual display came up prior of handing it over to the VNC server because the VNC server would crash if the virtual display is not up and running since it needs something to share. On the other hand though, our container will be killed whenever kate is terminated because it would also terminate the virtual display and in the end it would then also terminate the VNC server which let’s the container exit, too. This way, we don’t need take care of it by our own.
#!/bin/bash

set -e

# If no resolution is provided
if [ -z $VNC_RESOLUTION_WIDTH ]; then
  VNC_RESOLUTION_WIDTH=1920
fi

if [ -z $VNC_RESOLUTION_HEIGHT ]; then
  VNC_RESOLUTION_HEIGHT=1080
fi

# If no server port is provided
if [ -z $VNC_SERVER_PORT ]; then
  VNC_SERVER_PORT=5900
fi

# Prepare configuration for kate
mkdir -p $HOME/.local/share/kate
echo "[MainWindow0]
"$VNC_RESOLUTION_WIDTH"x"$VNC_RESOLUTION_HEIGHT" screen: Height=$VNC_RESOLUTION_HEIGHT
"$VNC_RESOLUTION_WIDTH"x"$VNC_RESOLUTION_HEIGHT" screen: Width=$VNC_RESOLUTION_WIDTH
"$VNC_RESOLUTION_WIDTH"x"$VNC_RESOLUTION_HEIGHT" screen: XPosition=0
"$VNC_RESOLUTION_WIDTH"x"$VNC_RESOLUTION_HEIGHT" screen: YPosition=0
Active ViewSpace=0
Kate-MDI-Sidebar-Visible=false" > $HOME/.local/share/kate/anonymous.katesession

# We need to define an XAuthority file
export XAUTHORITY=$HOME/.Xauthority

# Define execution command
APPLICATION_CMD="kate"

# Let's start our application in a virtual display
xvfb-run \
  -n 99 \
  -s ':99 -screen 0 '$VNC_RESOLUTION_WIDTH'x'$VNC_RESOLUTION_HEIGHT'x16' \
  -f $XAUTHORITY \
  $APPLICATION_CMD &

# Let's wait until the virtual display is initalize before
# we proceed. But don't wait infinitely.
TIMEOUT=10
while ! (xdriinfo -display :99 nscreens); do
  sleep 1
  let TIMEOUT-=1
done

# Now, let's make the virtual display accessible by
# exposing it via the VNC Server that is listening on
# localhost and the specified port (e.g. 5900)
x11vnc \
  -display :99 \
  -nopw \
  -localhost \
  -rfbport $VNC_SERVER_PORT \
  -forever
After preparing those files, we can now create our image and import it to our Kubernetes cluster by using the following commands:
# Do not forget to give your entrypoint script
# the proper permissions do be executed
$ chmod +x entrypoint.sh

# Next, build the image and import it into kind,
# so that it can be used from within the clusters.
$ sudo docker build -t registry.example.com/own-app/web-based-kate:0.0.1 .
$ sudo kind load -n guacamole docker-image registry.example.com/own-app/web-based-kate:0.0.1
The image will be imported to kind, so that every workload resource operated in our kind cluster can access it. If you use some other Kubernetes cluster, you would need to upload this to a registry that your cluster can pull images from.
Finally, we can also apply our previously created Kubernetes manifests to the cluster. Let’s say we saved everything to one file called kuberentes.yaml. Then, you can simply apply it like this:
$ kubectl apply -f kubernetes.yaml
deployment.apps/web-based-kate configured
secret/guacamole-config configured
service/web-based-kate unchanged
This way, a Kubernetes Deployment, Secret and Service is created which ultimately creates a Kubernetes Pod which we can access afterwards.
$ kubectl get pod
NAME                              READY   STATUS    RESTARTS   AGE
web-based-kate-7894778fb6-qwp4z   3/3     Running   0          10m
Verification of our Deployment
Now, it’s money time! After preparing everything, we should be able to access our web based kate application by using our web browser. As mentioned earlier, we configured kind in such a way that we can access our application by using our local port 30000. Every request to this port is forwarded to the kind control plane node from where it is picked up by the Kubernetes Service of type NodePort. This one is then forwarding all requests to our designated Guacamole server container which is offering the web server for accessing remote application’s via Guacamole.
If everything works out, you should be able to see the the following login screen:

After successfully login in, the remote connection is established and you should be able to see the welcome screen from kate:

If you click on New, you can create a new text file:

Those text files can even be saved but keep in mind that they will only exist as long as our Kubernetes Pod exists. Once it gets deleted, the corresponding EmptyDir, that we mounted into our kate container, gets deleted as well and all files in it are lost. Moreover, the container is set to read-only meaning that a user can only write files to the volumes (e.g. EmptyDir) that we mounted to our container.
Conclusion
After seeing that it’s relatively easy to convert every application to a web based one by using Apache Guacamole, there is only one major question left…
What do you prefer the most. Salsa or Guacamole?

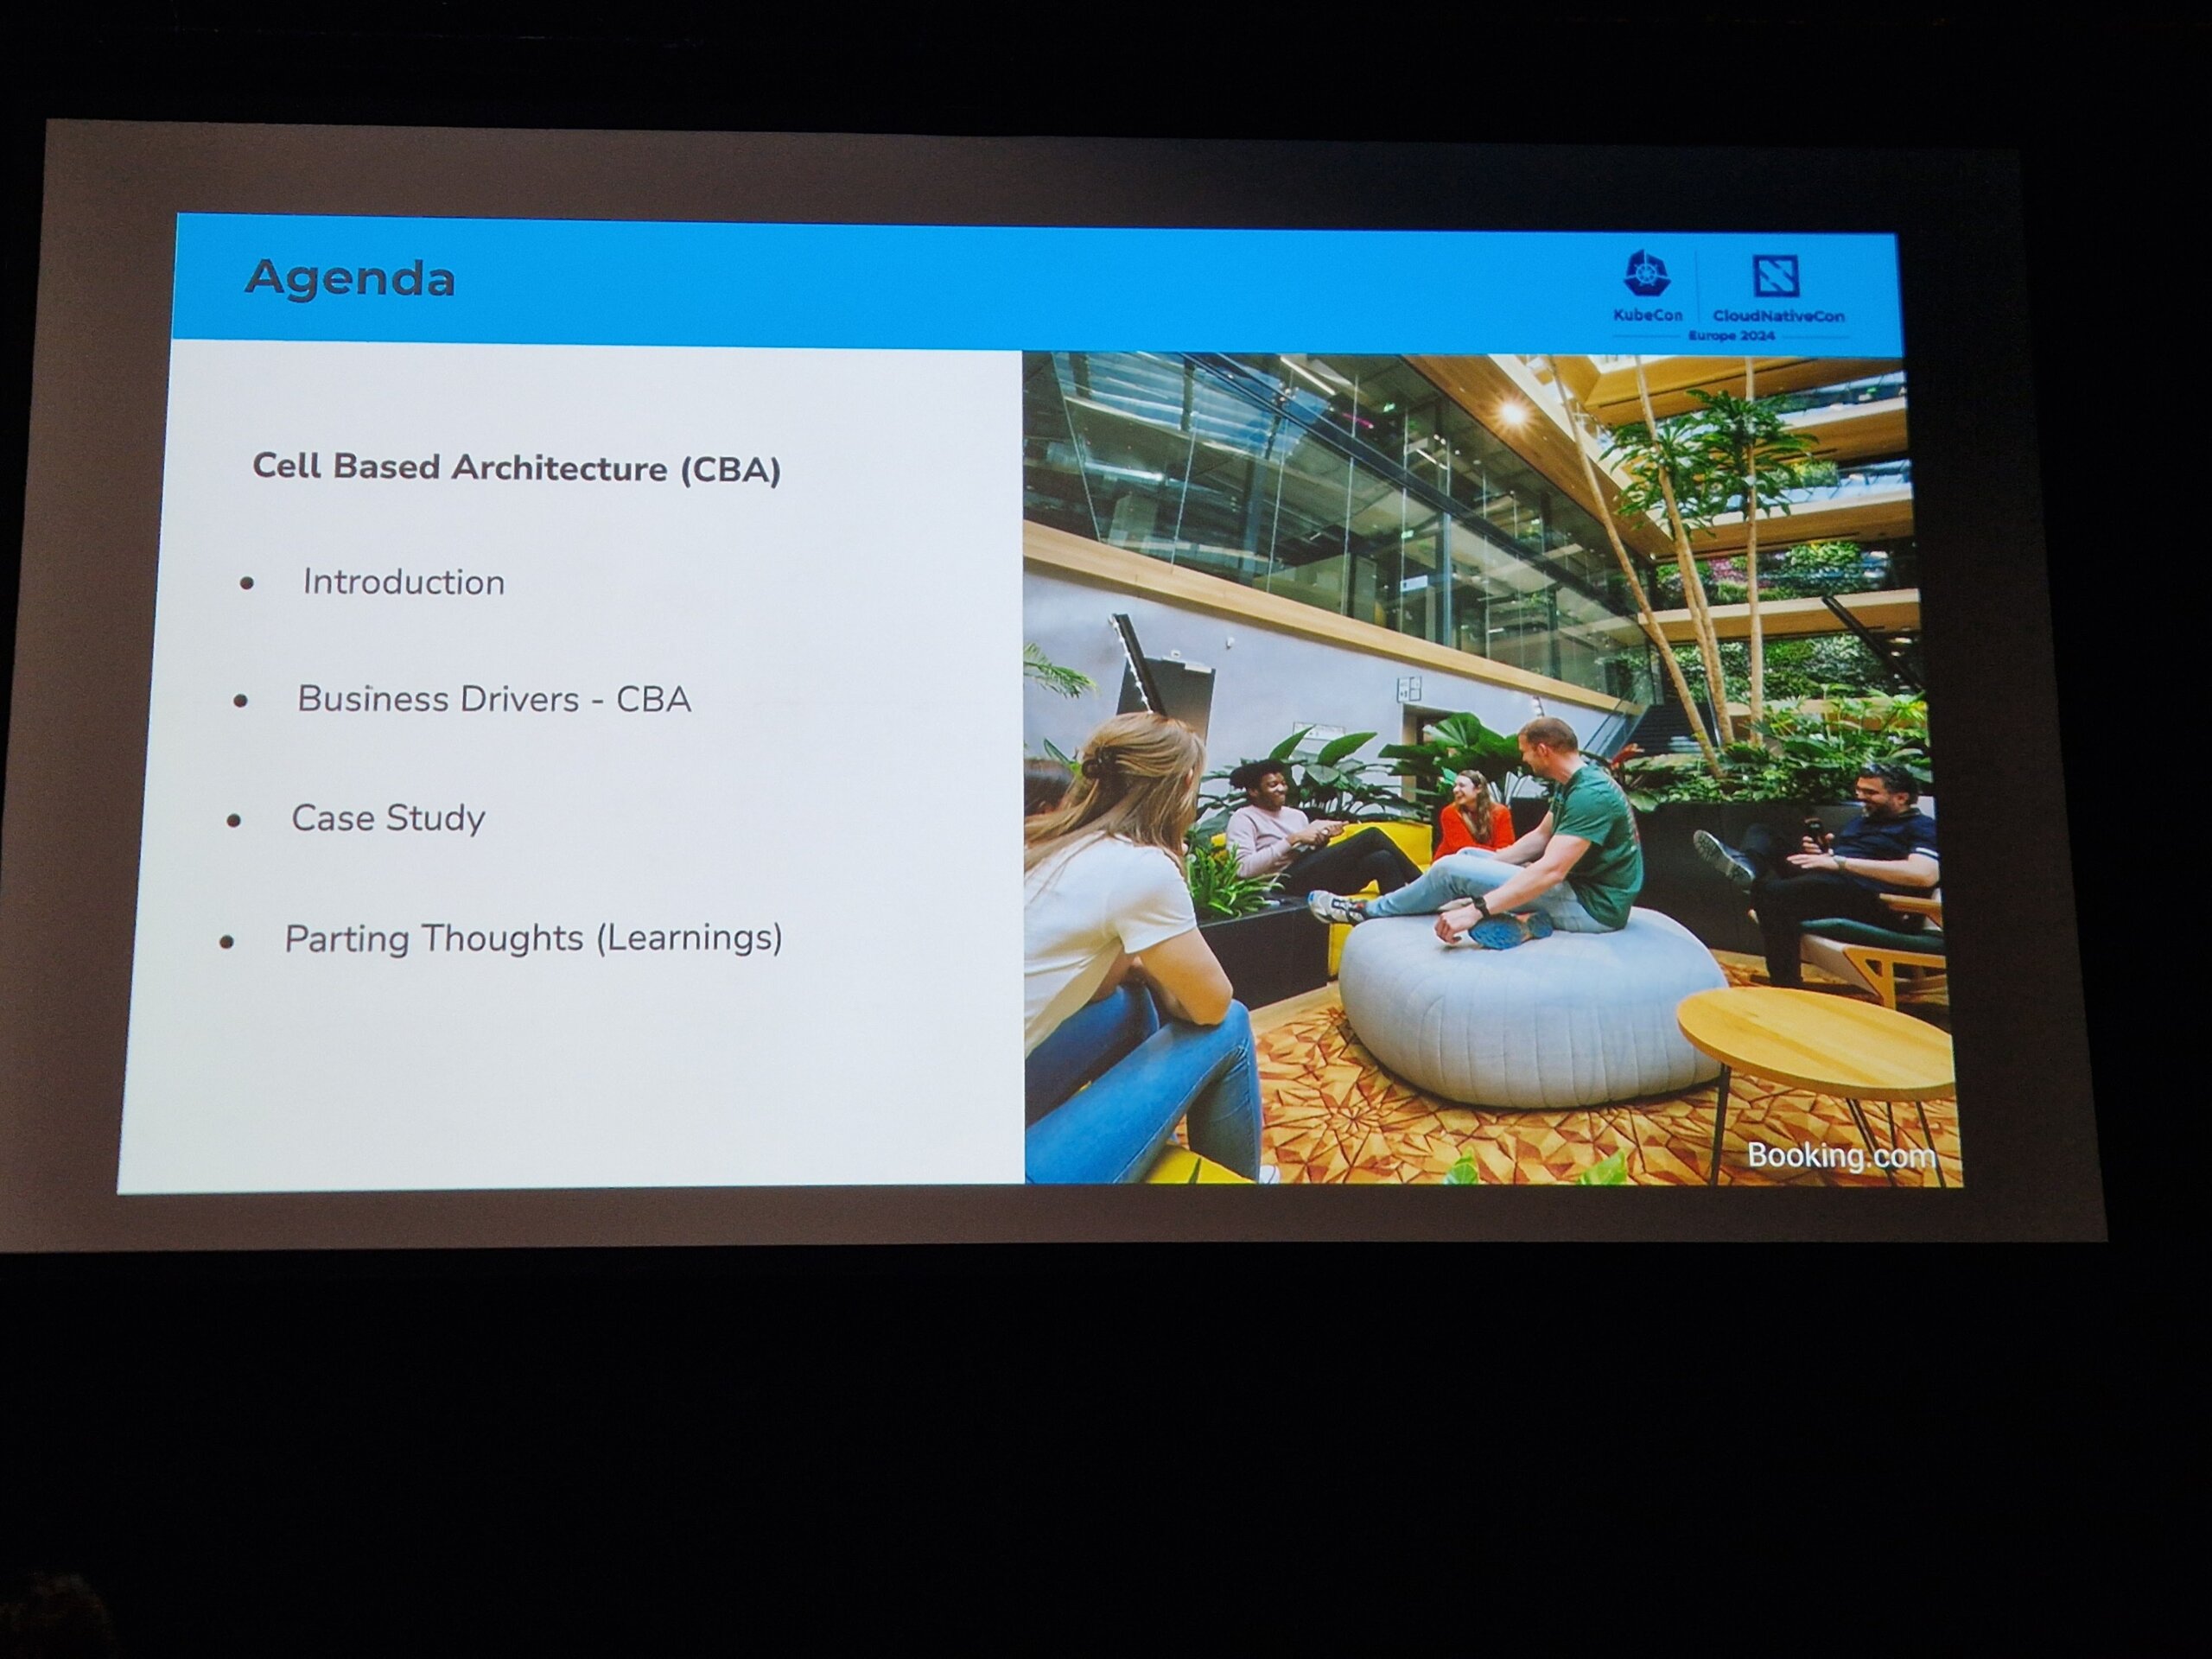
Once again a KubeCon has come to an end
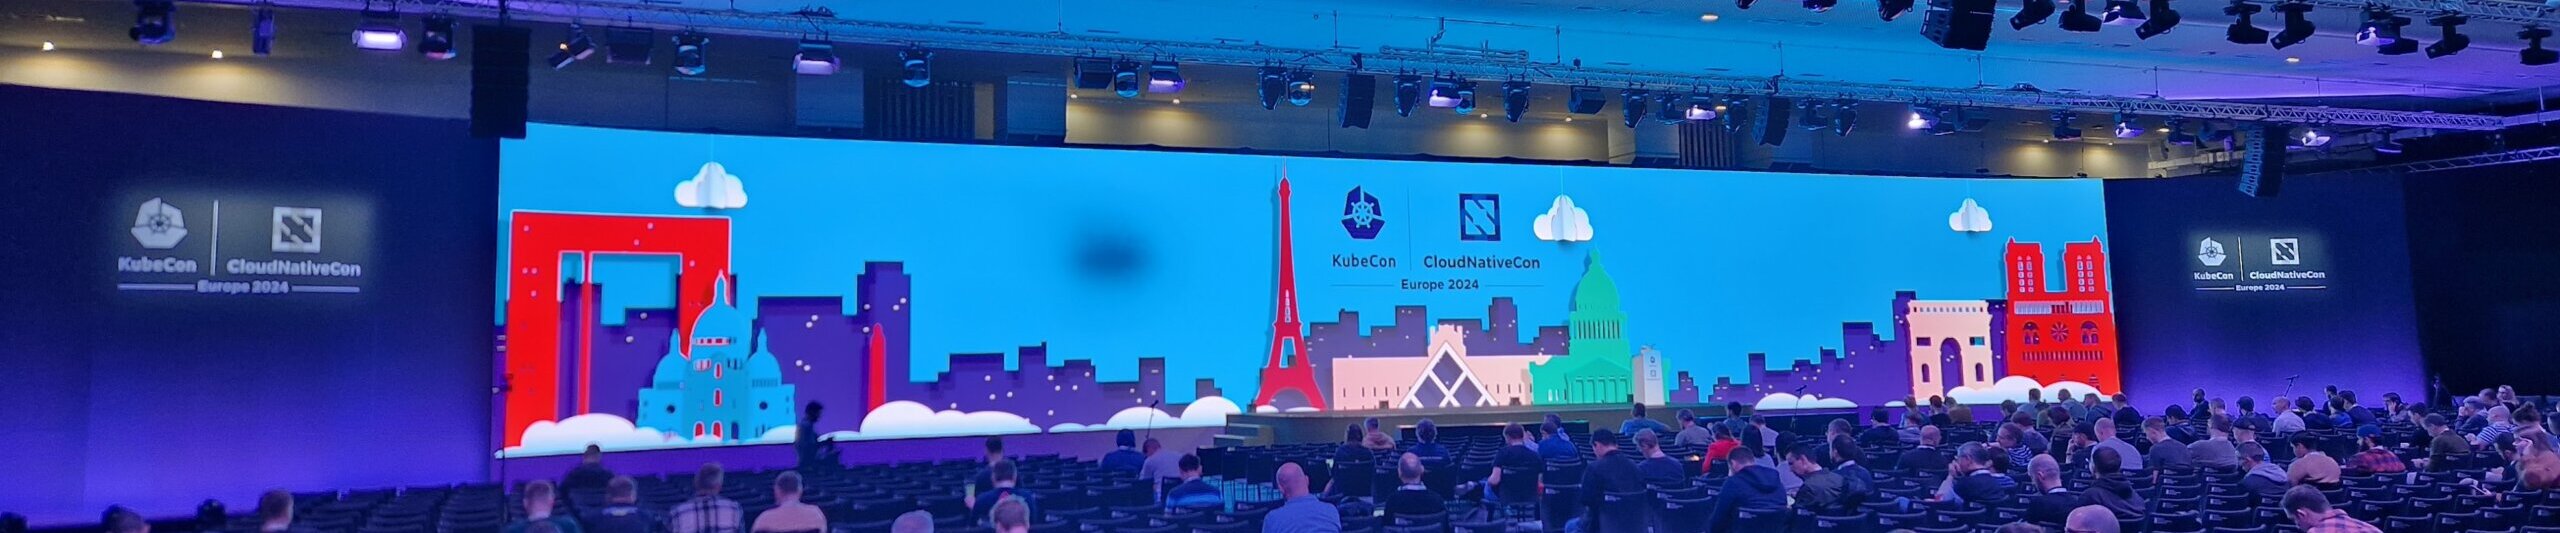
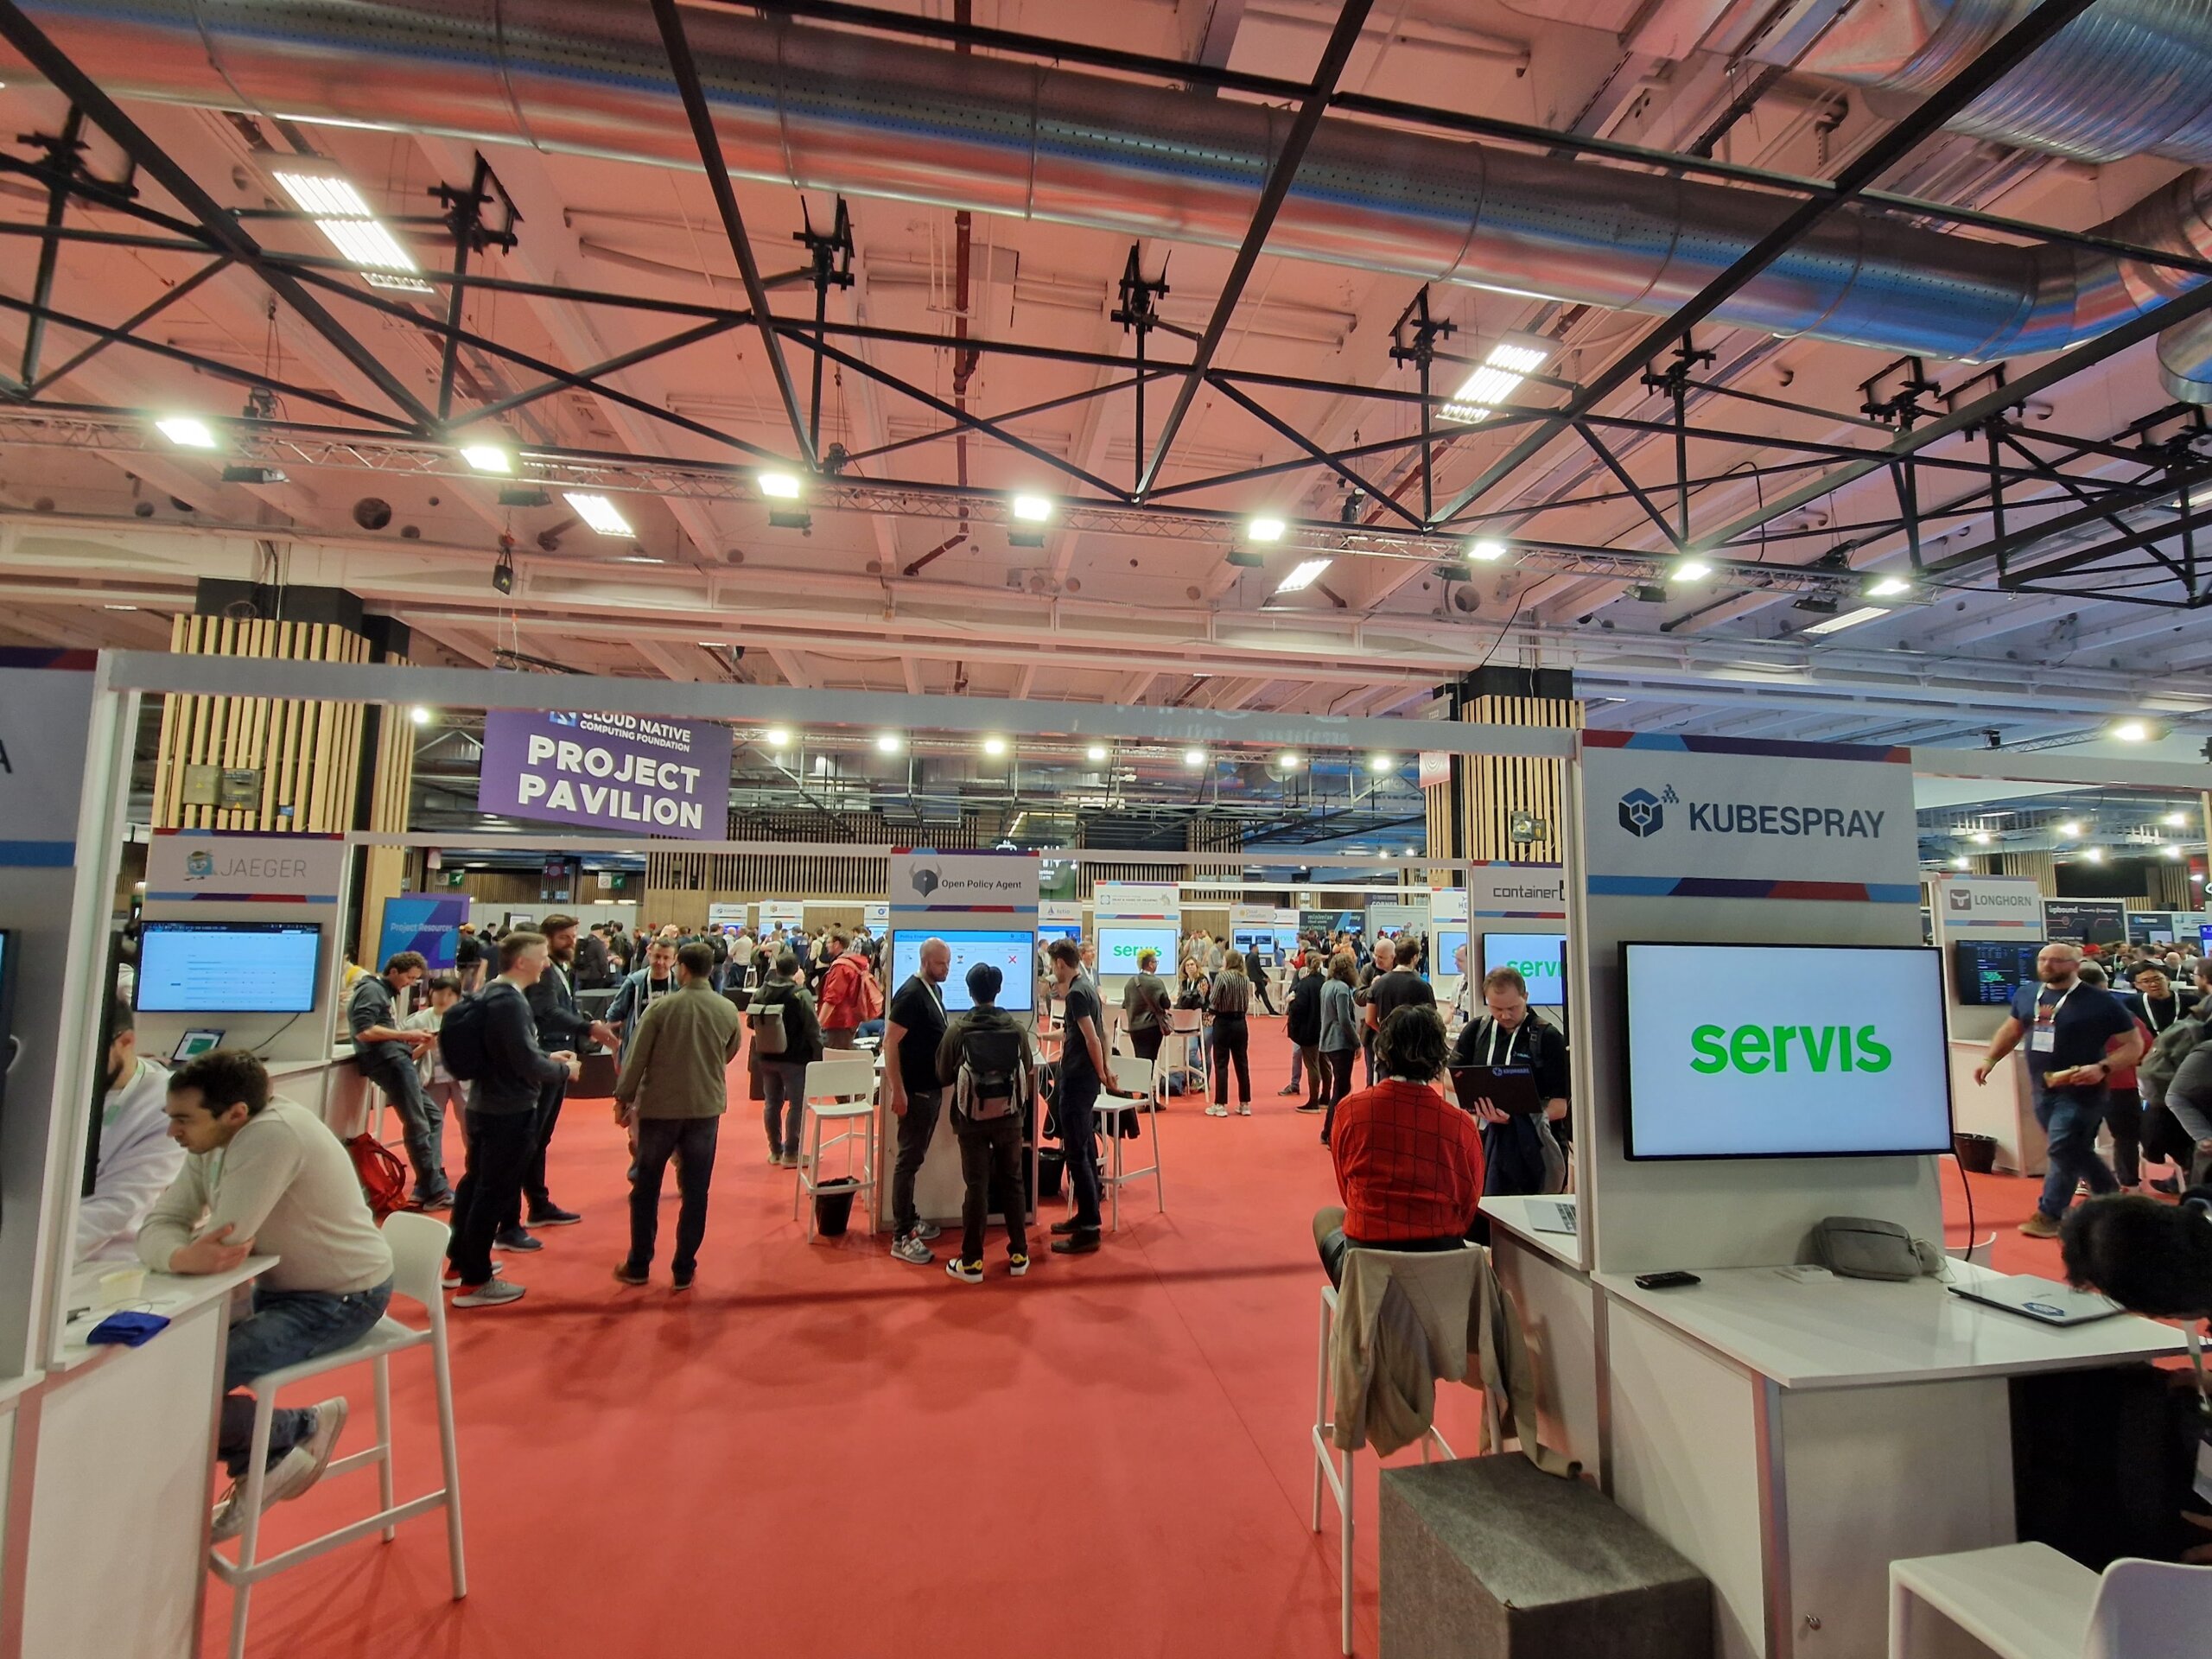
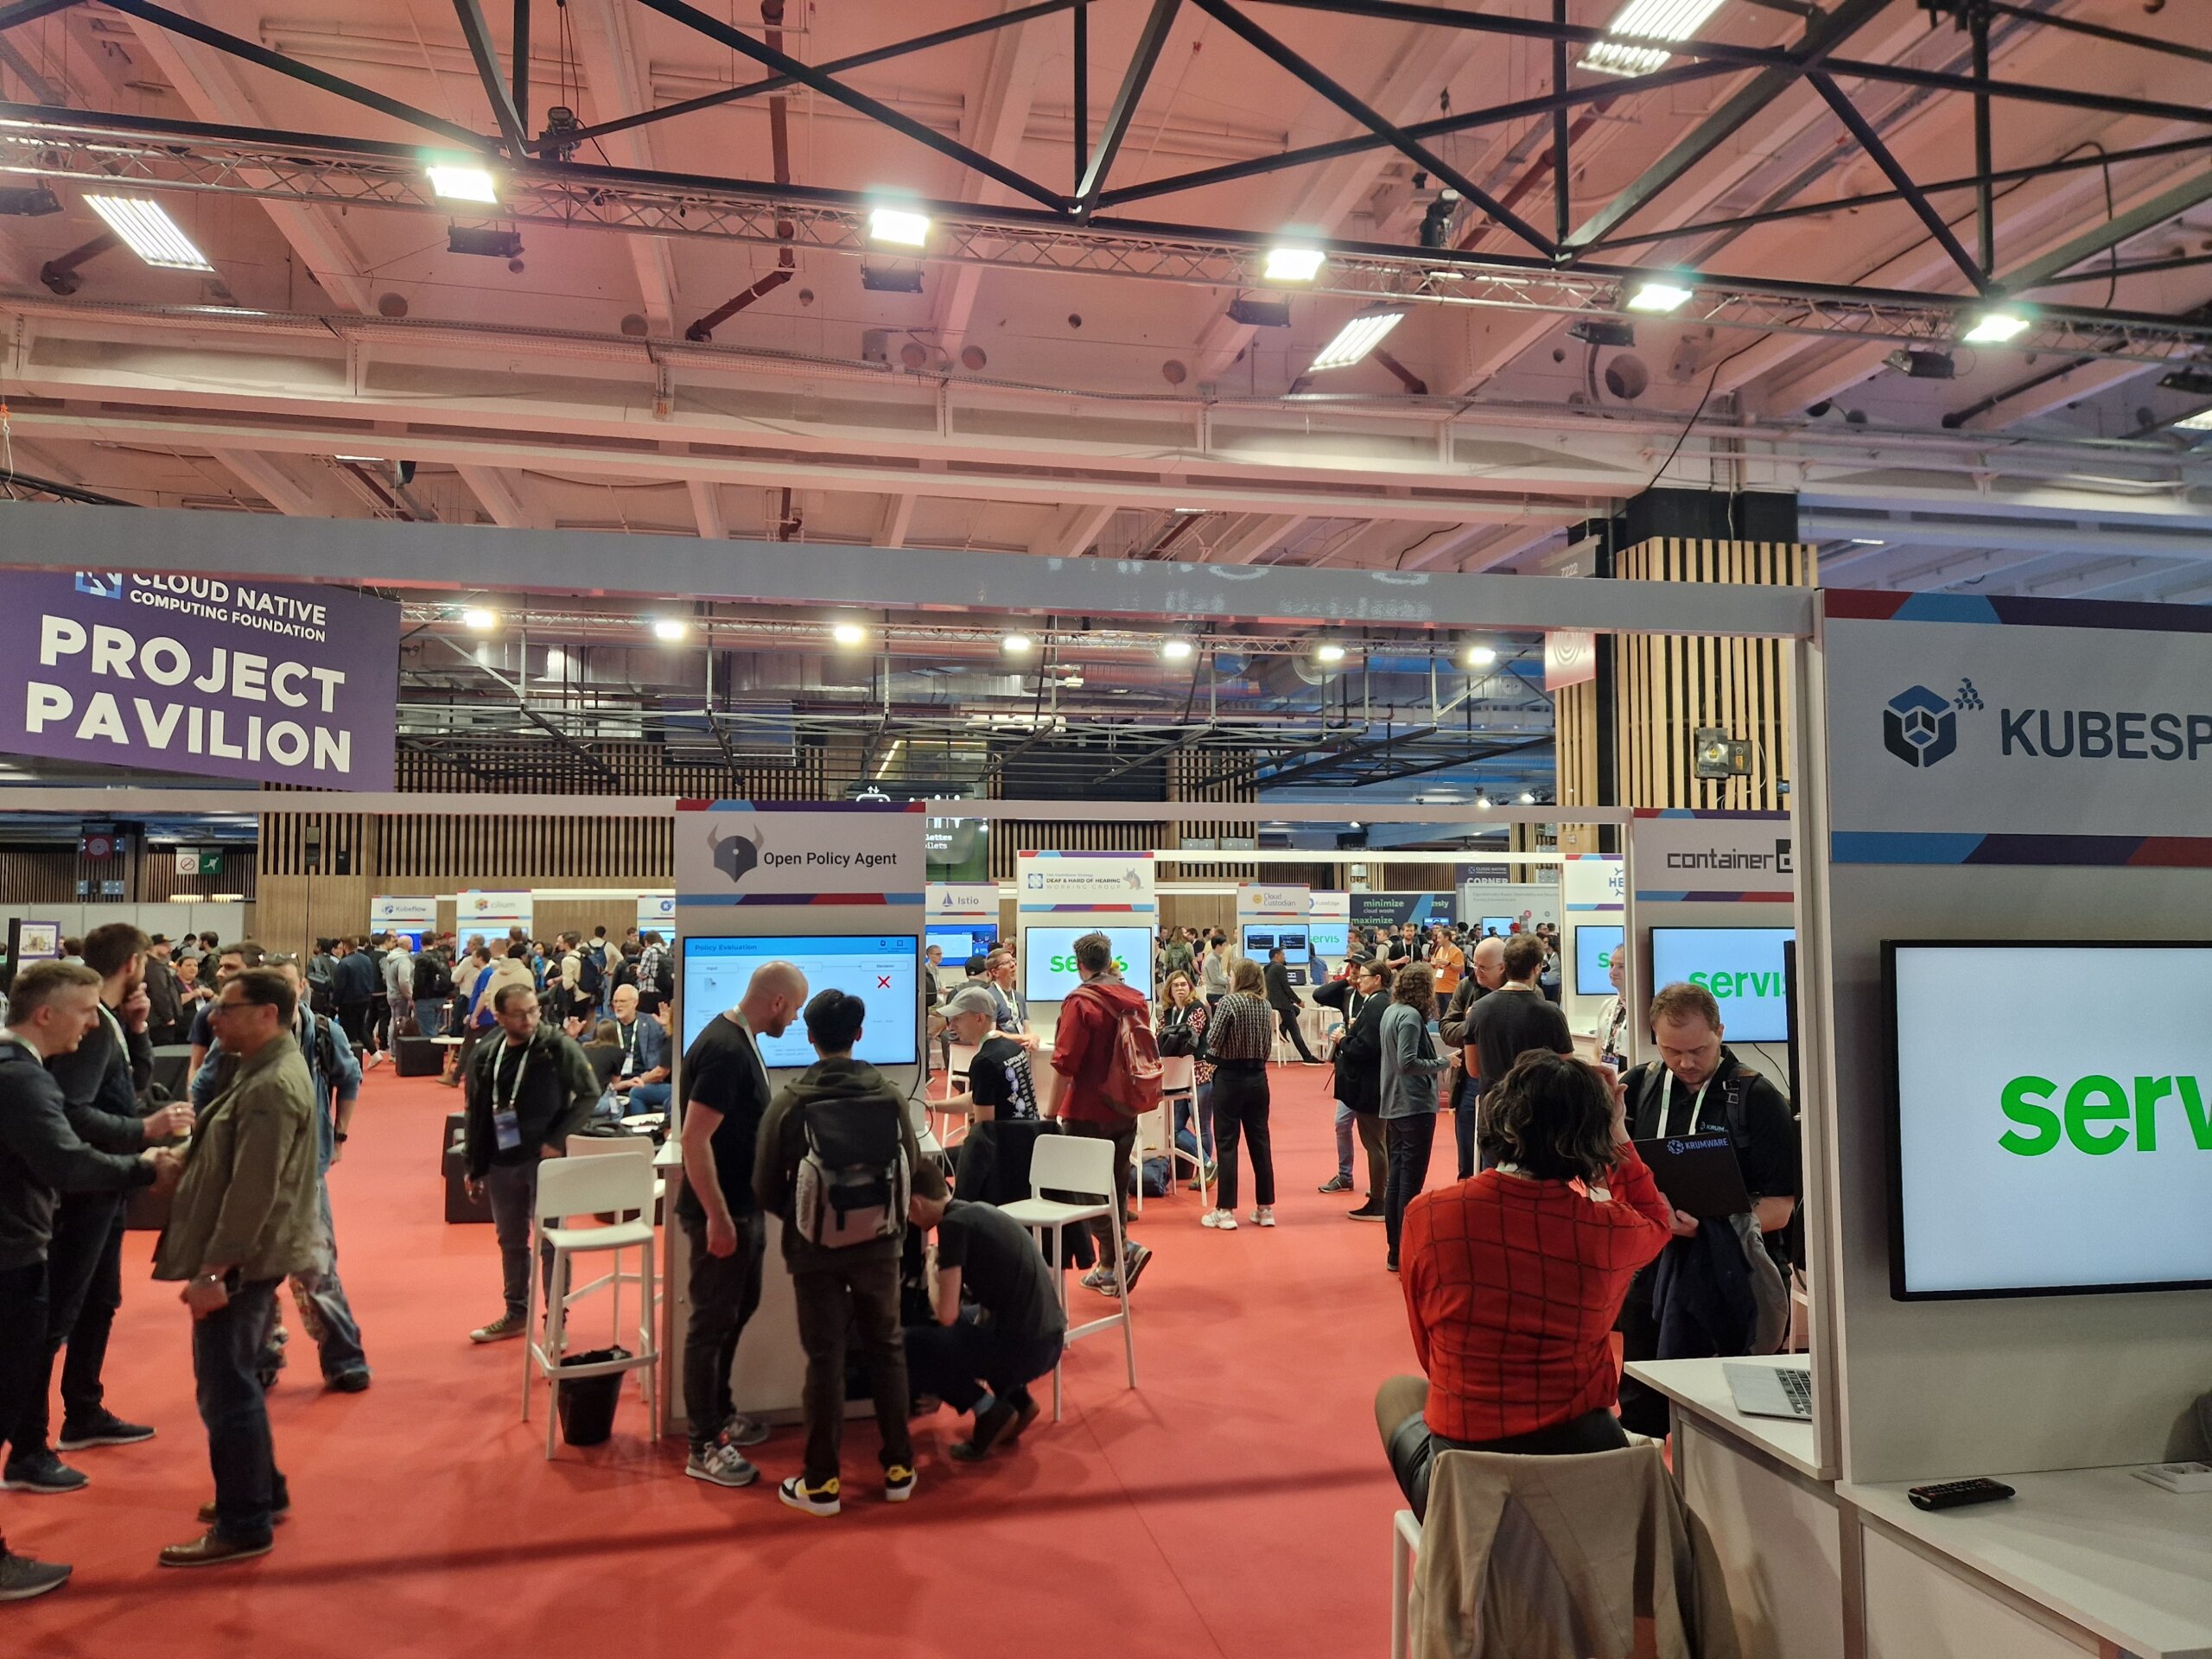
This year, the CNCF hosted the meeting in the French capital. In the south of Paris at the PARIS EXPO PORTE DE VERSAILLES, over 12,000 participants came together again this year.
In addition to various talks and unconferences, there was also a wide range of Contribfests slots, which made it easier for interested parties to get involved in various projects. The thematic focus this year was clearly on Artificial Intelligence and Machine Learning.
Wednesday morning started at 9 am. All keynotes had one thing in common: the topic of AI/ML! Here are a few titles: “Accelerating AI Workloads with GPUs in Kubernetes”, “Build an Open Source Platform for AI/ML” or “Optimizing Performance and Sustainability for AI”. In addition to the keynotes, participants were also offered plenty of talks on the topic of AI and ML. Anyone interested in this topic could find what they were looking for at any time during the three days in the “Paris” room. The new white paper on “Cloud Native AI” was also announced during the keynotes.
Location


Anyone wishing to enter the conference first had to pass through security, consisting of metal detectors and possible bag checks.
Unfortunately, there was again the problem of overcrowded rooms this year. Several times during the day it was necessary to reschedule spontaneously, as the selected talk was unfortunately already overcrowded and admission was no longer possible. Unfortunately, this also applied to some keynotes in the morning.
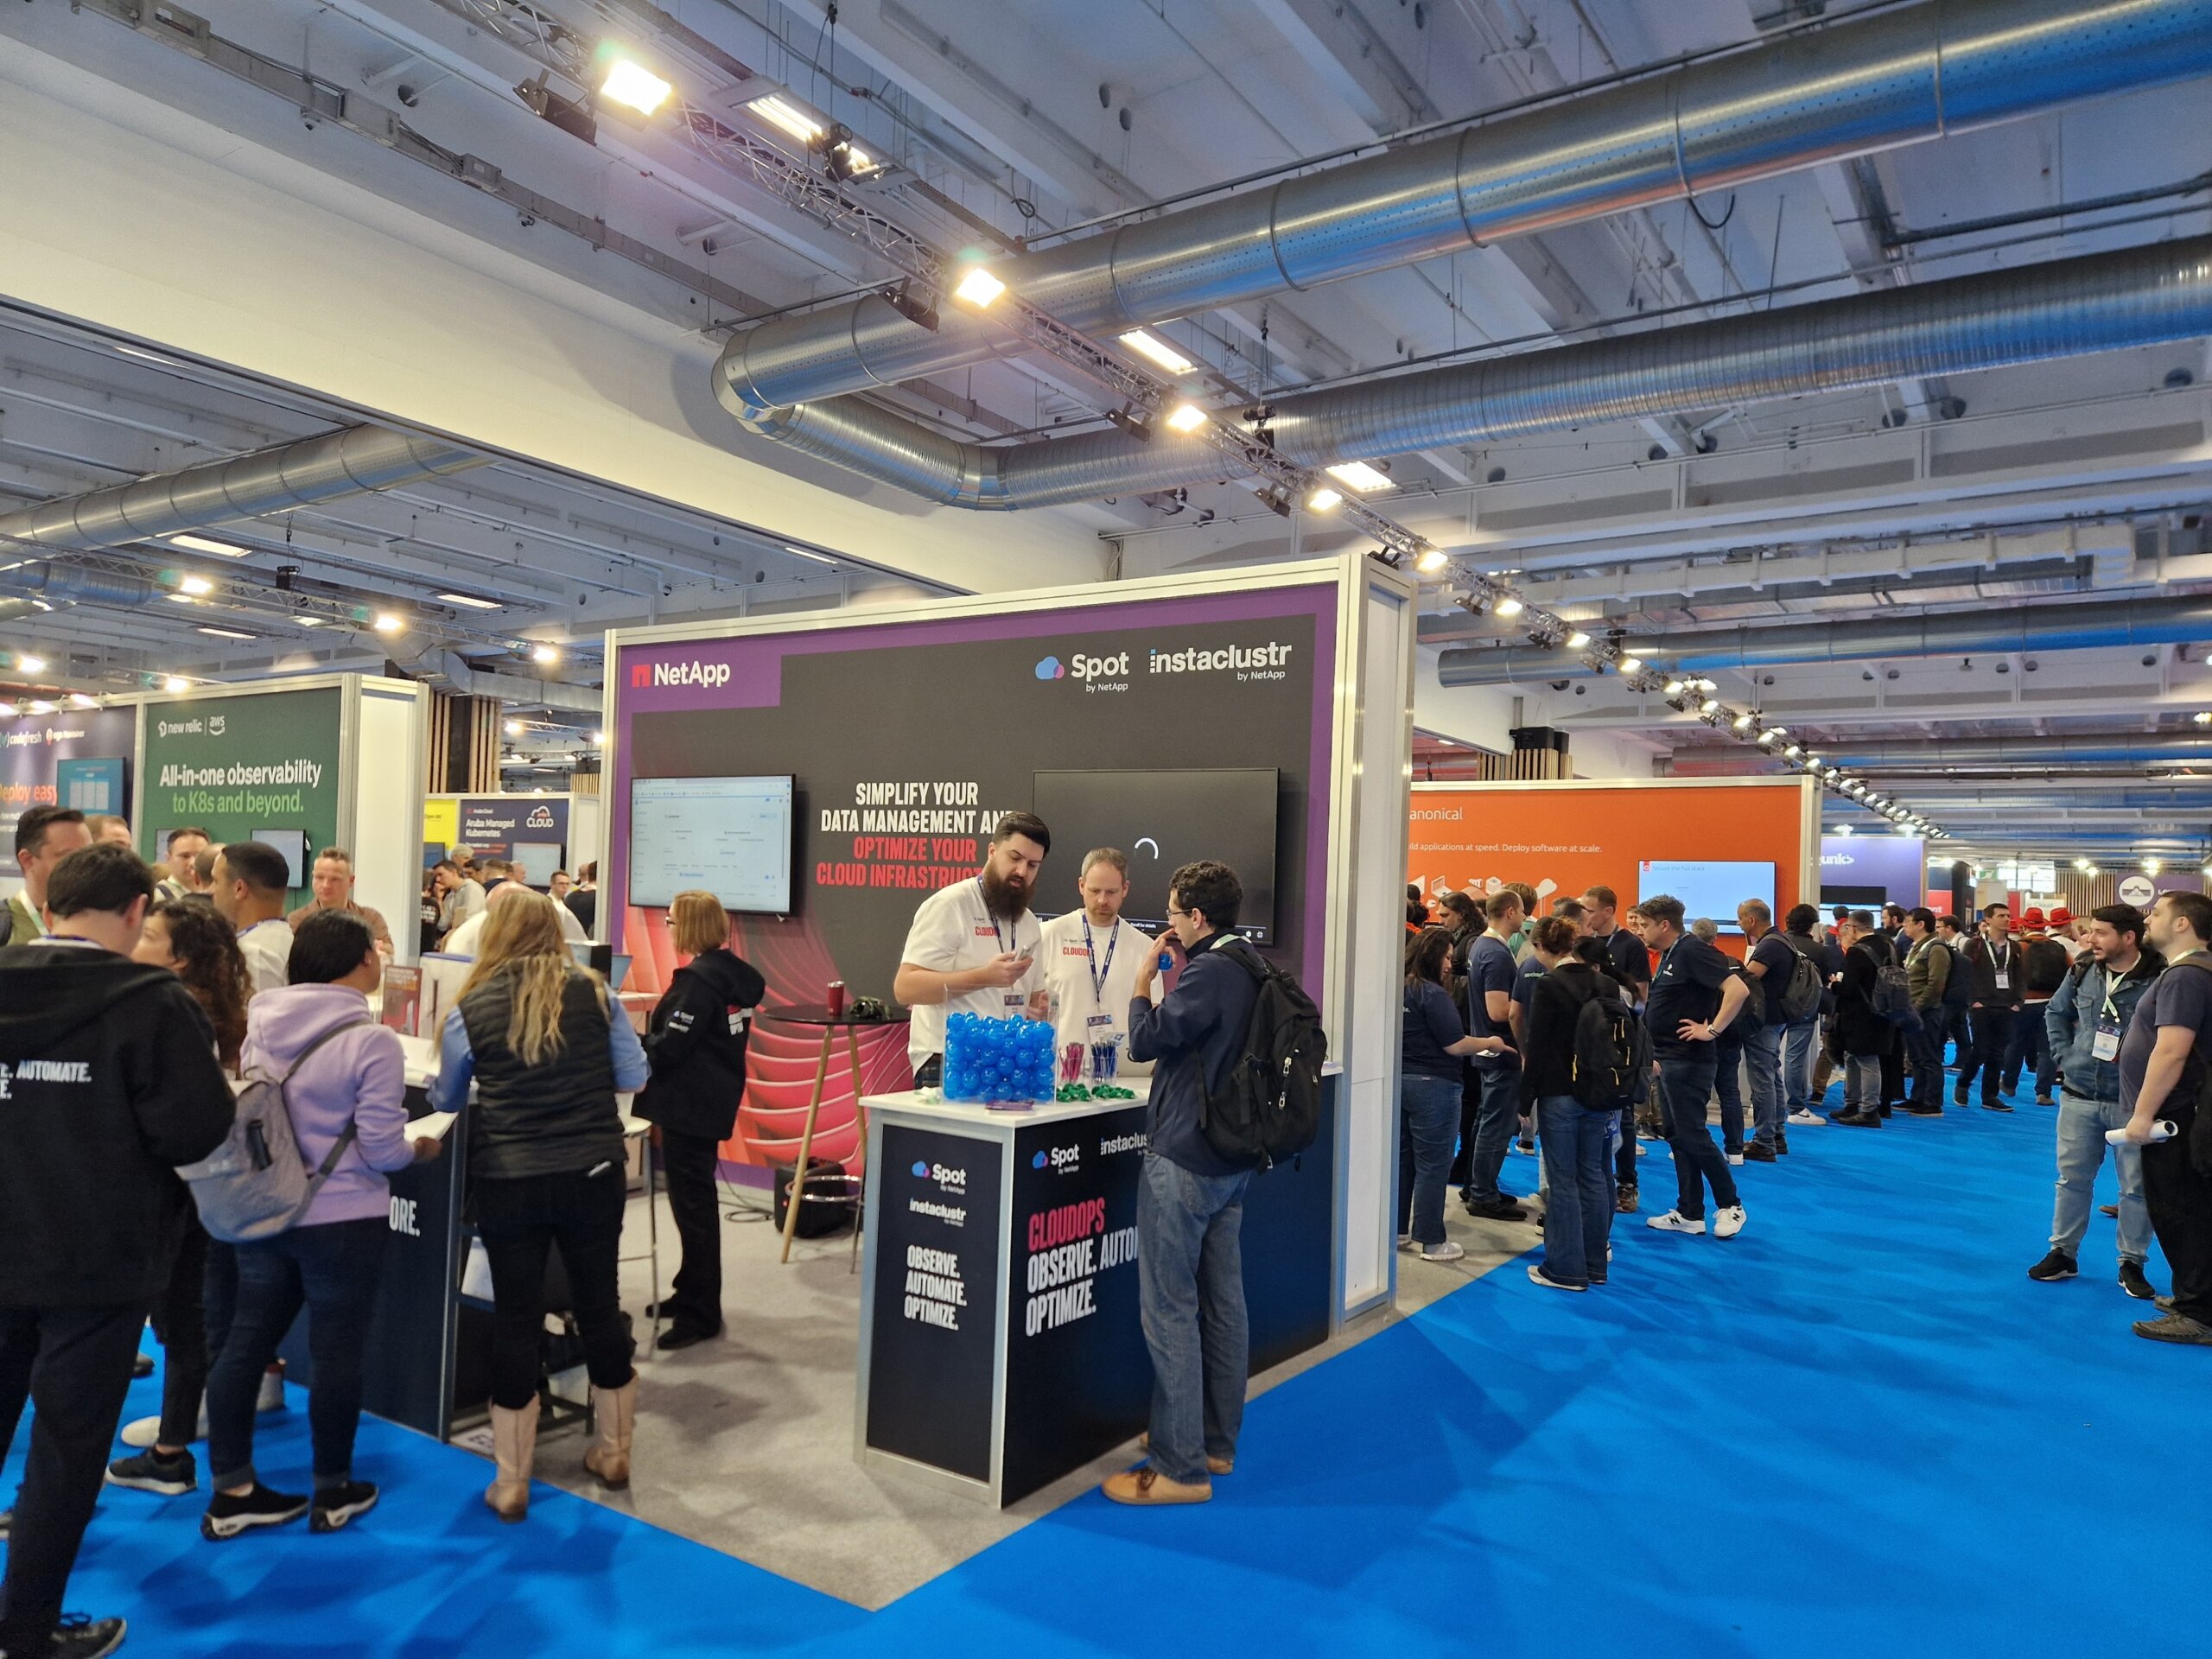
A few impressions

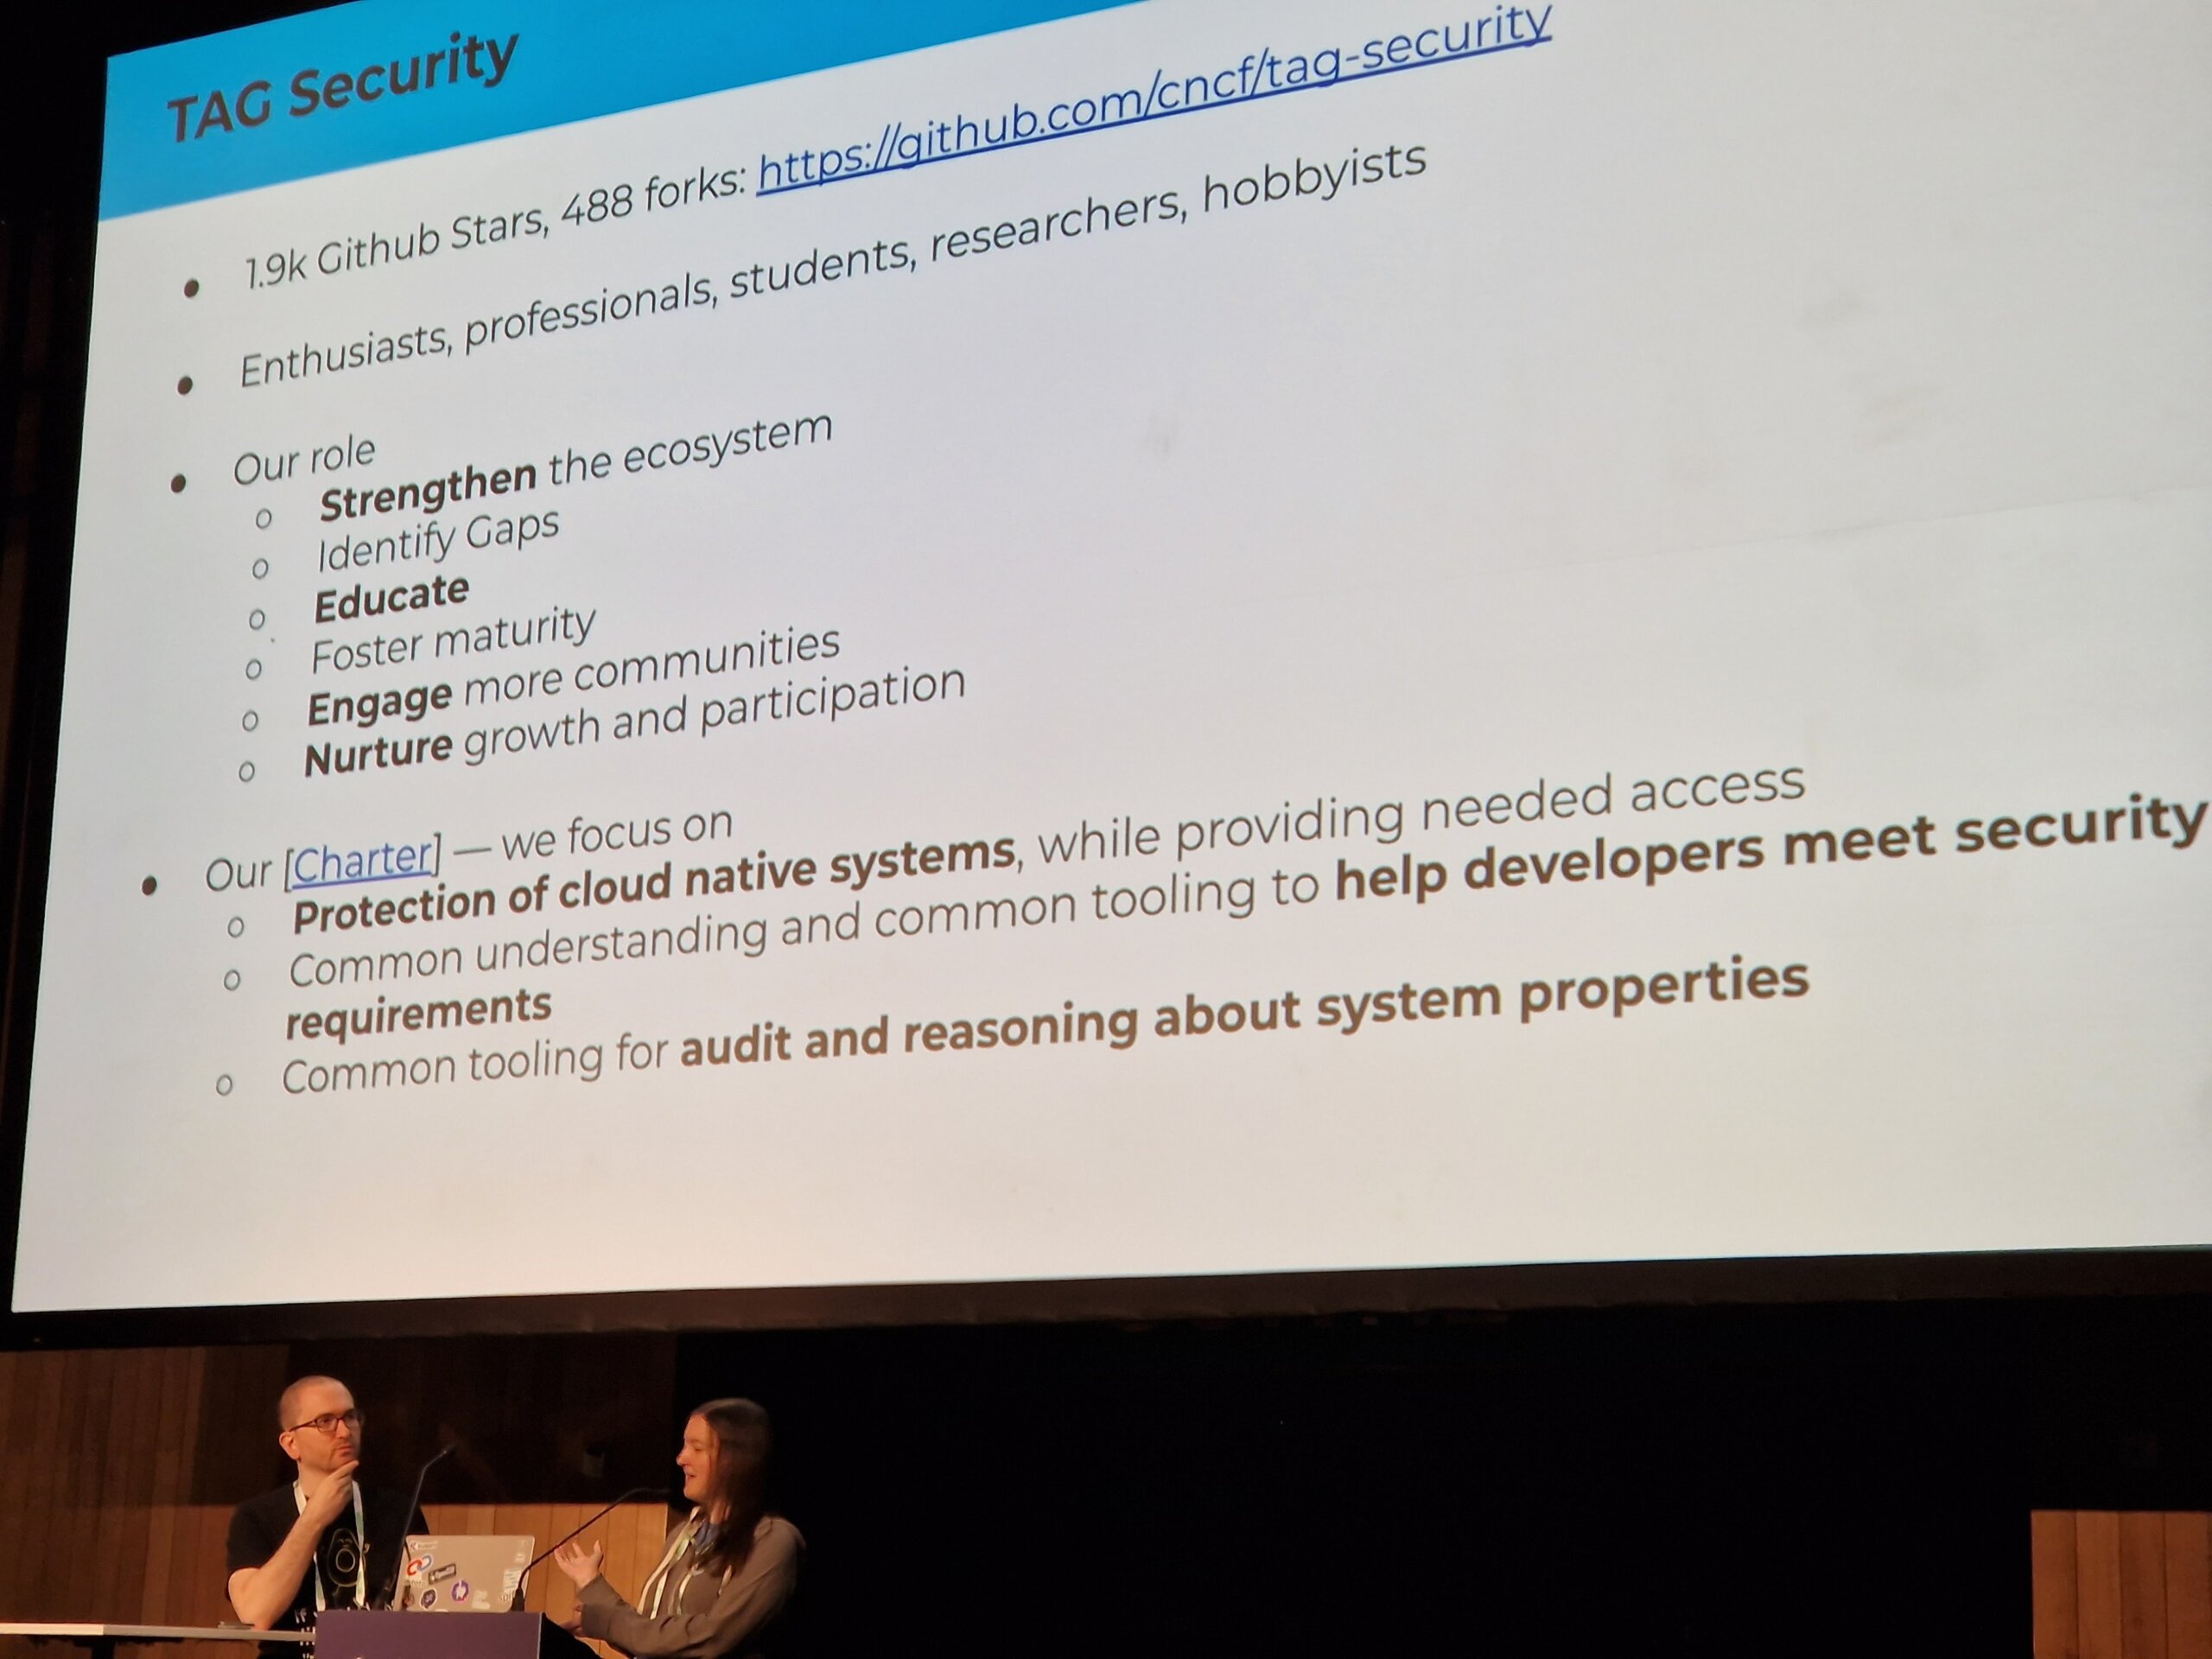
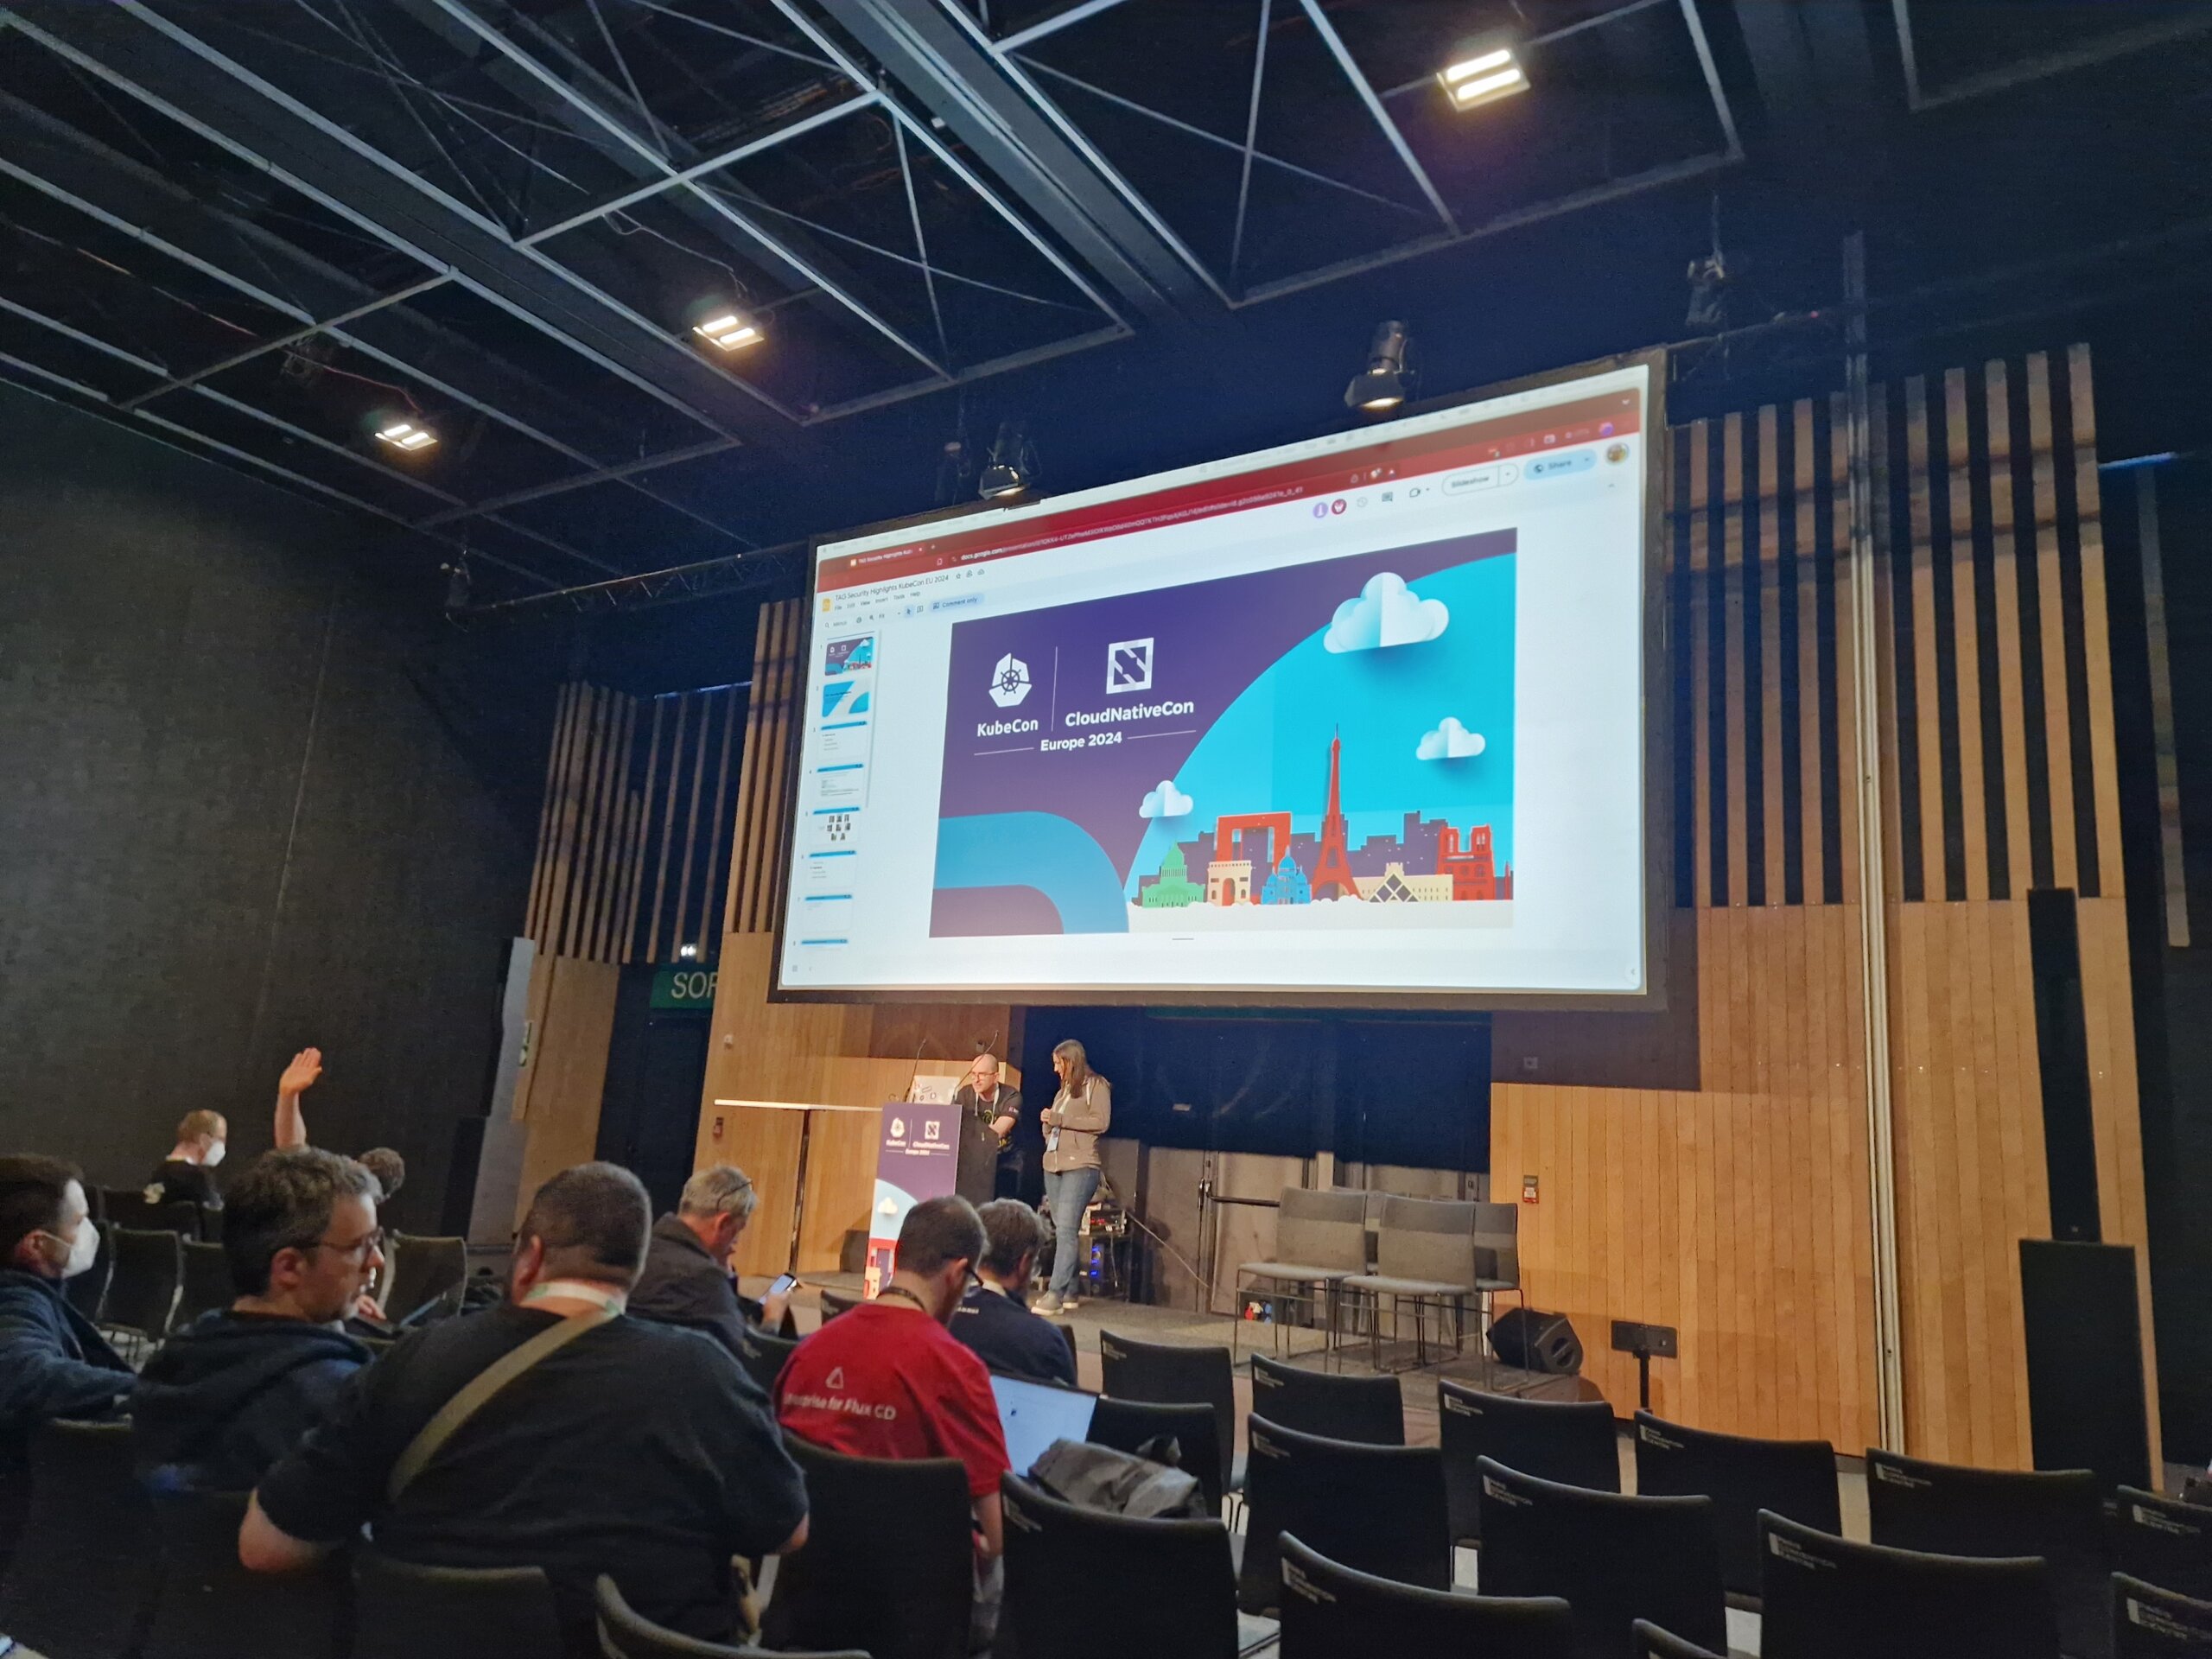
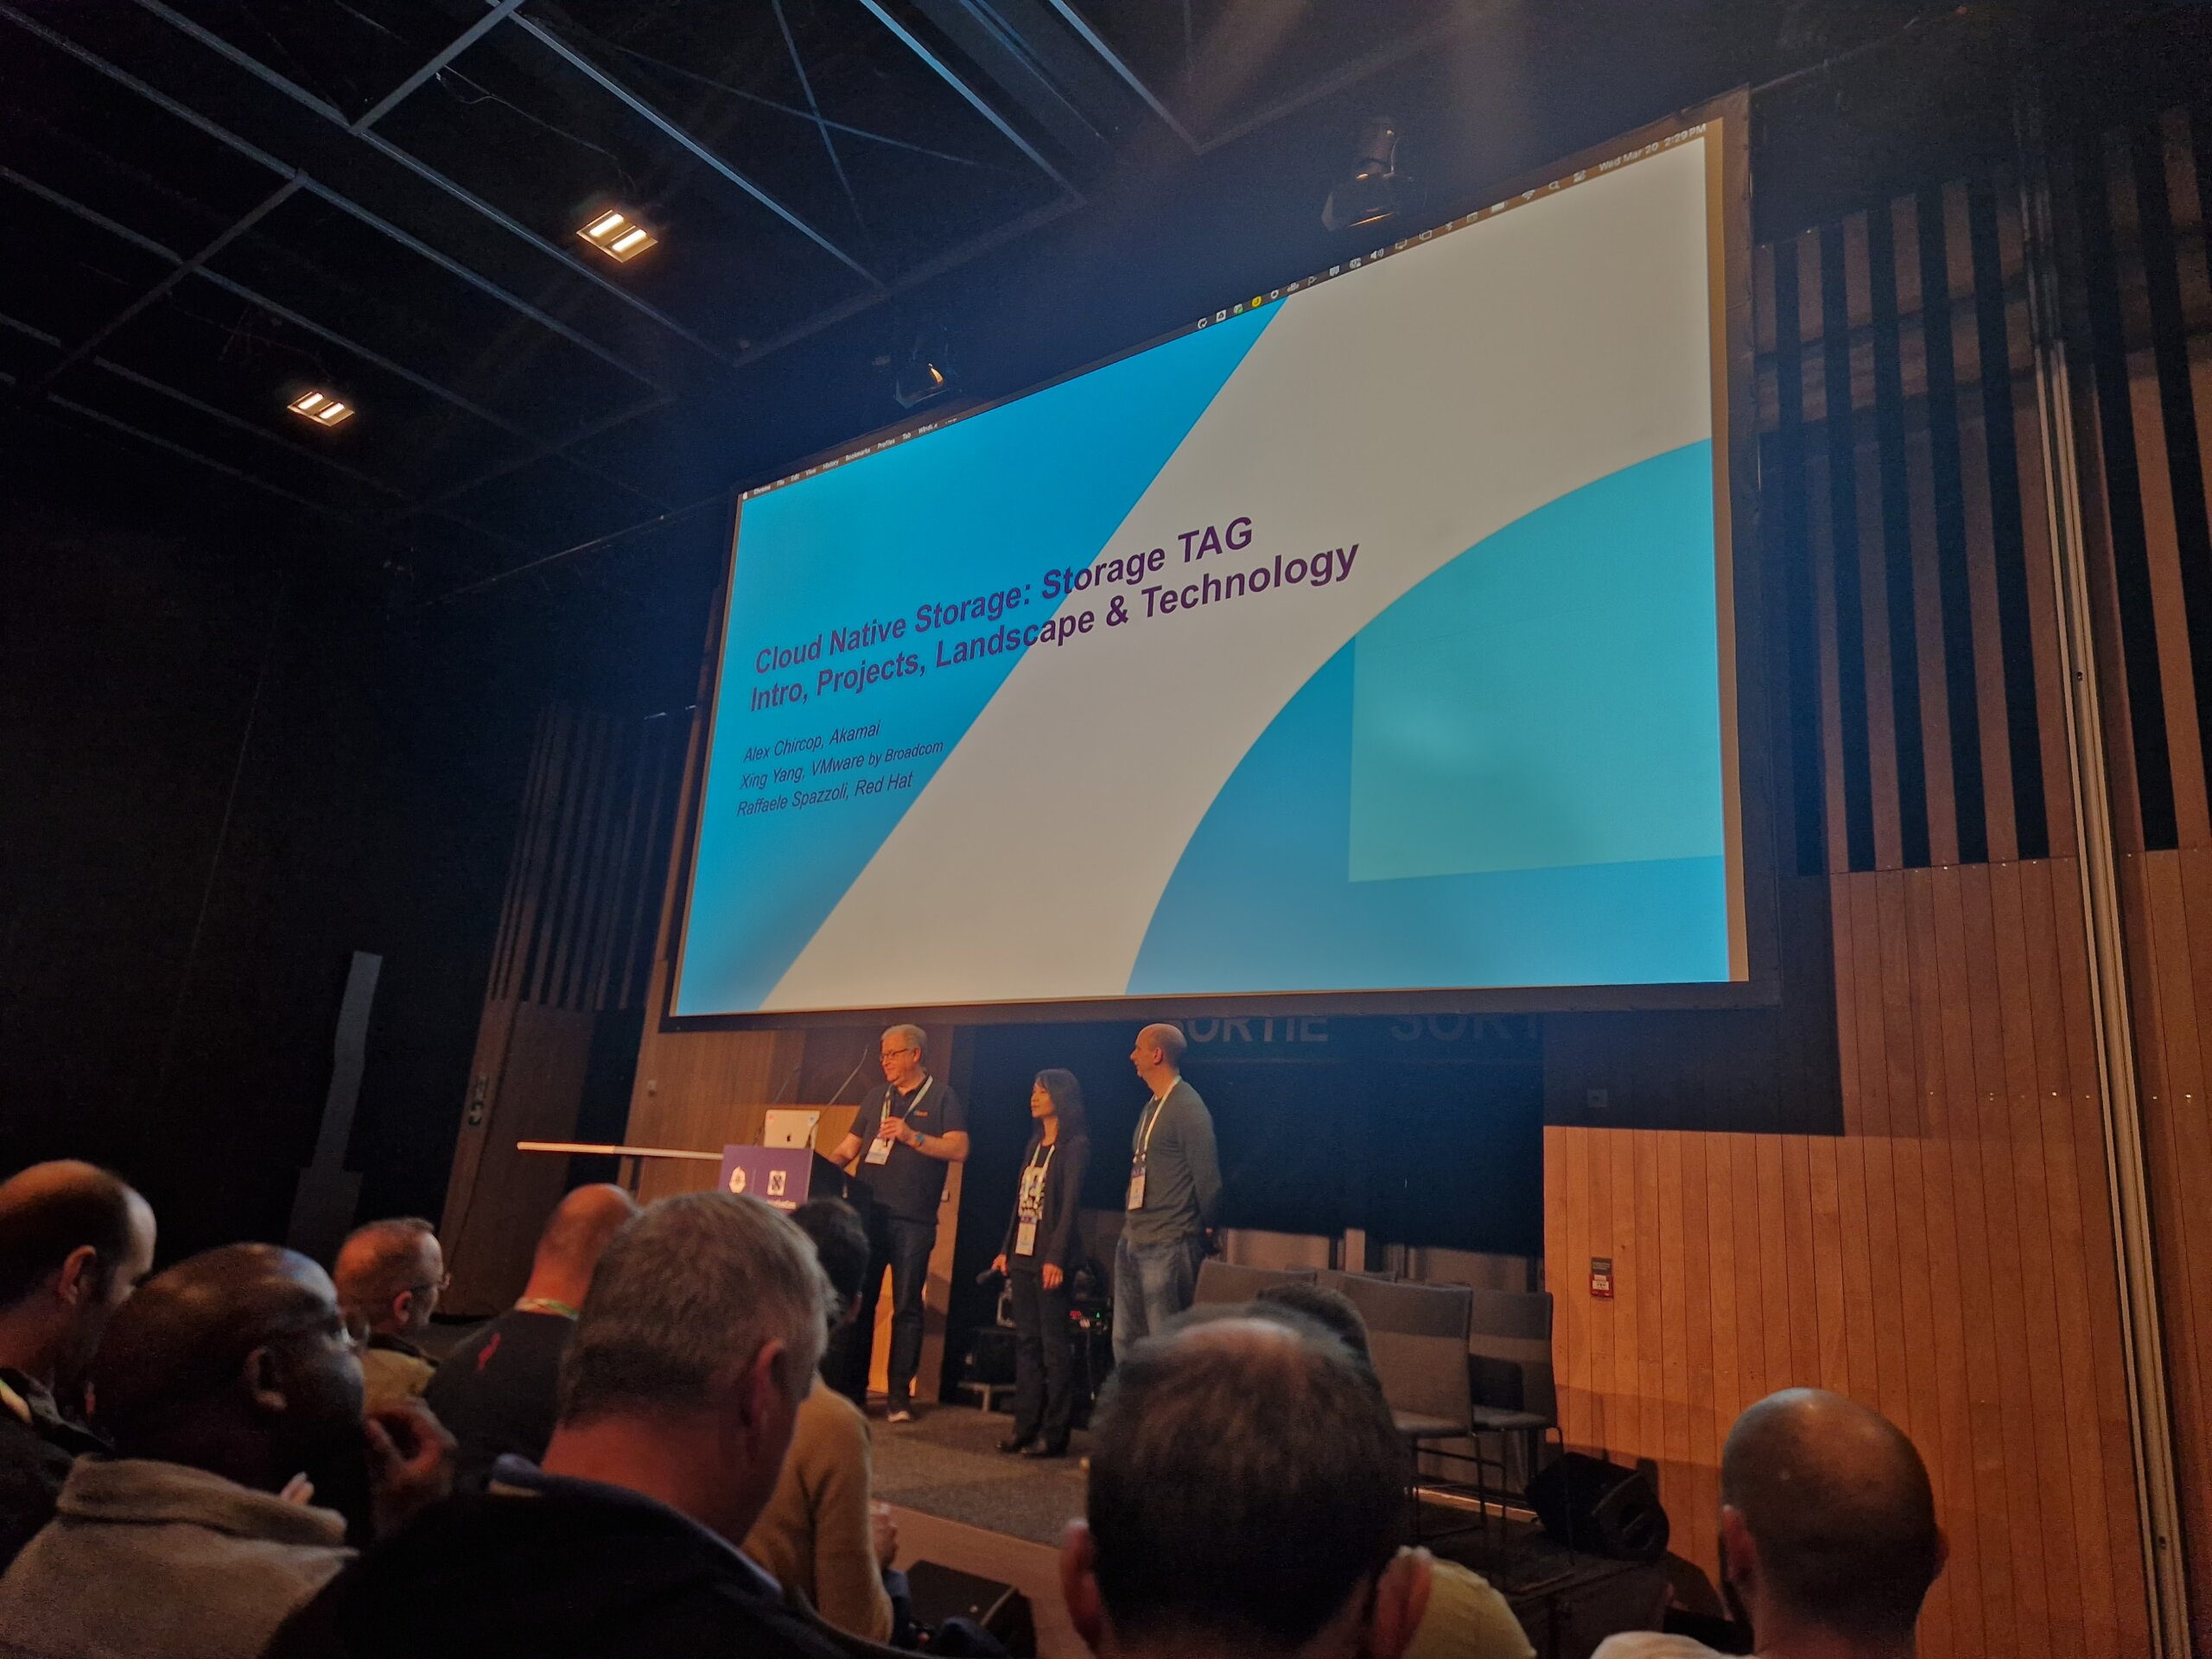
The CNCF Storage TAG and the Storage SIG reported on current developments in the storage sector and mentioned various white papers (“CNCF Storage Whitepaper, Performance and Benchmarking whitepaper, Cloud Native Disaster Recovery whitepaper, and the Data on Kubernetes whitepaper.”). Among other things, it was shown how “PersistendVolumeAttributes” can be used to adjust PersistentVolume attributes, for example to adjust the number of IOPS for a volume during operation.
In the Contribfest slot on Metal3 (Metal Kubed), the maintainers of the project gave a first insight and showed how a development environment can be set up. Among other things, Metal3 offers a ClusterAPI (CAPI) implementation that can be used to manage bare-metal systems. Ironic, which originates from the OpenStack project, is used in the background.
At the “From UI to Storage” talk Thanos maintainers gave an insight into the current implementation and potential future improvements.
In the “CRI-O Odyssey”, the CRI-O maintainers talked about innovations within the Container Runtime. This included the topic of “Confidential Containers” and “Podman-in-Kubernetes”. The topic of WASM integration was also on the agenda.
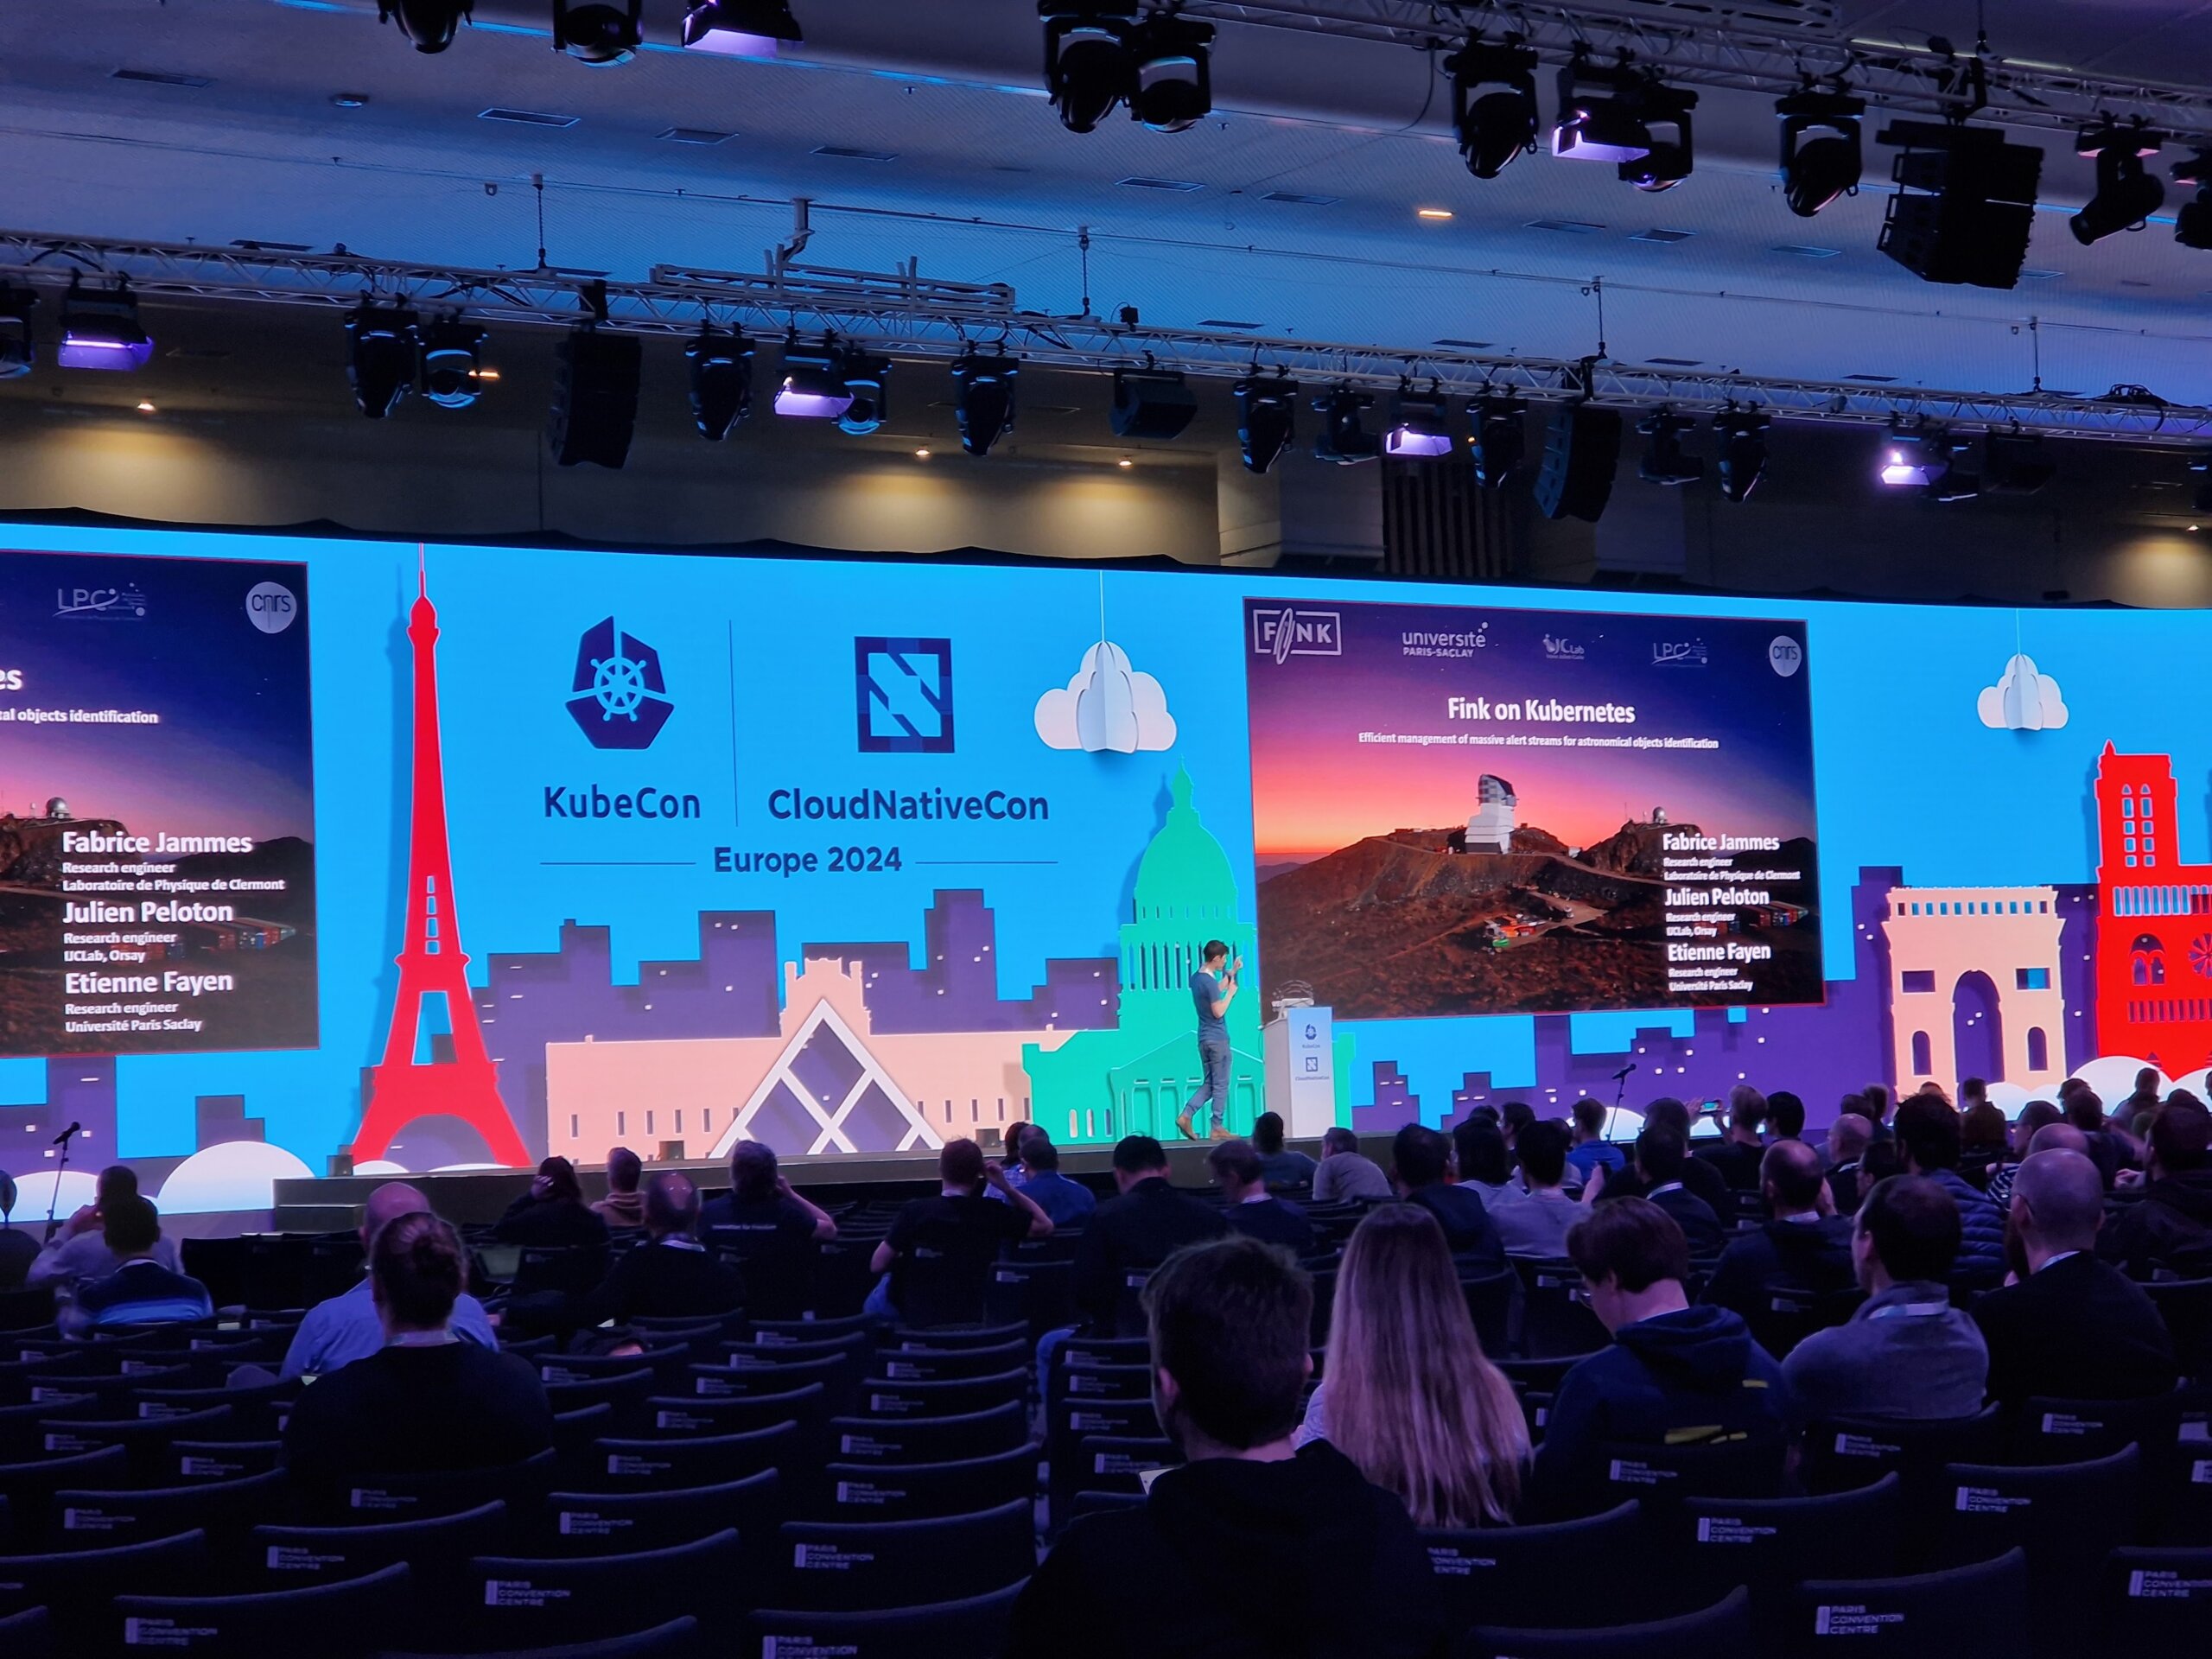
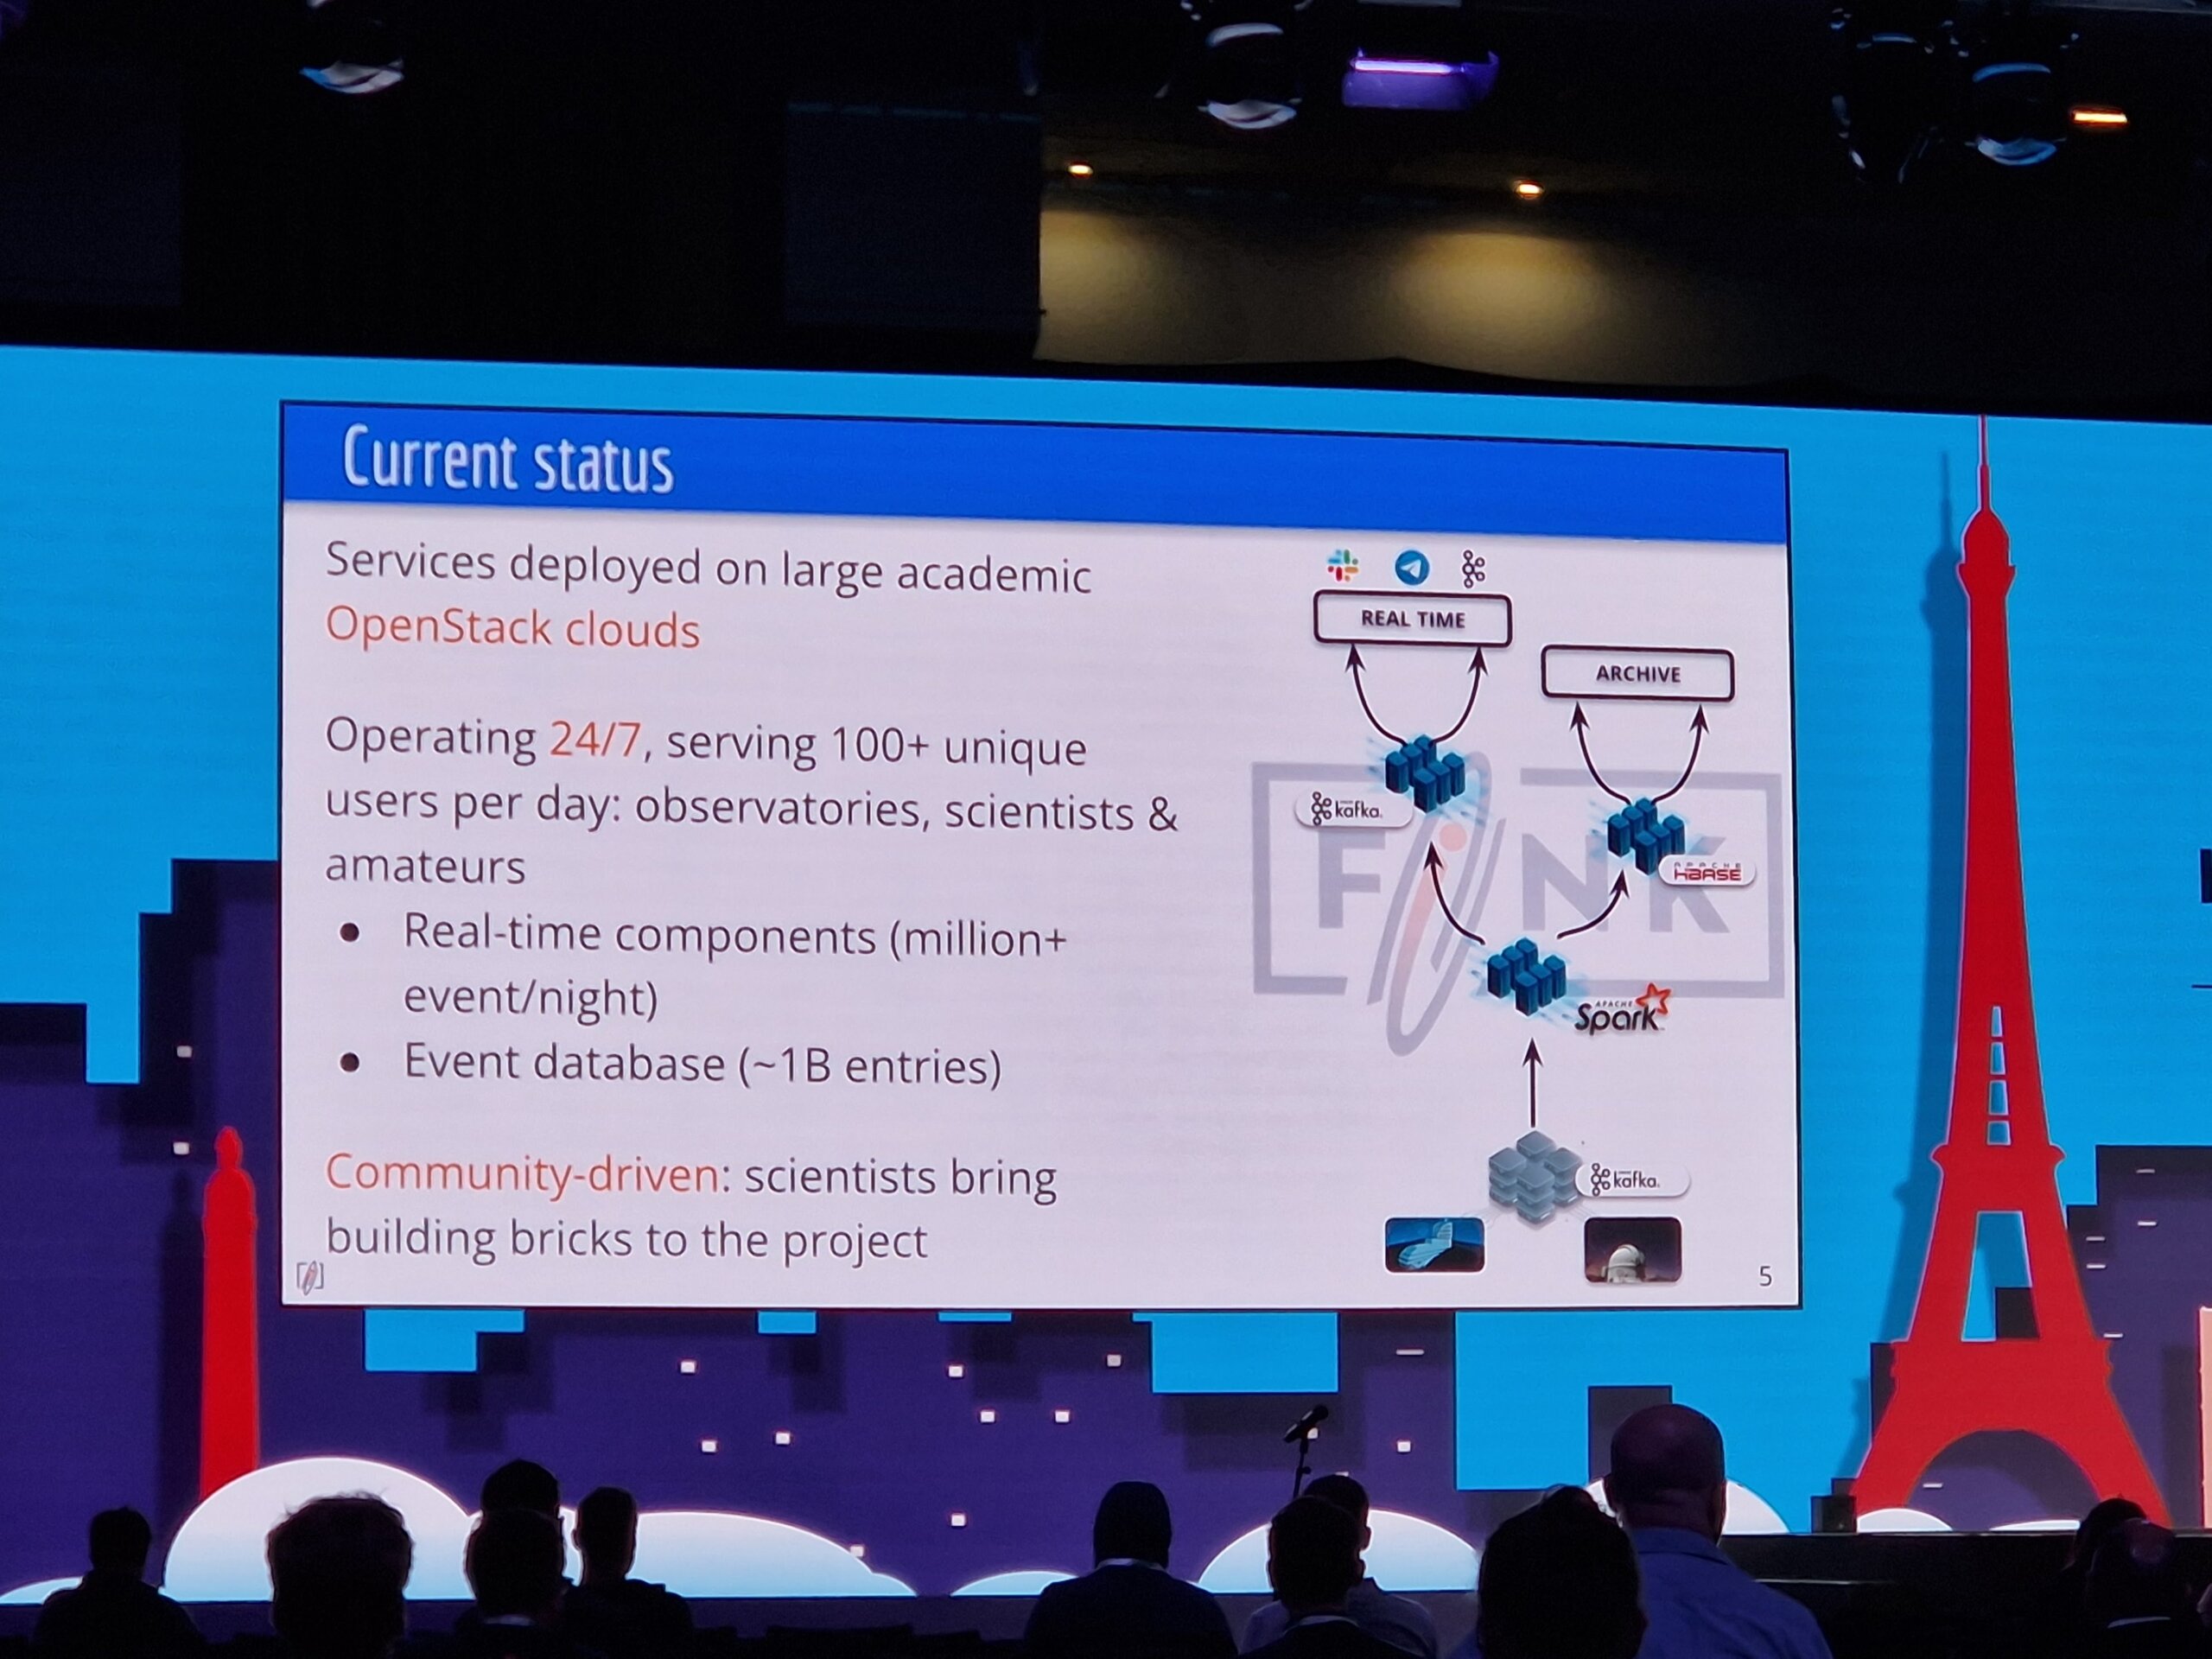
The maintainers of Fink reported on “Fink on Kubernetes” and how the system is used to classify objects like astroids or supernovas in the field of astronomy.
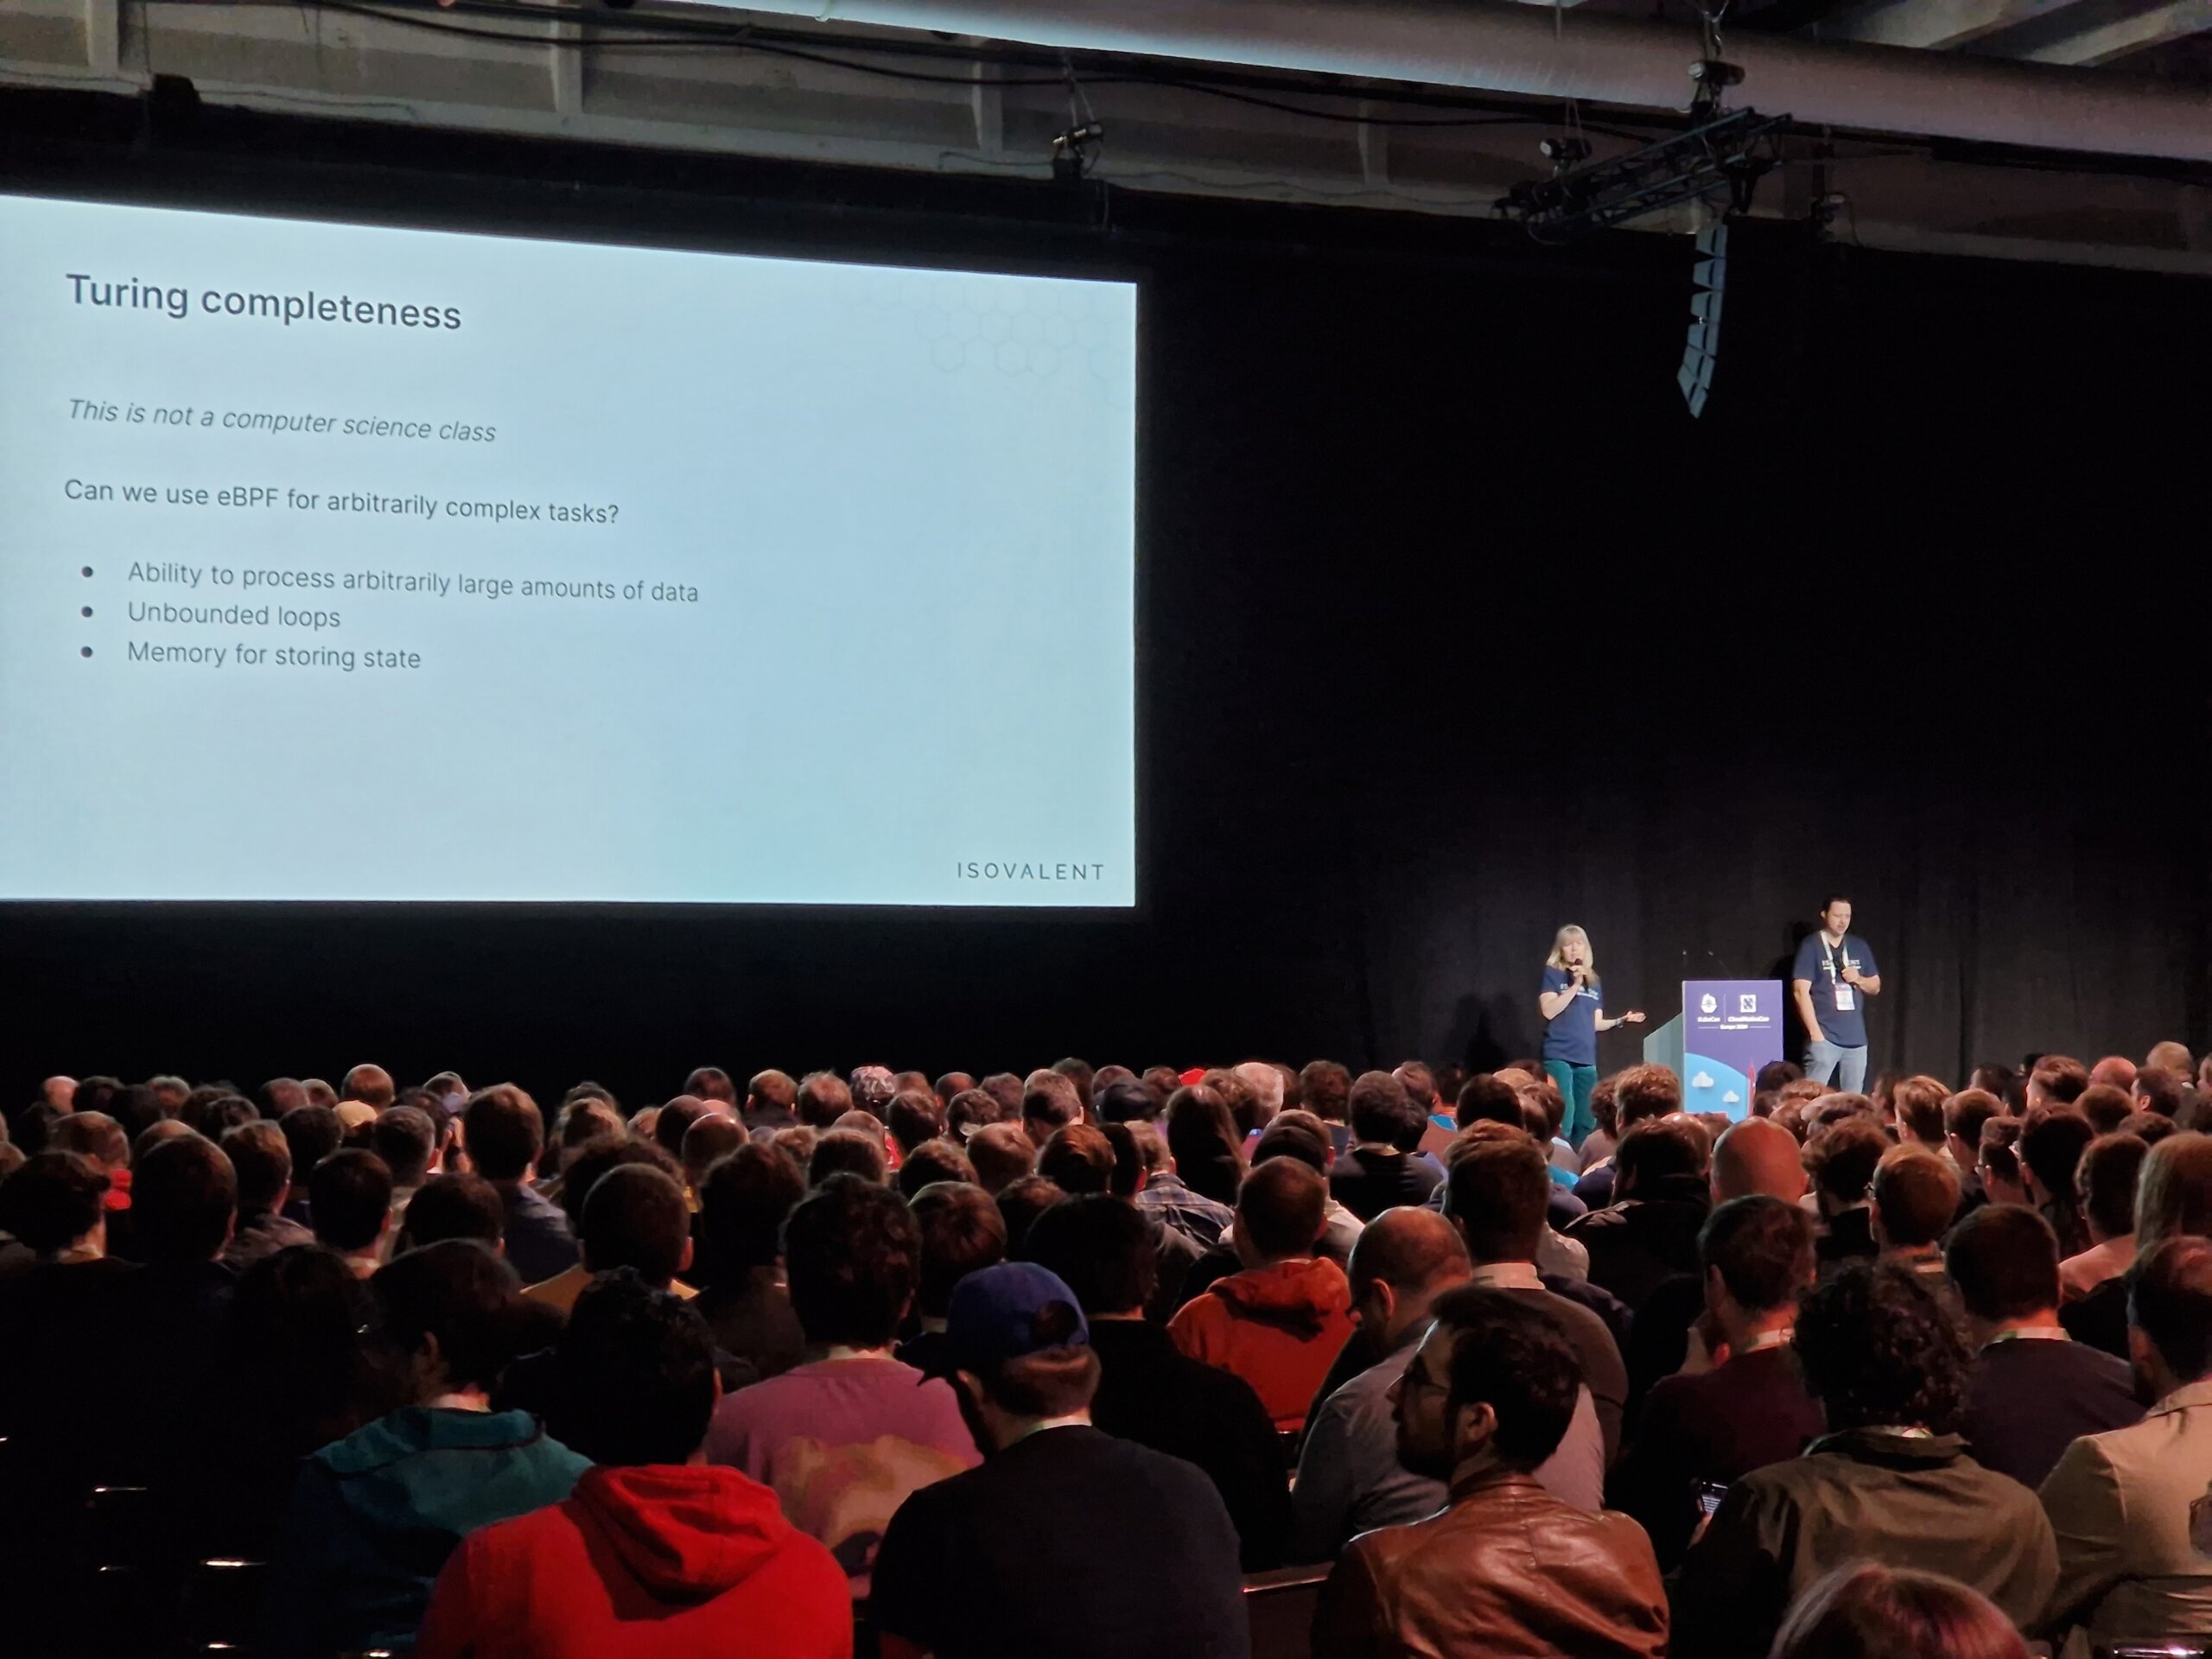
In the talk “eBPF: Abilities and Limitations”, not only general misconceptions were clarified, but also ways to work around existing limitations were pointed out. In addition, the question of whether eBPF touring is complete was raised and a version of Conway’s “Game of Life” in eBPF was presented.
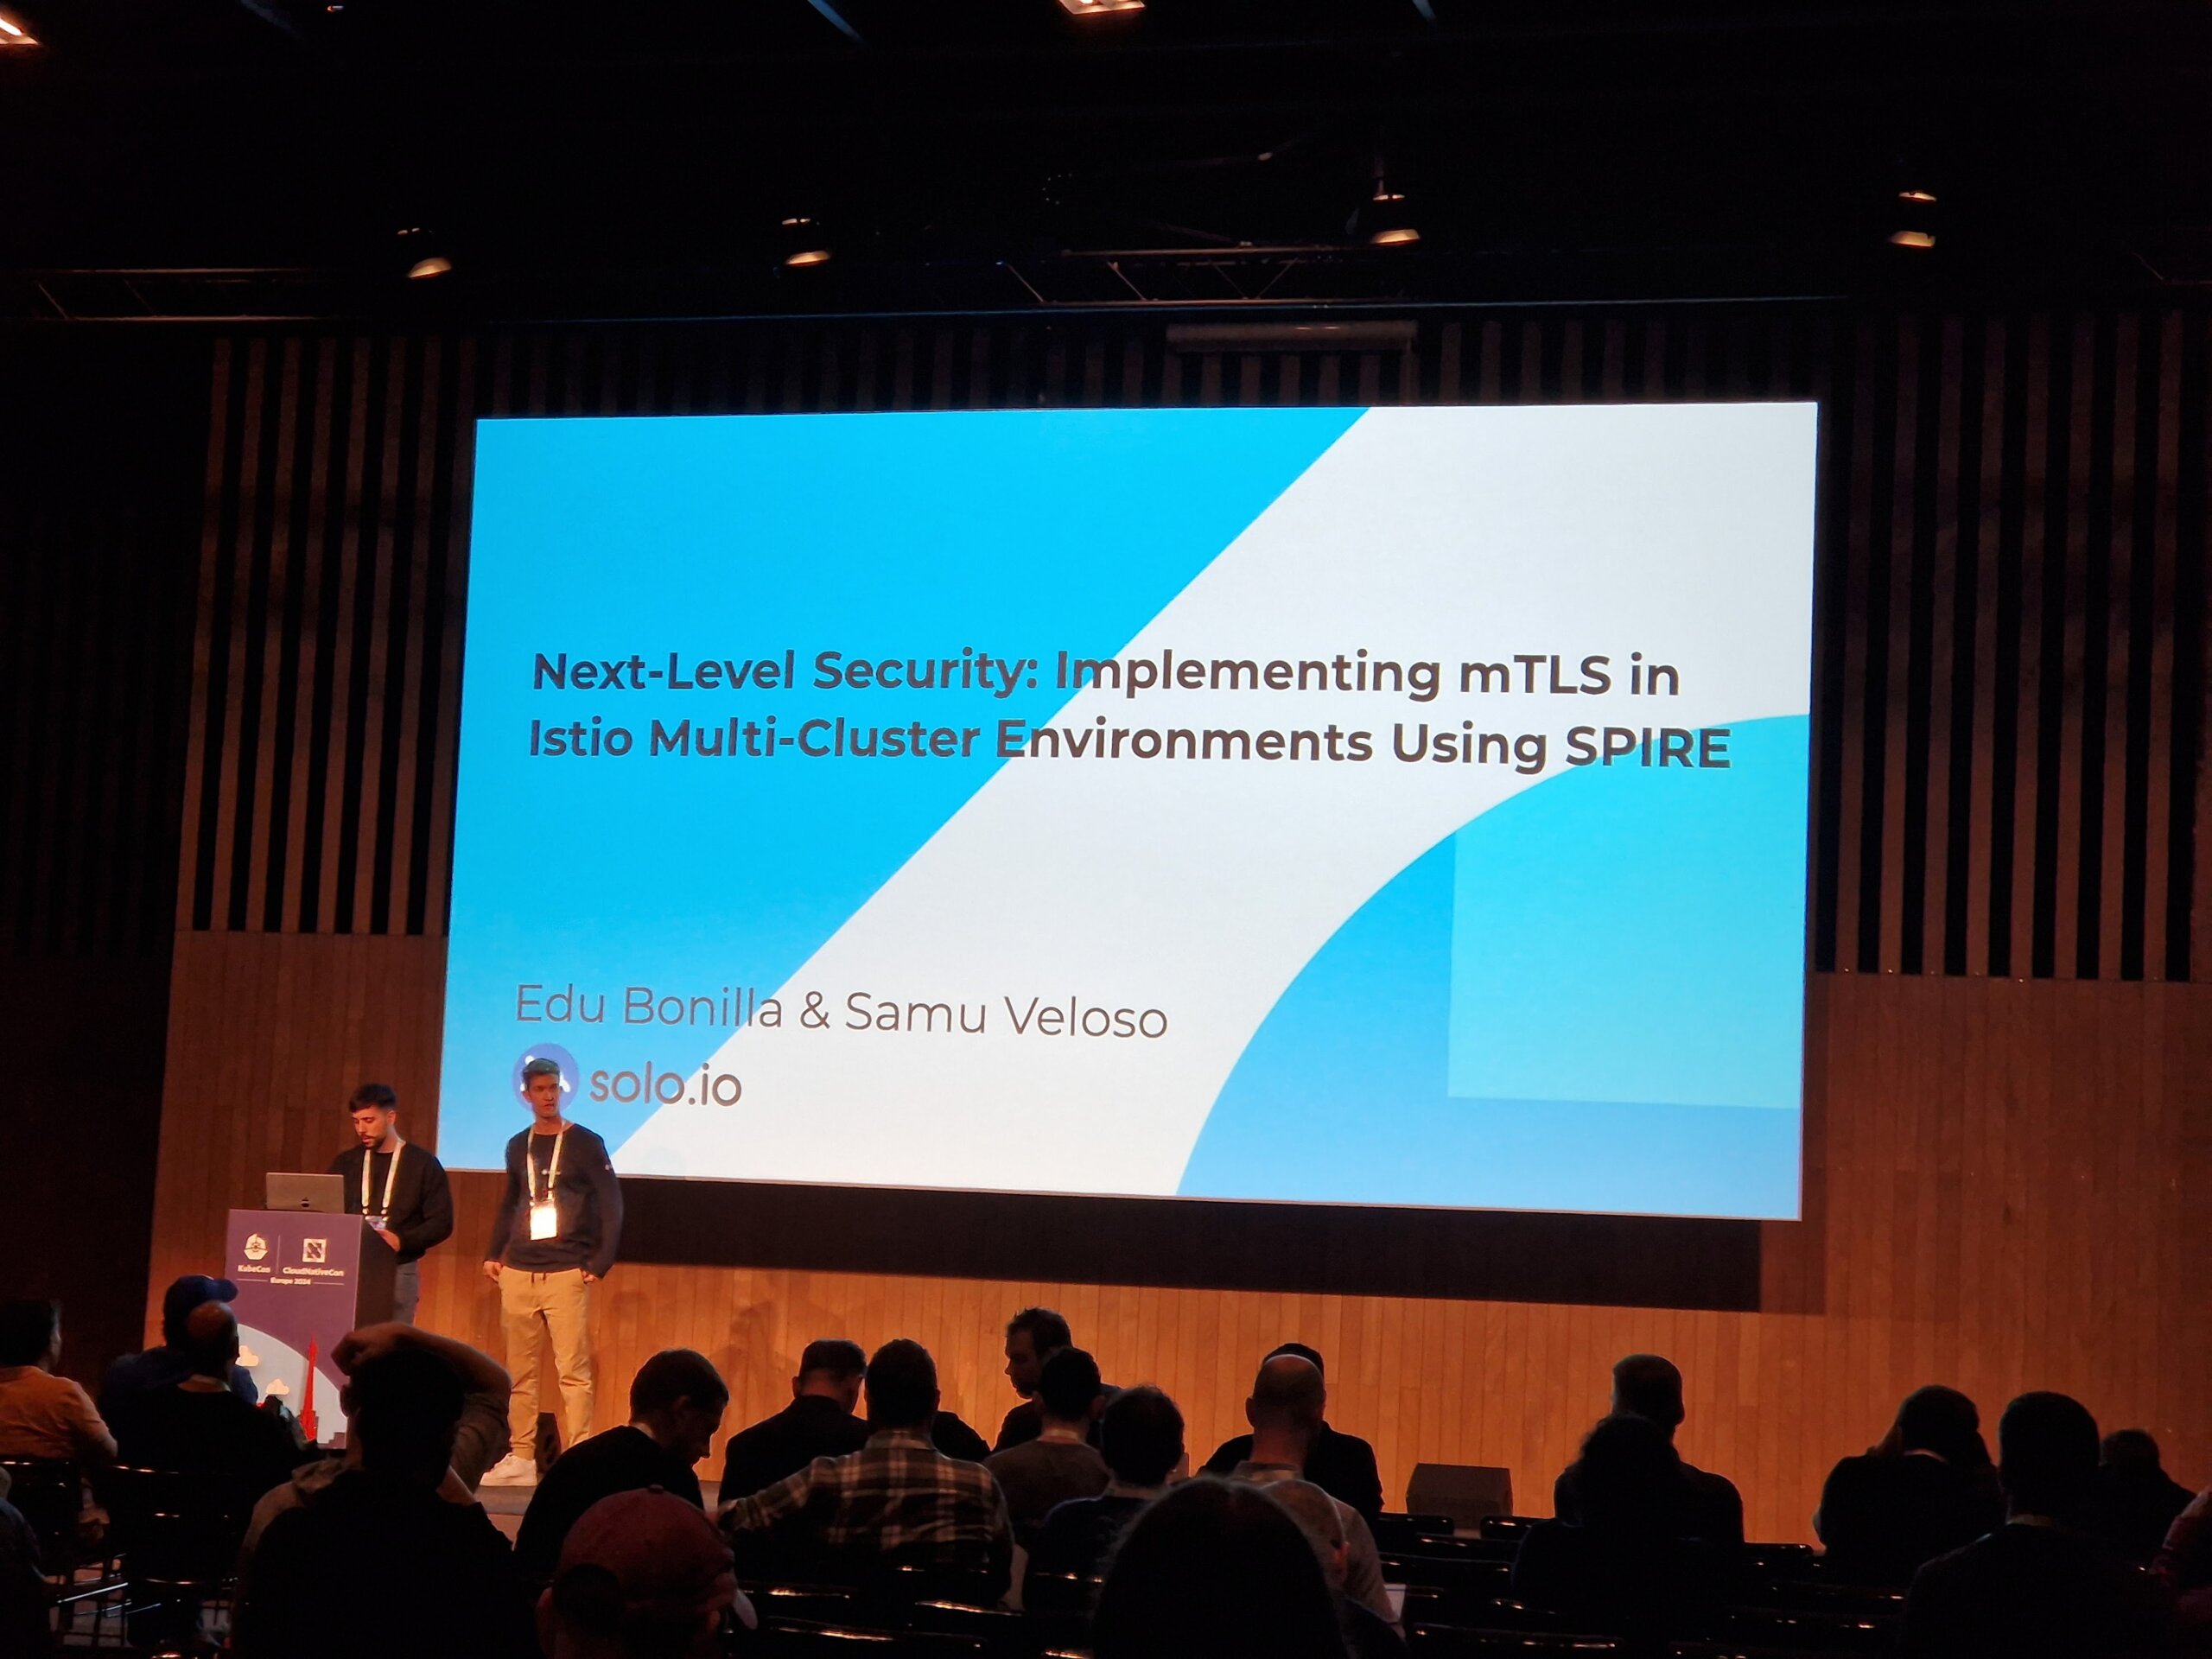
Those who have always wanted to know how Istio mTLS can be implemented in multi-cluster environments with the help of SPIRE found what they were looking for in room D. After a short introduction to SPIFFE and SPIRE, it was shown how Istio components can be connected to the SPIRE agent.
Maintainers of operator-sdk talked about current innovations in operator-SDK and OLM V1. Particularly interesting were the changes in the Operator Lifecycle Manger that have been introduced in version 1 (previously version 0). Among other things, OLM v1 is now able to manage packaged operators via Helm, even without prior preparation by the operator maintainers.
Conclusion
In addition to many interesting talks, there were plenty of opportunities for lively discussions with other conference attendees and exchanges with exhibitors or project maintainers.
We are already looking forward to KubeCon 2025 in London!


Introduction

For the first time ever, one of our colleagues had the chance to visit the North American edition of KubeCon and CloudNativeCon in Chicago this year.
Our colleague Michael Sprengel who already works 8 years for credativ and has gained a lot of experiences with Kubernetes and the development of Kubernetes controllers in that time, is sharing his experiences from KubeCon and CloudNativeCon North America 2023.
So with no further ado, let’s hand it over to our colleague Michael.
Come fly with me back to Chicago
Hi folks, my name is Michael Sprengel – Professional Service Consultant here at credativ – and I want to share my experiences with you from this year’s KubeCon / CloudNativeCon in North America. So come with me and let me give you a first person view of all the talks and things that I was able to experience here in Chicago. You may not had the chance to visit the North American edition of KubeCon so far, so this is the best chance for you to get some insights which could make you think of also attending KubeCon and CloudNativeCon next year then.
Those editions will take place in Paris and Salt Lake City.
Chicago – The Windy City
The good thing about such conferences is not only the possibility to attend talks and learn about new technologies that you can use in daily projects but it’s also an opportunity to learn new cultures and leave with a bag full of new memories.
This year, the conference took place in Chicago that is also known as the Windy City. I was lucky enough to arrive on Saturday, so that I had a chance to pack my backpack and pay Chicago a visit a day before the conference started. Hereby, I was able to check some of Chicago’s well known sights like for example Lake Michigan or the mighty Millennium Park in the center of Downtown Chicago.
The only downfall to this was that Chicago’s Cloud Gate that is also known as The Bean. This landmark is currently under construction at, so that I could only take a picture through some construction fences. But other than that, the city has a lot to offer like Deep Dish and Thin Crust Pizza or some university you may want to visit. Chicago is definitely worth it.
Day 1: Operator Day

Besides of this wonderful city, the actual conference has also a lot to offer. If you’re lucky enough to get a All-access pass for KubeCon, you can already visit some CNCF-hosted Co-located events near the venue. But don’t worry. Even if you don’t have such a pass, you can attend some virtual events already.
For me personally, I attended the so called Operator Day by Canonical. It’s a full day event that takes place from 9am to 4pm. It gave me some pretty good insights in implementing Kubernetes operators the Canonical way by using Juju.
Unfortunately, the current edition from Chicago isn’t online so far, but you can check out the last Operator Day from Europe by watching the videos below:
You are currently viewing a placeholder content from Default. To access the actual content, click the button below. Please note that doing so will share data with third-party providers.
Day 2: First experiences from the venue
The second day was really mind blowing. If you never attended such a conference before, you will be surprised by the amount of talks as well as by the size of the actual venue.
After arriving at the venue, I had a chance to grab a breakfast and a coffee as well as attend the Opening Remarks in which leading Kubernetes and CNCF developers, engineers and ambassadors highlight the latest and greatest changes in Kubernetes and the CNCF space. Here, you could really feel how Machine Learning and AI is influencing Kubernetes and how features are added to this project to better support ML/AI.
Next to this, you have a big variety of talks that you can attend or you can go to the Solutions Showcase where all the major companies and sponsors have their booth. There, you can talk to maintainers or get in touch with companies that are using CNCF related projects or Kubernetes in their business. Typically some booths also offer so called Lightning Talks. These are like general talks but they tend to be shorter than the usual ones and they are mostly focusing on hands on sessions or live demos.

Day 3/4: Talks, talks and some more talks
In general, I was able to attend a lot of talks during the conference. Some of them were exactly what I was expecting and others however surprised me. Thereby, I visited the following talks:
Day 1
- 15,000 Minecraft Players Vs One K8s Cluster. Who Wins? – Justin Head, Super League Gaming; Cornelia Davis, Spectro Cloud
- It’s Never Too Late for PKI – Fundamentals: Building a Mental Model – Jacki Elliott, Microsoft
- High Performance, Low Latency Networking for Edge & Telco – Nupur Jain, Intel; Ian Coolidge, Google
- Take it to the Edge: Creating a Globally Distributed Ingress with Istio & K8gb – Jimmy Dyson, D2iQ
- Building Better Controllers – John Howard, Google
- Service Mesh Battle Scars: Techology, Timing and Tradeoffs – Lin Sun, solo.io; John Howard, Google; Thomas Graf, Isovalent; Flynn, Buoyant; Keith Mattix, Microsoft
Day 2
- Apply the Can Opener of Enlightenment: Lifting the Lid off Kubernetes Networking – Joe Thompson, HashiCorp
- Everything Is Code: Embracing GitOps at Spotify – Tim Hansen, Spotify
- Learning Kubernetes by Chaos – Breaking a Kuberntes Cluster to Understand the Components – Ricardo Katz, VMWare; Anderson Duboc, Google Cloud
- TikTok’s Global Service Accelerator – Vikram Si Siwach, TikTok/Bytedance
- Modern Load Balancing, Improving Application’s Resource Availability and Performance – Antonio Ojea, Google; Gerrit DeWitt, Google
- Istio: The Past, Present and Future of the Project and Community – Louis Ryan, solo.io; John Howard, Google
Day 3
- Insights and Gotchas from the Zero-Downtime Migration of 10000+ Cloud Hosted Etcd Key-Value Stores – Prabhakar Palanivel, Oracle Corporation
- Sidecar Containers Are Built-in to Kubernetes: What, How, and Why Now? – Todd Neal, Amazon; Sergey Kanzhelev, Google
- Cilium: From Service Mesh to Kubernetes and Beyond with eBPF – James McShane, SuperOrbital; Hmanth Malla, Datadog; Liz Rice, Isovalent; Thomas Graf, Isovalent
- Automate Production-Ready Cluster Using Crossplane Compositions and Kyverno – Dolis Sharma, Nirmata

The Service Mesh Battle Scars talk was one of the talks that surprised me, because it was basically and public battle between the maintainers of the biggest Service Mesh solutions in Kubernetes.
- Cilium
- Istio
- linkerd
It surprised me because it was quite interesting to see how each of those projects were arguing differently to specific topics like transport encryption as well as Sidecar, Sideless or Ambient mode. As an attendee, you could really get a feeling of what thoughts each project put into specific topics before realizing them. Especially the topic about encryption caught my attention. Istio and linkerd simply use mTLS for encryption, whereas Cilium now tries to use TLS for the initial handshake while using the resulting encryption key for IPSec to implement transport encryption. This concept led to a heavy discussion if this approach is still considered to be secure since Cilium is only reusing some part of TLS instead of using it completely and usually reusing well known and accepted security algorithms is always preferred in modern IT.
Next to this, it was also pleasing to attend the Spotify talk in which Tim Hansen explained how the engineers at Spotify implement GitOps and what effort it takes to create a new project / repository that should be deployed on production. Spotify uses some self-written solutions to achieve this and overcome some limitation that already existing solutions might have. For building and deploying for example, Spotify uses their own CI/CD solution Tingle. Tingle was created in 2017 to serve as the centralized CI/CD system for backend, data and web services and it thereby replaced 200 stand-alone Jenkins machines. More information about this, can be found here:
You are currently viewing a placeholder content from Default. To access the actual content, click the button below. Please note that doing so will share data with third-party providers.
Although this talk mainly focused on Spotify and their GitOps tools, the presenter also showcased open source tools which helps to accomplish similar functionality without relying on Spotify’s own tools.
Overall, the majority of talks really helped me to broaden my knowledge regarding Kubernetes and the solutions out there. Only some talks didn’t match my expectation, but even then you still have plenty of other talks to choose from.
Get the first person view
If you want to get an idea of how such a conference looks like, I create three videos which let you experience the conference similar to what I was able to experience. Give it a try and visit KubeCon and CloudNativeCon 2023 with me again!
Conclusion
Having the opportunity to travel to Chicago and experience KubeCon and CloudNativeCon for the first time was an one in the lifetime experiences. You not only have the chance to get insights to so many CNCF related projects but it’s also a good opportunity to get in touch with developers, engineers, managers and other people who use Kubernetes on daily basis. If you have the chance to visit such a conference, I would highly recommend to take the chance and attend them.
On KubeCon and CloudNativeCon, I learned a lot about new stuff and got an idea of design decision that probably will help me to solve some upcoming challenges in one of my own projects and which I wouldn’t know about if I hadn’t attended this conference. Thereby, one quote from Dr. Angel Diaz, VP Technology Capabilities & Innovation at Discover Financial Services really stick to my head:
Code, Community, Culture
And this is what it’s all about. You not only learn new stuff that you can use in your code, but you become a part of a community and get use to a culture which enables you to contribute to projects that are the baseline of most of our daily projects.
With a lot of Deep Dish Pizza in my stomach and a lot of new knowledge in my head, I’m happy to return from KubeCon North America and start working on my Kubernetes projects again.
Thanks for sticking around with me and I hope to see you on next year’s KubeCon and CloudNativeCon, too.

And by the way, if you’re searching for experts in Kubernetes and CNCF related topics, give our sales department a call and we might be able to help you with that.


In this article we will look at the highly available operation of PostgreSQL® in a Kubernetes environment. A topic that is certainly of particular interest to many of our PostgreSQL® users.
Together with our partner company MayaData, we will demonstrate below the application possibilities and advantages of the extremely powerful open source project – OpenEBS.
OpenEBS is a freely available storage management system, whose development is supported and backed by MayaData.
We would like to thank Murat-Karslioglu from MayaData and our colleague Adrian Vondendriesch for this interesting and helpful article. This article simultaneously also appeared on OpenEBS.io.
PostgreSQL® anywhere — via Kubernetes with some help from OpenEBS and credativ engineering
by Murat Karslioglu, OpenEBS and Adrian Vondendriesch, credativ
Introduction
If you are already running Kubernetes on some form of cloud whether on-premises or as a service, you understand the ease-of-use, scalability and monitoring benefits of Kubernetes — and you may well be looking at how to apply those benefits to the operation of your databases.
PostgreSQL® remains a preferred relational database, and although setting up a highly available Postgres cluster from scratch might be challenging at first, we are seeing patterns emerging that allow PostgreSQL® to run as a first class citizen within Kubernetes, improving availability, reducing management time and overhead, and limiting cloud or data center lock-in.
There are many ways to run high availability with PostgreSQL®; for a list, see the PostgreSQL® Documentation. Some common cloud-native Postgres cluster deployment projects include Crunchy Data’s, Sorint.lab’s Stolon and Zalando’s Patroni/Spilo. Thus far we are seeing Zalando’s operator as a preferred solution in part because it seems to be simpler to understand and we’ve seen it operate well.
Some quick background on your authors:
- OpenEBS is a broadly deployed OpenSource storage and storage management project sponsored by MayaData.
- credativ is a leading open source support and engineering company with particular depth in PostgreSQL®.
In this blog, we’d like to briefly cover how using cloud-native or “container attached” storage can help in the deployment and ongoing operations of PostgreSQL® on Kubernetes. This is the first of a series of blogs we are considering — this one focuses more on why users are adopting this pattern and future ones will dive more into the specifics of how they are doing so.
At the end you can see how to use a Storage Class and a preferred operator to deploy PostgreSQL® with OpenEBS underlying
If you are curious about what container attached storage of CAS is you can read more from the Cloud Native Computing Foundation (CNCF) here.
Conceptually you can think of CAS as being the decomposition of previously monolithic storage software into containerized microservices that themselves run on Kubernetes. This gives all the advantages of running Kubernetes that already led you to run Kubernetes — now applied to the storage and data management layer as well. Of special note is that like Kubernetes, OpenEBS runs anywhere so the same advantages below apply whether on on-premises or on any of the many hosted Kubernetes services.
PostgreSQL® plus OpenEBS
®-with-OpenEBS-persistent-volumes.png”> (for cluster deployment)
Install OpenEBS
- If OpenEBS is not installed in your K8s cluster, this can be done from here. If OpenEBS is already installed, go to the next step.
- Connect to MayaOnline (Optional): Connecting the Kubernetes cluster to MayaOnline provides good visibility of storage resources. MayaOnline has various support options for enterprise customers.
Configure cStor Pool
- If cStor Pool is not configured in your OpenEBS cluster, this can be done from here. As PostgreSQL® is a StatefulSet application, it requires a single storage replication factor. If you prefer additional redundancy you can always increase the replica count to 3.
During cStor Pool creation, make sure that the maxPools parameter is set to >=3. If a cStor pool is already configured, go to the next step. Sample YAML named openebs-config.yaml for configuring cStor Pool is provided in the Configuration details below.
openebs-config.yaml
#Use the following YAMLs to create a cStor Storage Pool.
# and associated storage class.
apiVersion: openebs.io/v1alpha1
kind: StoragePoolClaim
metadata:
 name: cstor-disk
spec:
 name: cstor-disk
 type: disk
 poolSpec:
 poolType: striped
 # NOTE — Appropriate disks need to be fetched using `kubectl get disks`
 #
 # `Disk` is a custom resource supported by OpenEBS with `node-disk-manager`
 # as the disk operator
# Replace the following with actual disk CRs from your cluster `kubectl get disks`
# Uncomment the below lines after updating the actual disk names.
 disks:
 diskList:
# Replace the following with actual disk CRs from your cluster from `kubectl get disks`
# — disk-184d99015253054c48c4aa3f17d137b1
# — disk-2f6bced7ba9b2be230ca5138fd0b07f1
# — disk-806d3e77dd2e38f188fdaf9c46020bdc
# — disk-8b6fb58d0c4e0ff3ed74a5183556424d
# — disk-bad1863742ce905e67978d082a721d61
# — disk-d172a48ad8b0fb536b9984609b7ee653
 — -
Create Storage Class
- You must configure a StorageClass to provision cStor volume on a cStor pool. In this solution, we are using a StorageClass to consume the cStor Pool which is created using external disks attached on the Nodes. The storage pool is created using the steps provided in the Configure StoragePool section. In this solution, PostgreSQL® is a deployment. Since it requires replication at the storage level the cStor volume replicaCount is 3. Sample YAML named openebs-sc-pg.yaml to consume cStor pool with cStorVolume Replica count as 3 is provided in the configuration details below.
openebs-sc-pg.yaml
apiVersion: storage.k8s.io/v1
kind: StorageClass
metadata:
  name: openebs-postgres
  annotations:
    openebs.io/cas-type: cstor
    cas.openebs.io/config: |
      - name: StoragePoolClaim
        value: "cstor-disk"
      - name: ReplicaCount
        value: "3"
provisioner: openebs.io/provisioner-iscsi
reclaimPolicy: Delete
---
Launch and test Postgres Operator
- Clone Zalando’s Postgres Operator.
git clone https://github.com/zalando/postgres-operator.git
cd postgres-operator
Use the OpenEBS storage class
- Edit manifest file and add openebs-postgres as the storage class.
nano manifests/minimal-postgres-manifest.yaml
After adding the storage class, it should look like the example below:
apiVersion: "acid.zalan.do/v1"
kind: postgresql
metadata:
  name: acid-minimal-cluster
  namespace: default
spec:
  teamId: "ACID"
  volume:
    size: 1Gi
    storageClass: openebs-postgres
  numberOfInstances: 2
  users:
    # database owner
    zalando:
    - superuser
    - createdb

# role for application foo
    foo_user: []

#databases: name->owner
  databases:
    foo: zalando
  postgresql:
    version: "10"
    parameters:
      shared_buffers: "32MB"
      max_connections: "10"
      log_statement: "all"
Start the Operator
- Run the command below to start the operator
kubectl create -f manifests/configmap.yaml # configuration
kubectl create -f manifests/operator-service-account-rbac.yaml # identity and permissions
kubectl create -f manifests/postgres-operator.yaml # deployment
Create a Postgres cluster on OpenEBS
Optional: The operator can run in a namespace other than default. For example, to use the test namespace, run the following before deploying the operator’s manifests:
kubectl create namespace test
kubectl config set-context $(kubectl config current-context) — namespace=test
- Run the command below to deploy from the example manifest:
kubectl create -f manifests/minimal-postgres-manifest.yaml
2. It only takes a few seconds to get the persistent volume (PV) for the pgdata-acid-minimal-cluster-0 up. Check PVs created by the operator using the kubectl get pv command:
$ kubectl get pv
NAME CAPACITY ACCESS MODES RECLAIM POLICY STATUS CLAIM STORAGECLASS REASON AGE
pvc-8852ceef-48fe-11e9–9897–06b524f7f6ea 1Gi RWO Delete Bound default/pgdata-acid-minimal-cluster-0 openebs-postgres 8m44s
pvc-bfdf7ebe-48fe-11e9–9897–06b524f7f6ea 1Gi RWO Delete Bound default/pgdata-acid-minimal-cluster-1 openebs-postgres 7m14s
Connect to the Postgres master and test
- If it is not installed previously, install psql client:
sudo apt-get install postgresql-client
2. Run the command below and note the hostname and host port.
kubectl get service — namespace default |grep acid-minimal-cluster
3. Run the commands below to connect to your PostgreSQL® DB and test. Replace the [HostPort] below with the port number from the output of the above command:
export PGHOST=$(kubectl get svc -n default -l application=spilo,spilo-role=master -o jsonpath="{.items[0].spec.clusterIP}")
export PGPORT=[HostPort]
export PGPASSWORD=$(kubectl get secret -n default postgres.acid-minimal-cluster.credentials -o ‘jsonpath={.data.password}’ | base64 -d)
psql -U postgres -c ‘create table foo (id int)’
Congrats you now have the Postgres-Operator and your first test database up and running with the help of cloud-native OpenEBS storage.
Partnership and future direction
As this blog indicates, the teams at MayaData / OpenEBS and credativ are increasingly working together to help organizations running PostgreSQL® and other stateful workloads. In future blogs, we’ll provide more hands-on tips.
We are looking for feedback and suggestions on where to take this collaboration. Please provide feedback below or find us on Twitter or on the OpenEBS slack community.