Initial situation
Some time ago, Bitnami announced that it would be switching its public container repositories.
Bitnami is known for providing both Helm charts and container images for a wide range of applications. These include Helm Charts and container images for Keycloak, the RabbitMQ cluster operator, and many more. Many of these charts and images are used by companies, private individuals, and open source projects.
Currently, the images provided by Bitnami are based on Debian. In the future, the images will be based on specially hardened distroless images.
A timeline of the changes, including FAQs, can be found on GitHub.
What exactly is changing?
According to Bitnami, the current Dockerhub Repo Bitnami will be converted on August 28, 2025. All images available up to that point will only be available within the Bitnami Legacy Repositories from that date onwards.
Some of the new secure images are already available at bitnamisecure. However, without a subscription, only a very small subset of images will be provided. Currently, there are 343 different repositories under bitnami – but only 44 under bitnamisecure (as of 2025-08-19). In addition, the new Secure Images are only available in the free version under their digests. The only tag available, “latest,” always points to the most recently provided image. The version behind it is not immediately apparent.
Action Required?
If you use Helm charts from Bitnami with container images from the current repository, action is required. Currently used Bitnami Helm charts mostly reference the (still) current repository.
Depending on your environment, the effects of the change may not be noticeable until a later date. For example, when restarting a container or pod, if the cached version of the image has been cleaned up or the pod was started on a node that does not have direct access (cache) to the image. If a container proxy is used to obtain the images, this may happen even later.
Required adjustments
If you want to ensure that the images currently in use can continue to be obtained, you should switch to the Bitnami Legacy Repository. This is already possible.
Affected Helm charts can be patched with adjusted values files, for example.
Unfortunately, the adjustments mentioned above are only a quick fix. If you want to use secure and updated images in the long term, you will have to make the switch.
This may mean switching to an alternative Helm chart or container image, accepting the new conditions of the bitnamisecure repository, or paying for the convenience you have enjoyed so far.
What are the alternatives?
For companies that are not prepared to pay the new license fees, there are various alternatives:
- Build your own container images: Companies can create their own container images based on Dockerfiles and official base images.
- Open source alternatives: There are numerous open source projects that offer similar functionality to Bitnami. Examples include “Helm Hub” and “Artifact Hub”.
- Community charts: Many projects offer their own Helm charts, which are maintained by the community.
References

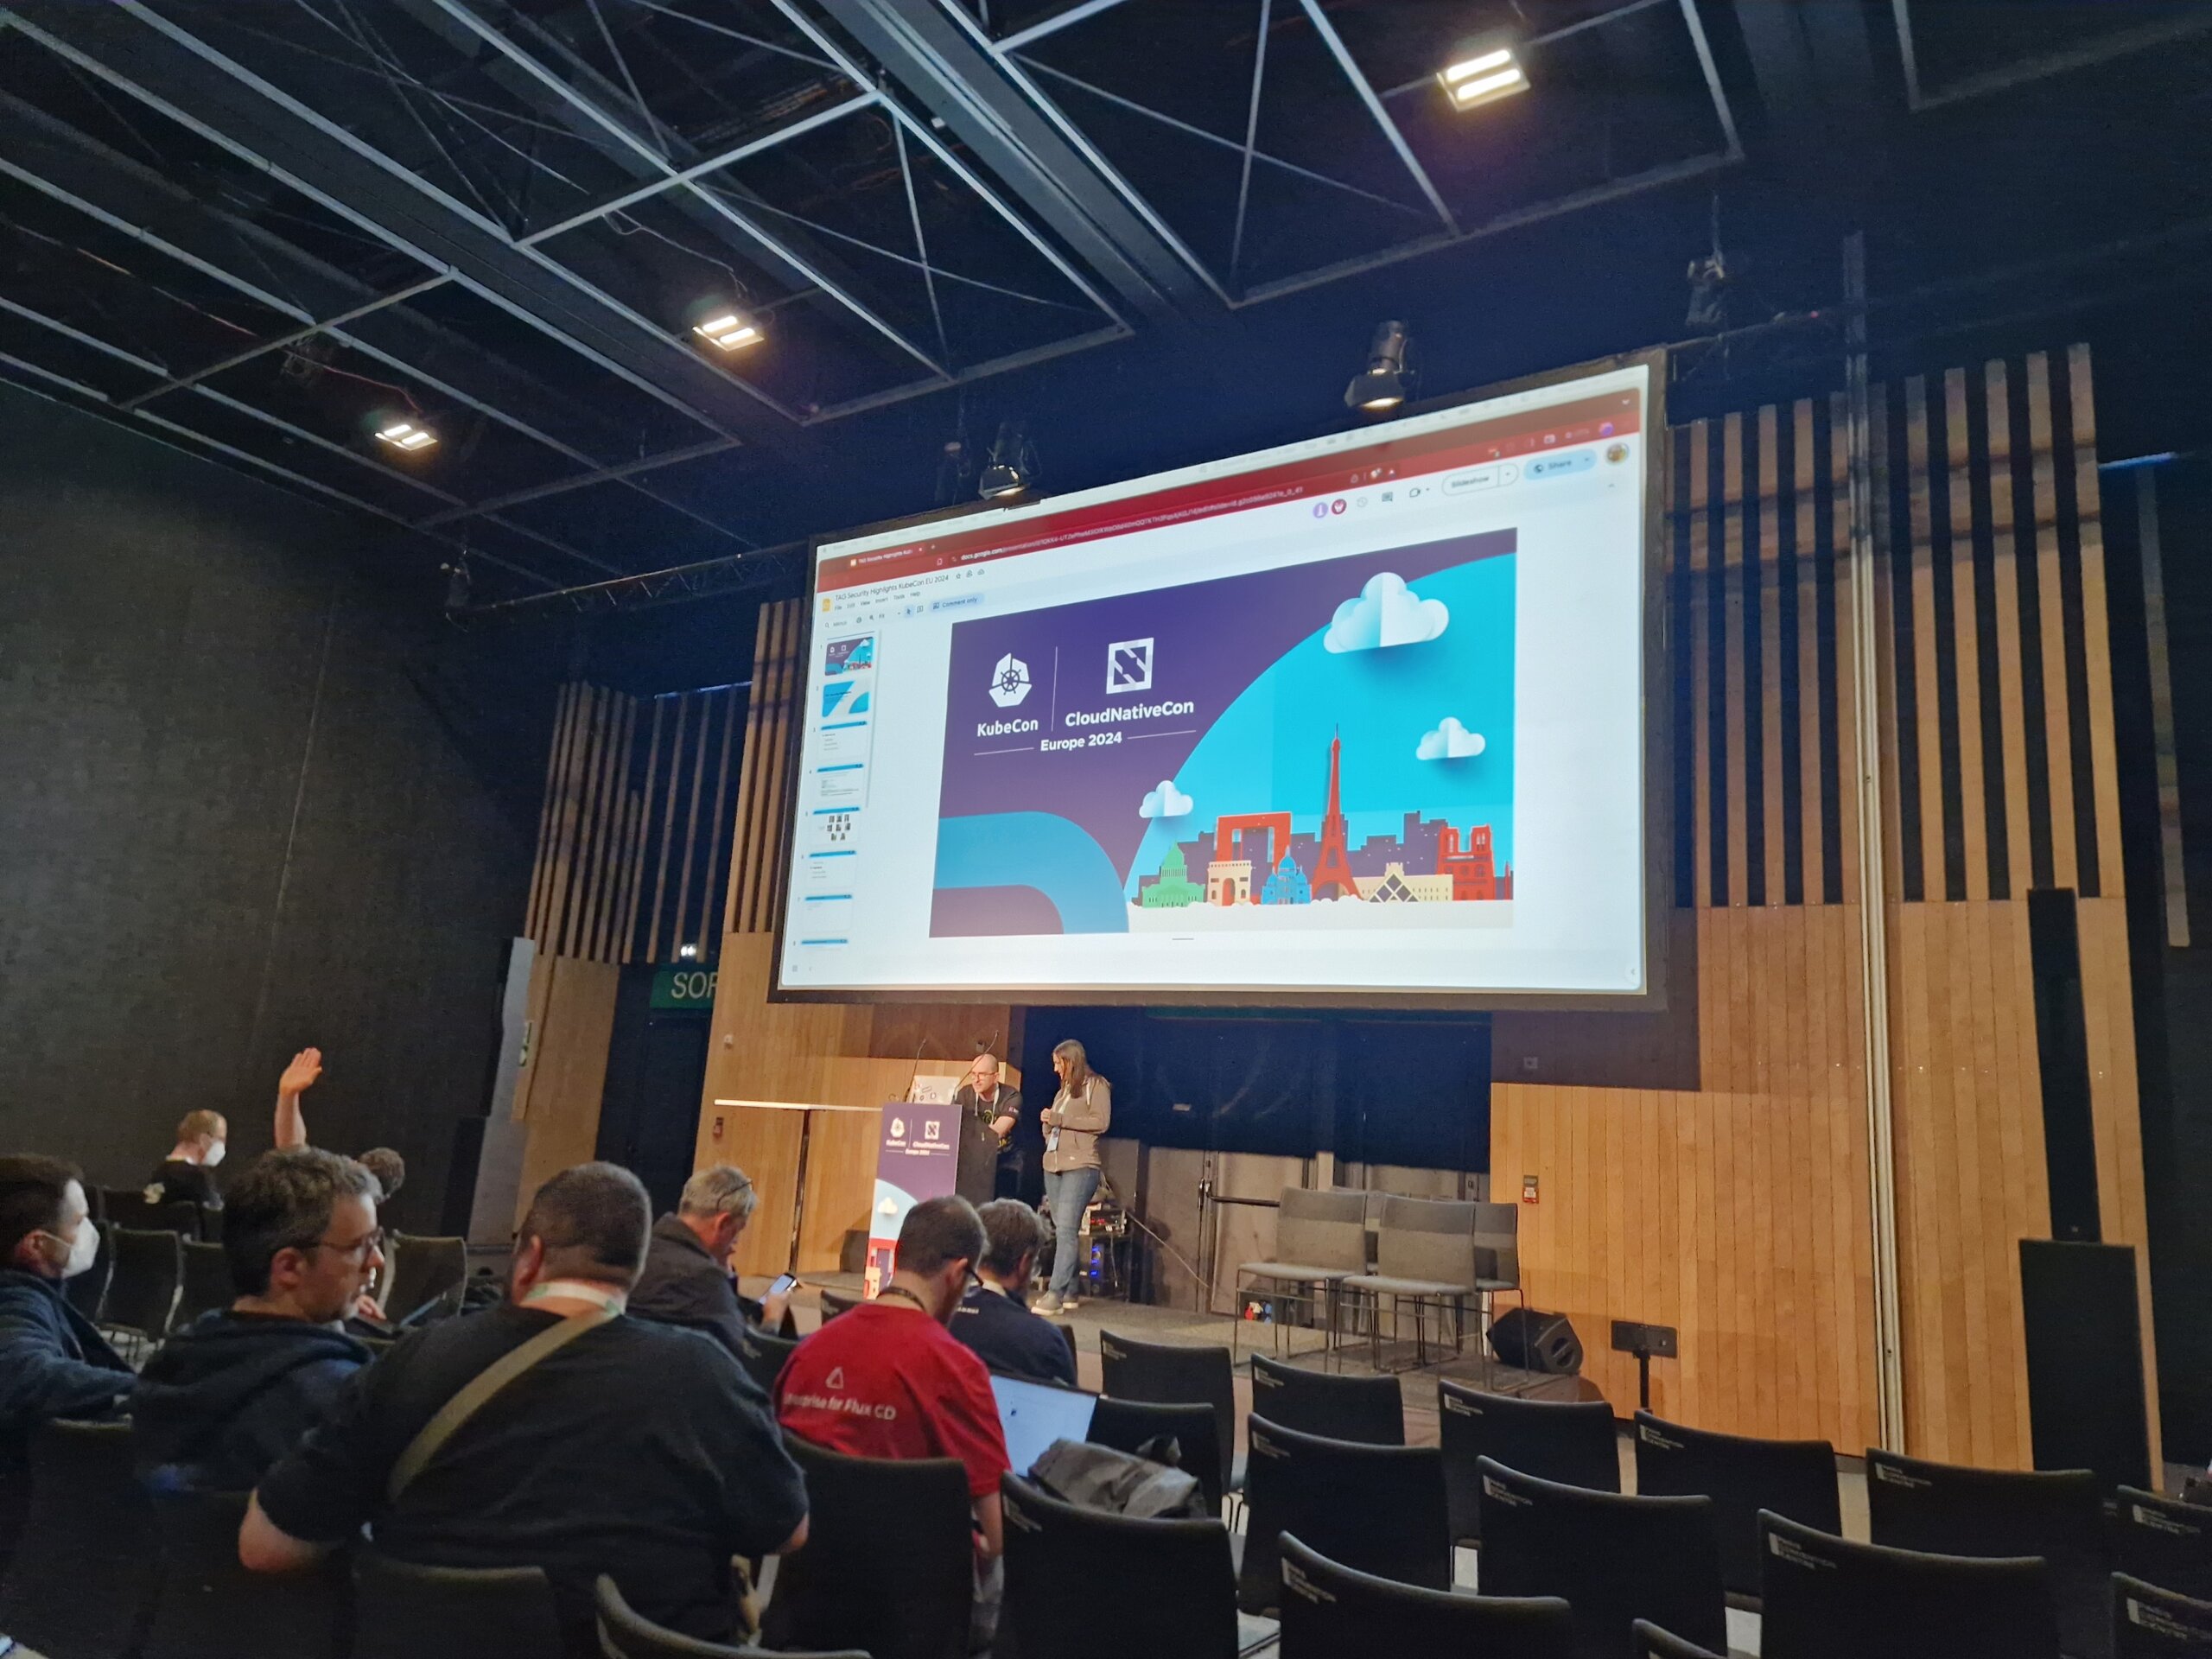
Once again a KubeCon has come to an end
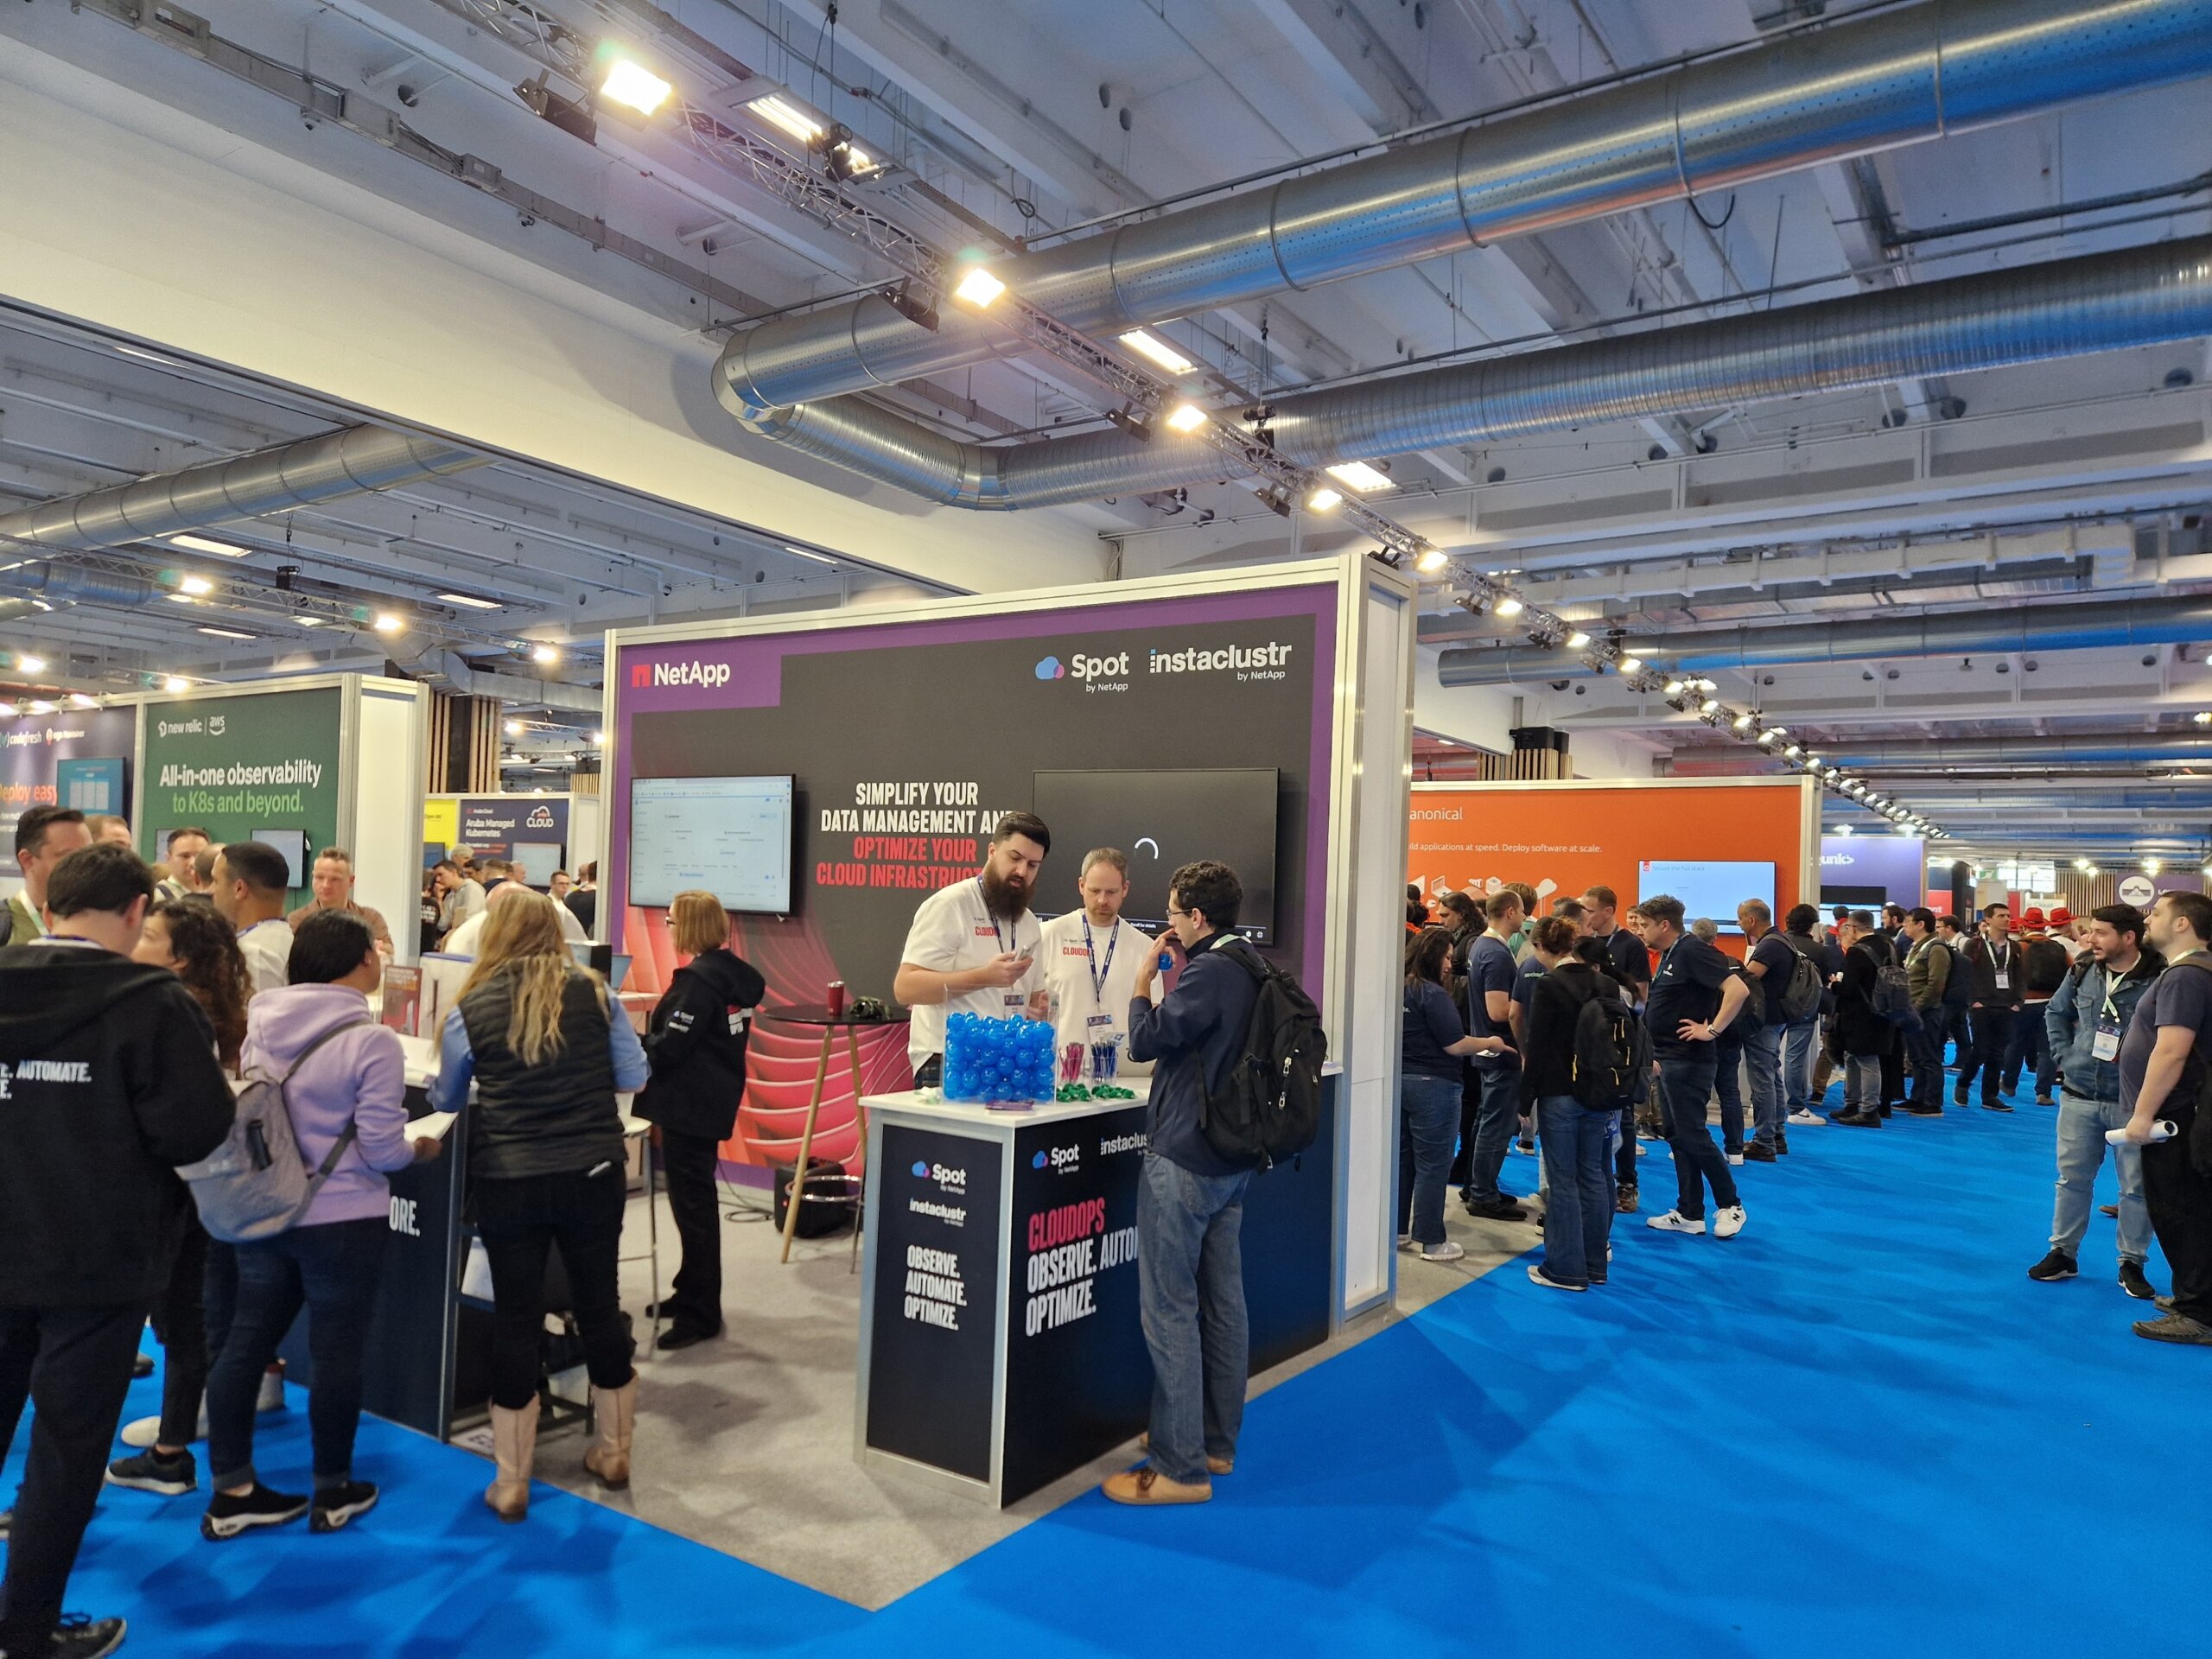
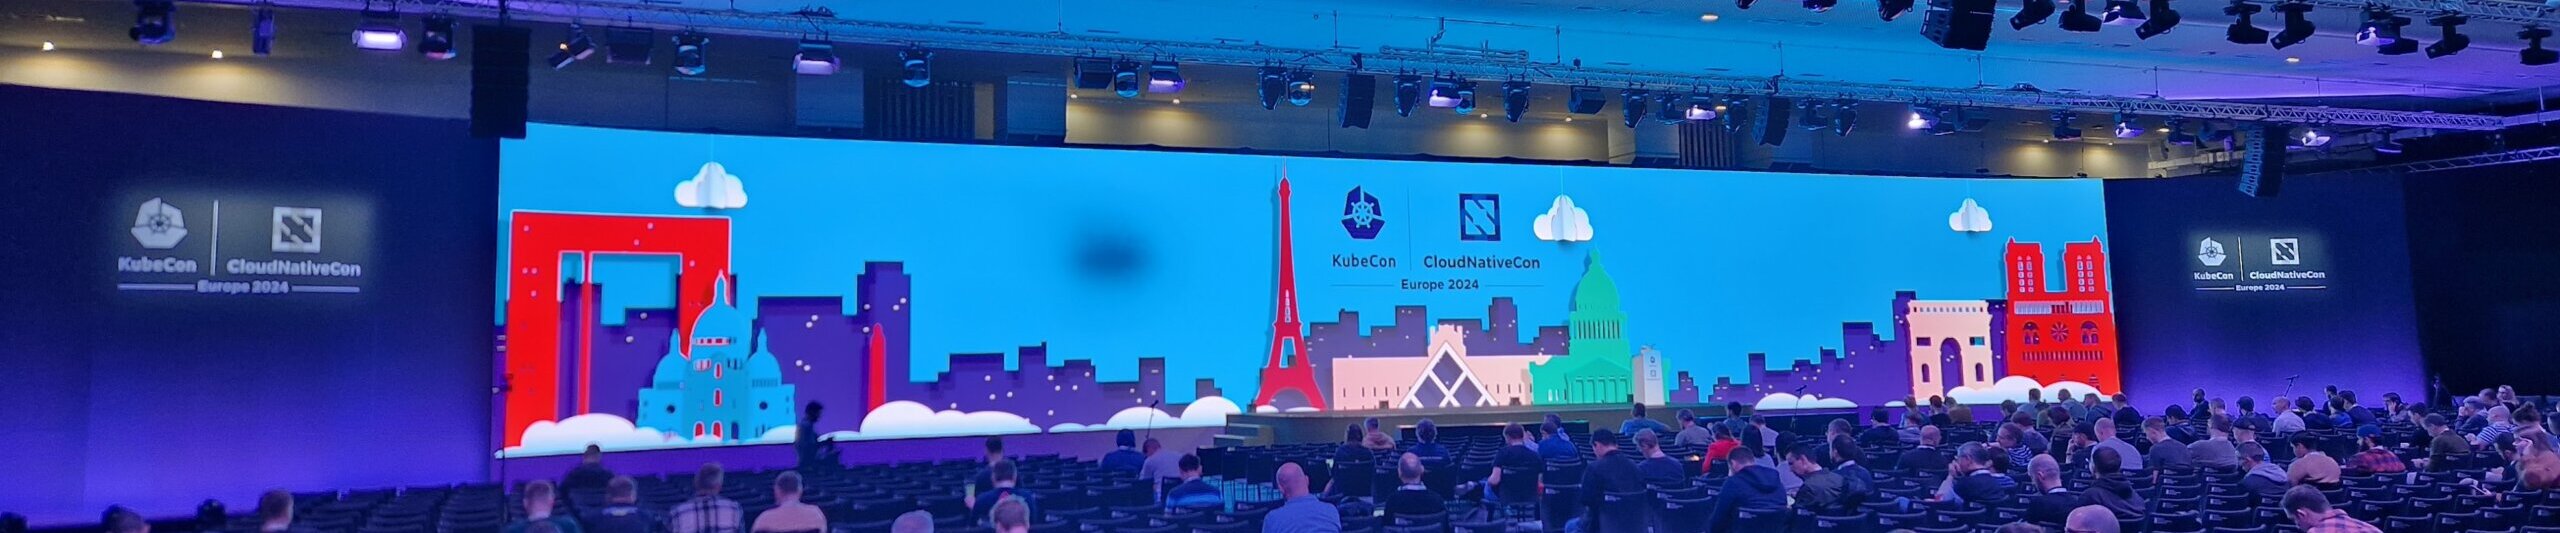
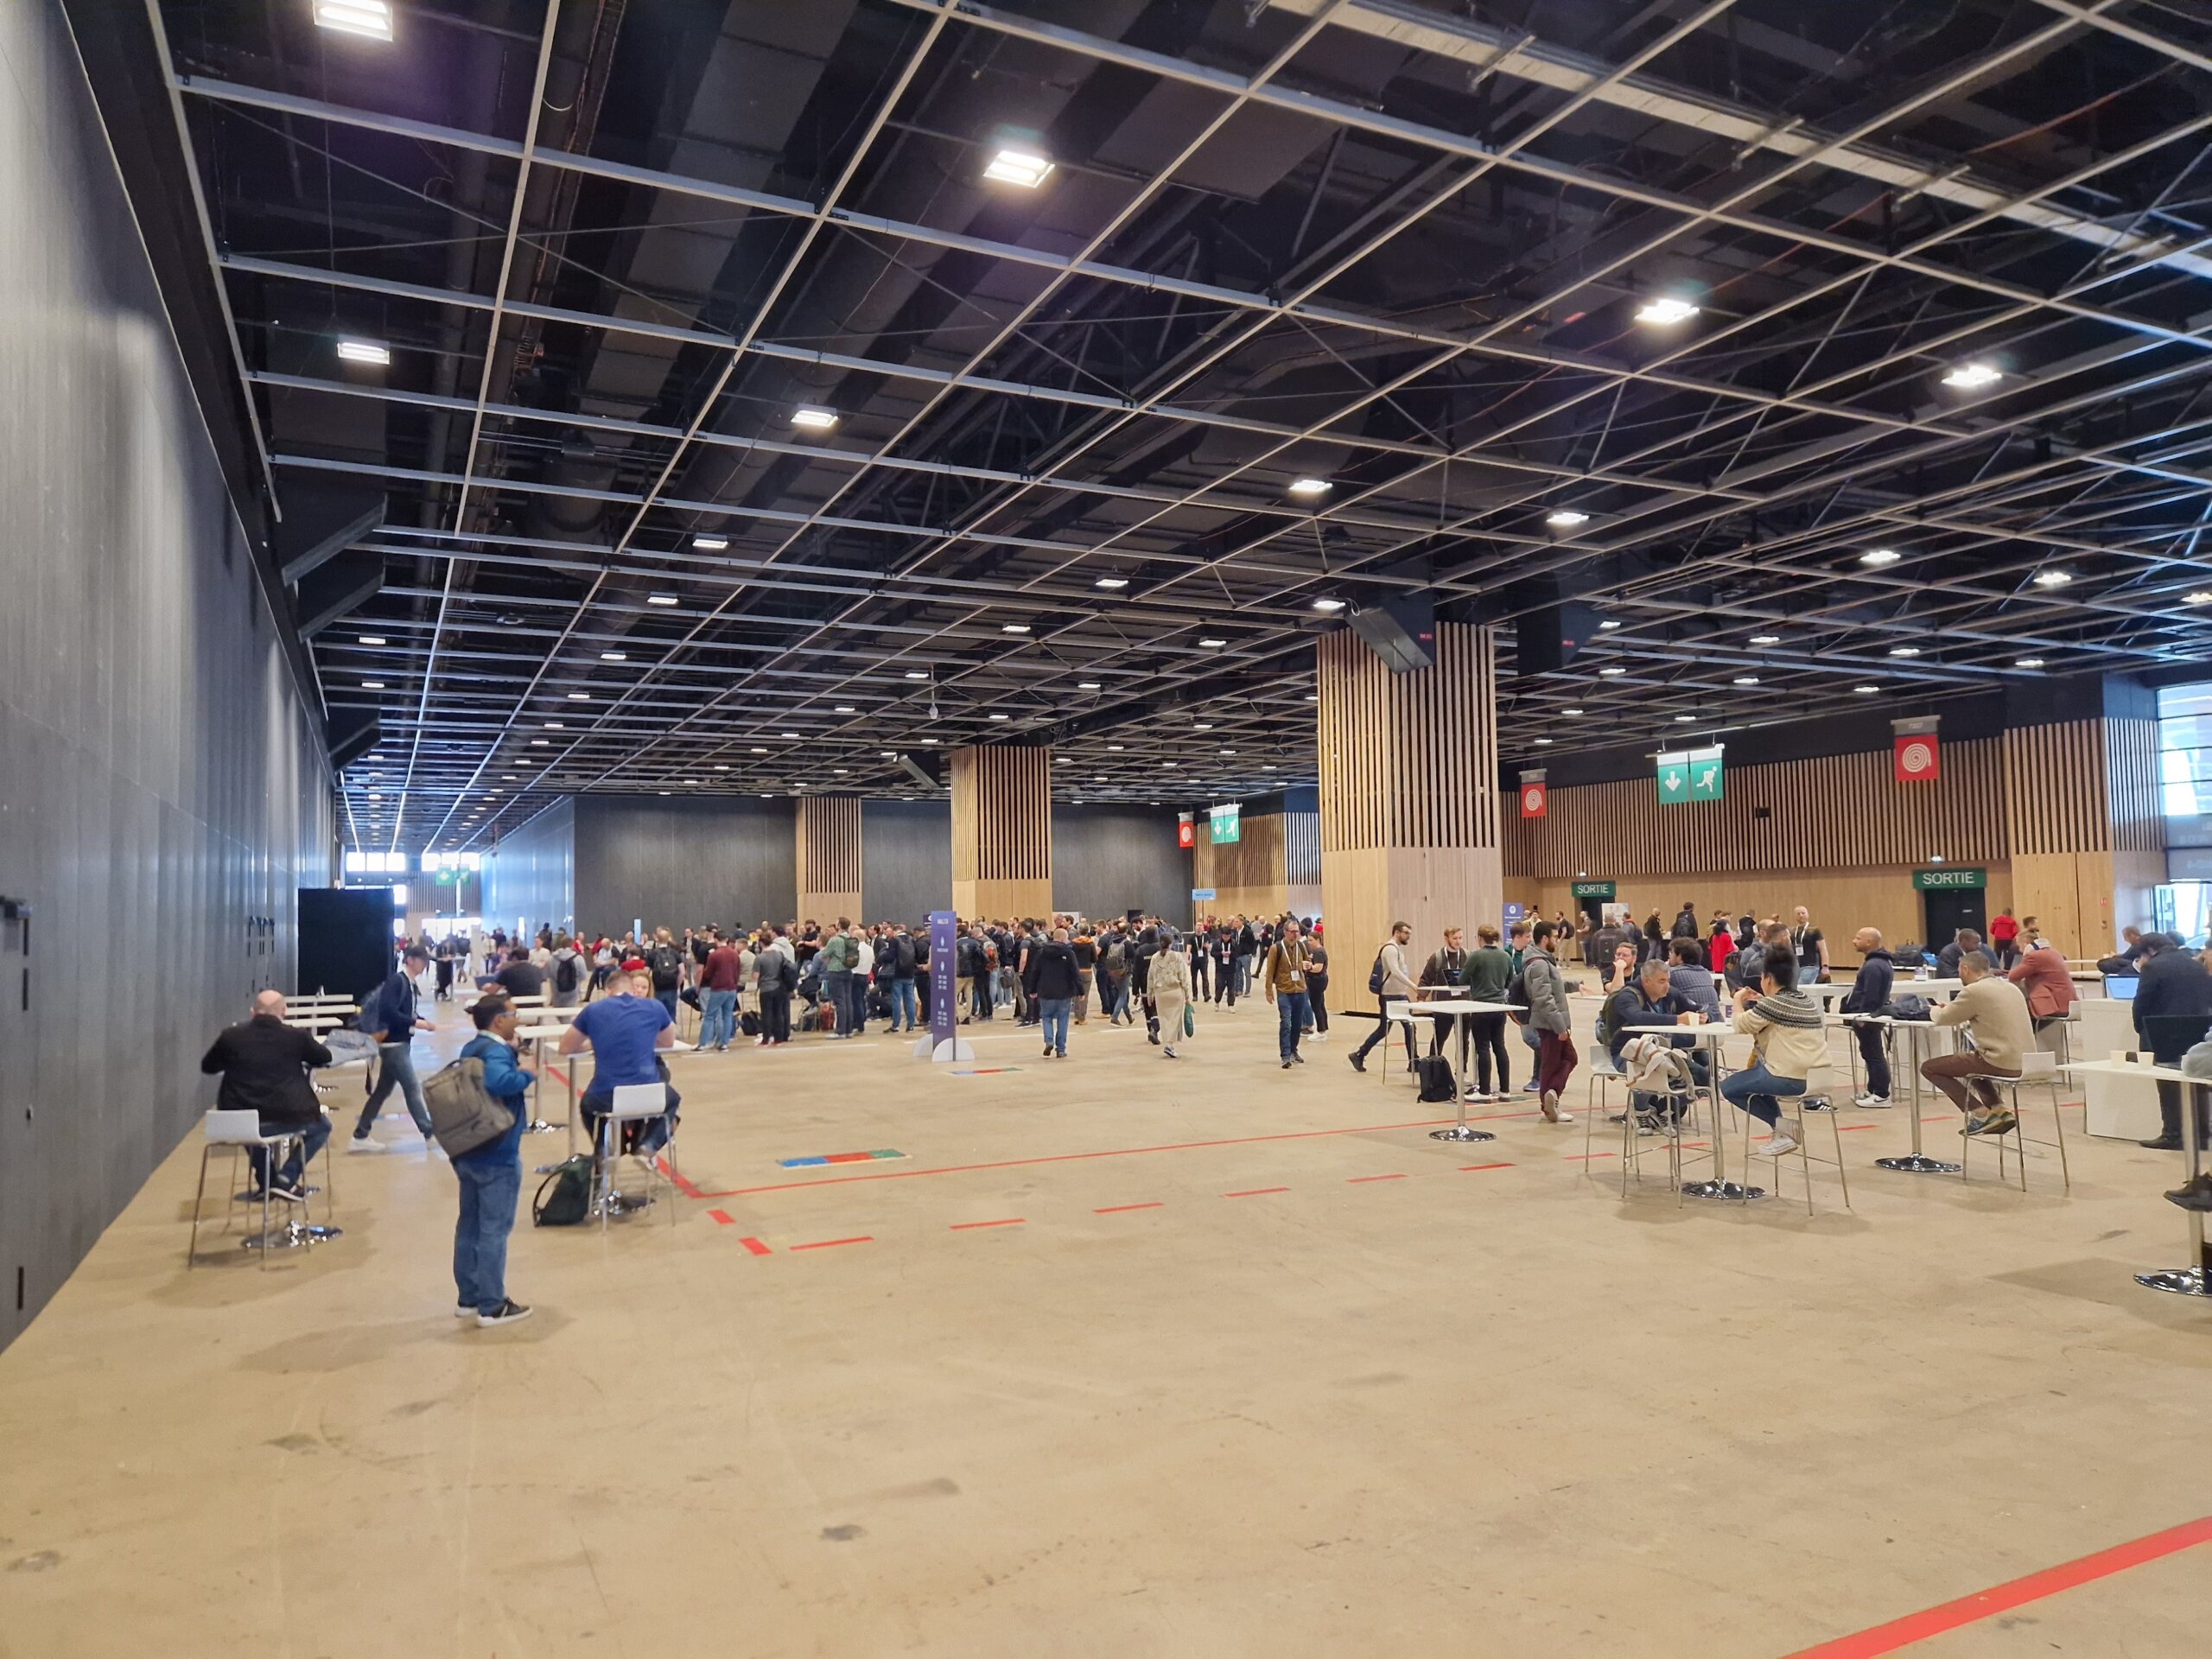
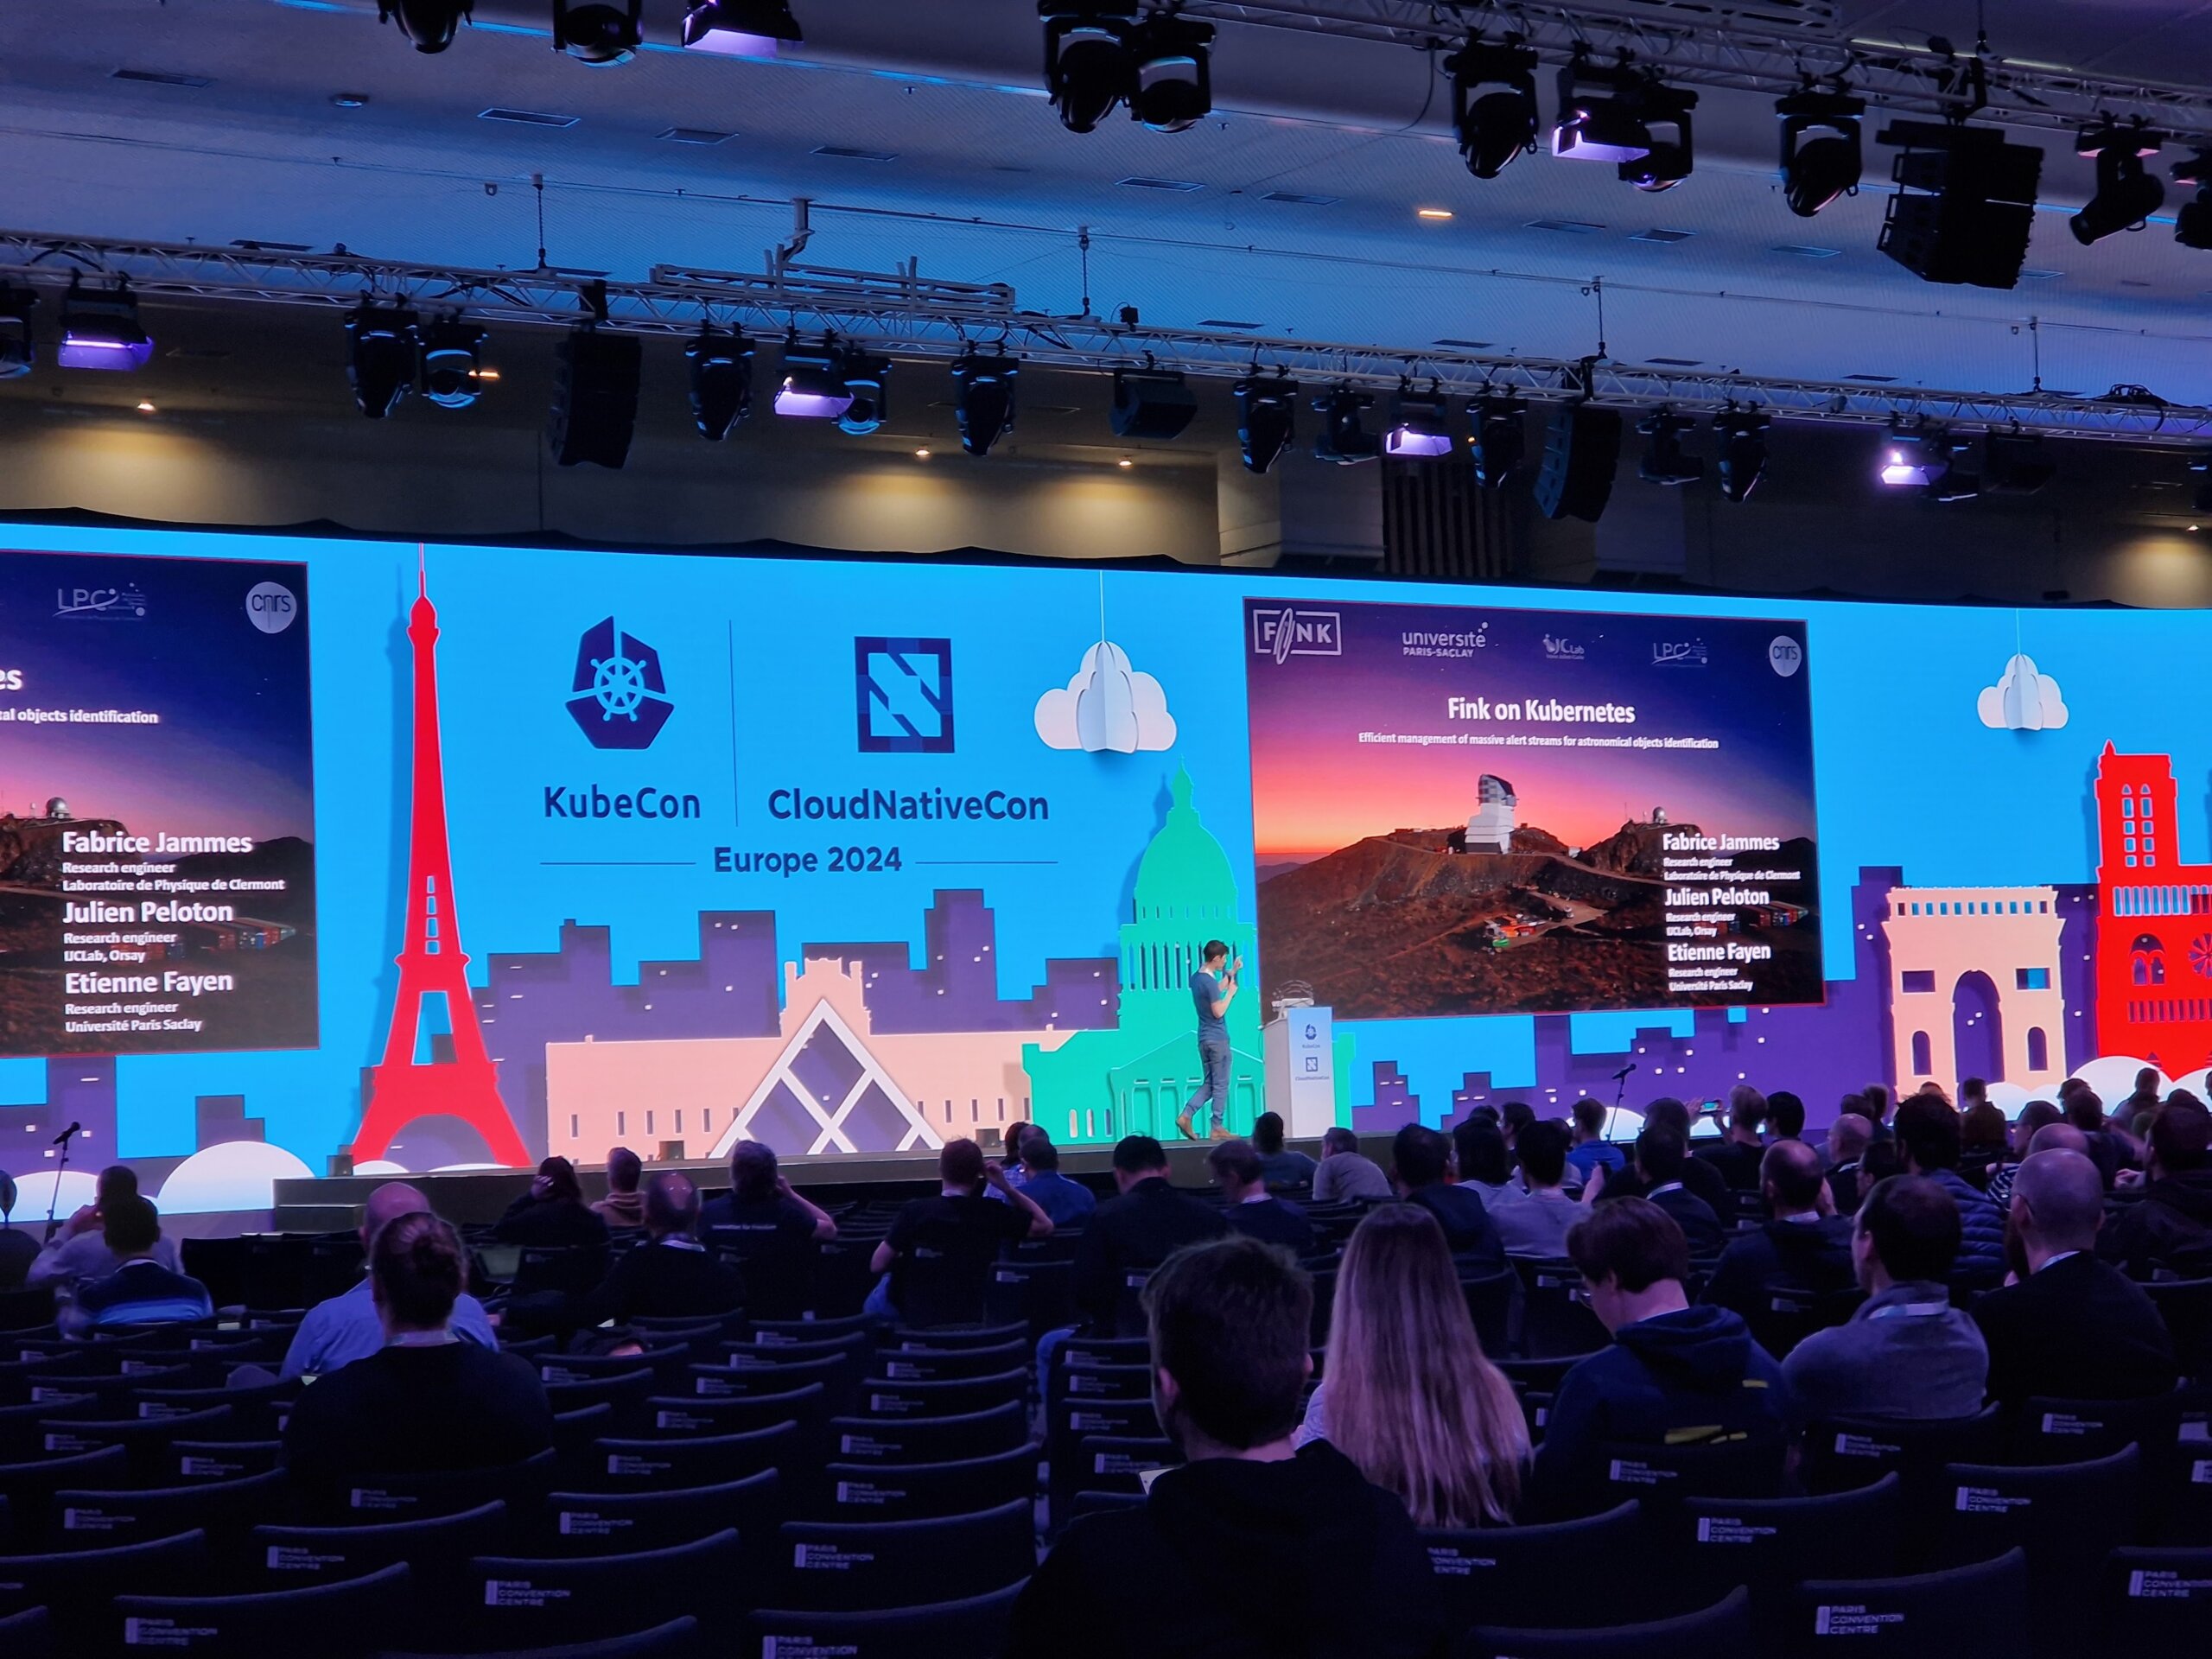
This year, the CNCF hosted the meeting in the French capital. In the south of Paris at the PARIS EXPO PORTE DE VERSAILLES, over 12,000 participants came together again this year.
In addition to various talks and unconferences, there was also a wide range of Contribfests slots, which made it easier for interested parties to get involved in various projects. The thematic focus this year was clearly on Artificial Intelligence and Machine Learning.
Wednesday morning started at 9 am. All keynotes had one thing in common: the topic of AI/ML! Here are a few titles: “Accelerating AI Workloads with GPUs in Kubernetes”, “Build an Open Source Platform for AI/ML” or “Optimizing Performance and Sustainability for AI”. In addition to the keynotes, participants were also offered plenty of talks on the topic of AI and ML. Anyone interested in this topic could find what they were looking for at any time during the three days in the “Paris” room. The new white paper on “Cloud Native AI” was also announced during the keynotes.
Location


Anyone wishing to enter the conference first had to pass through security, consisting of metal detectors and possible bag checks.
Unfortunately, there was again the problem of overcrowded rooms this year. Several times during the day it was necessary to reschedule spontaneously, as the selected talk was unfortunately already overcrowded and admission was no longer possible. Unfortunately, this also applied to some keynotes in the morning.
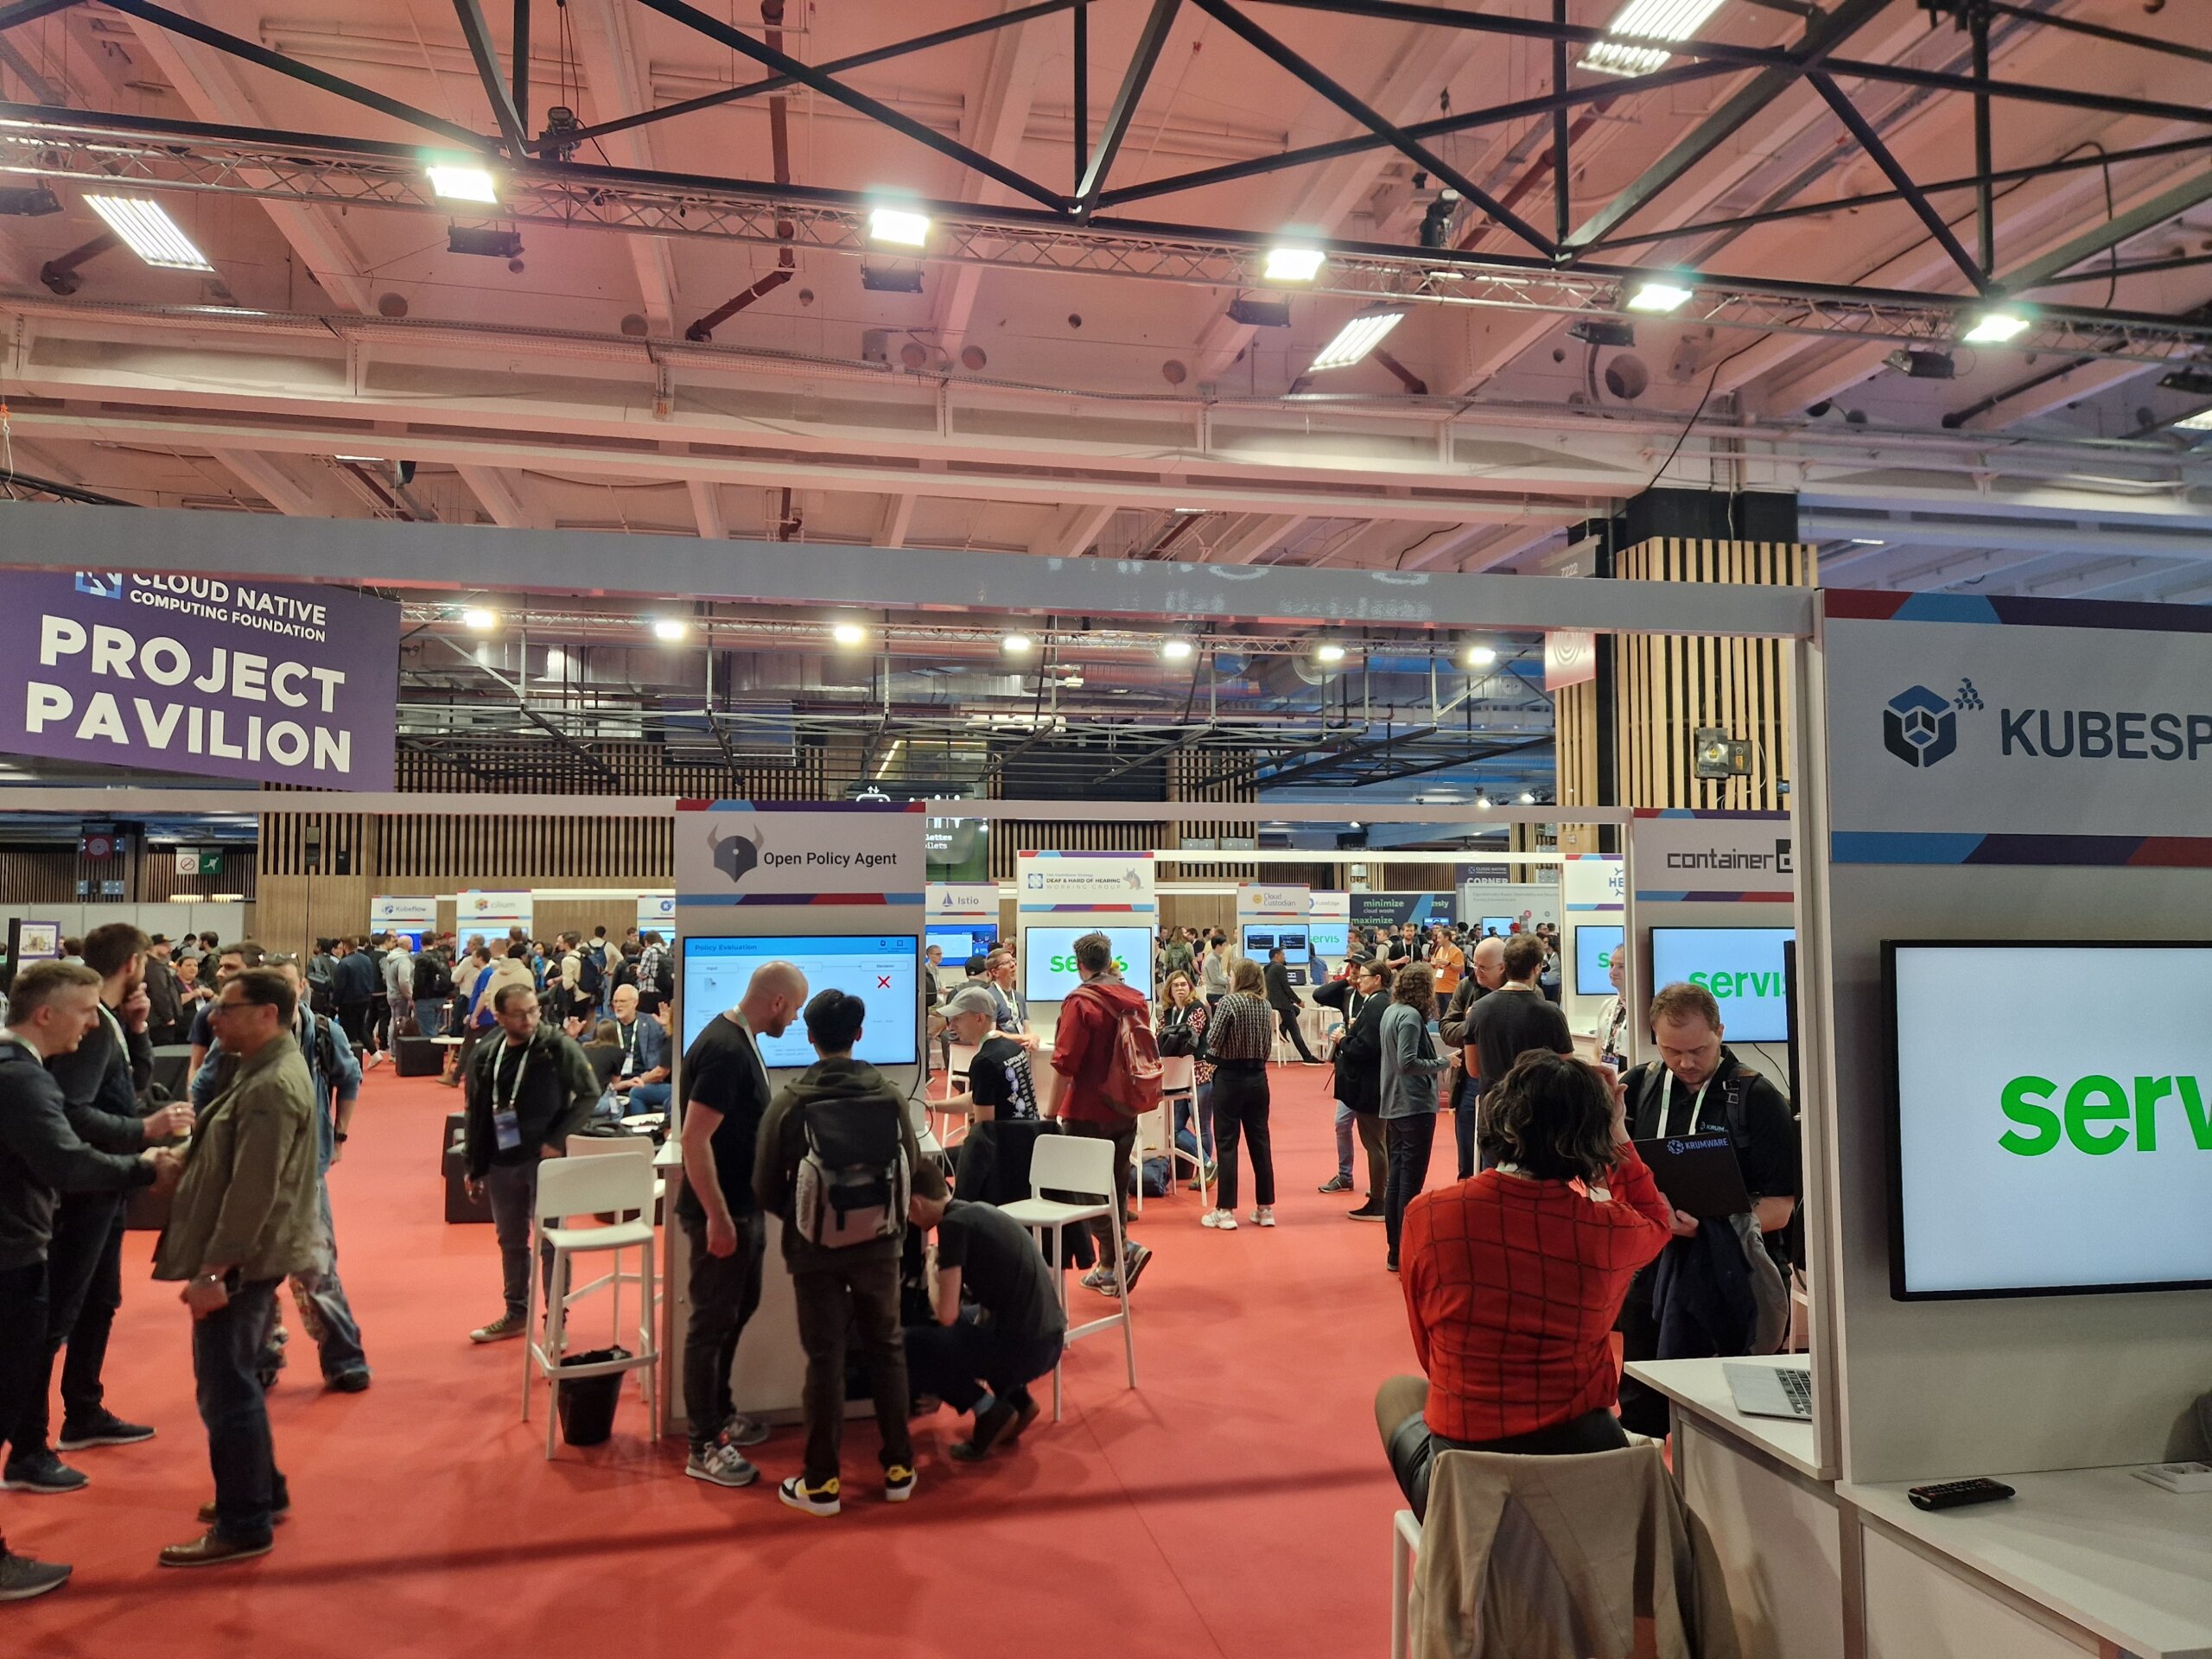
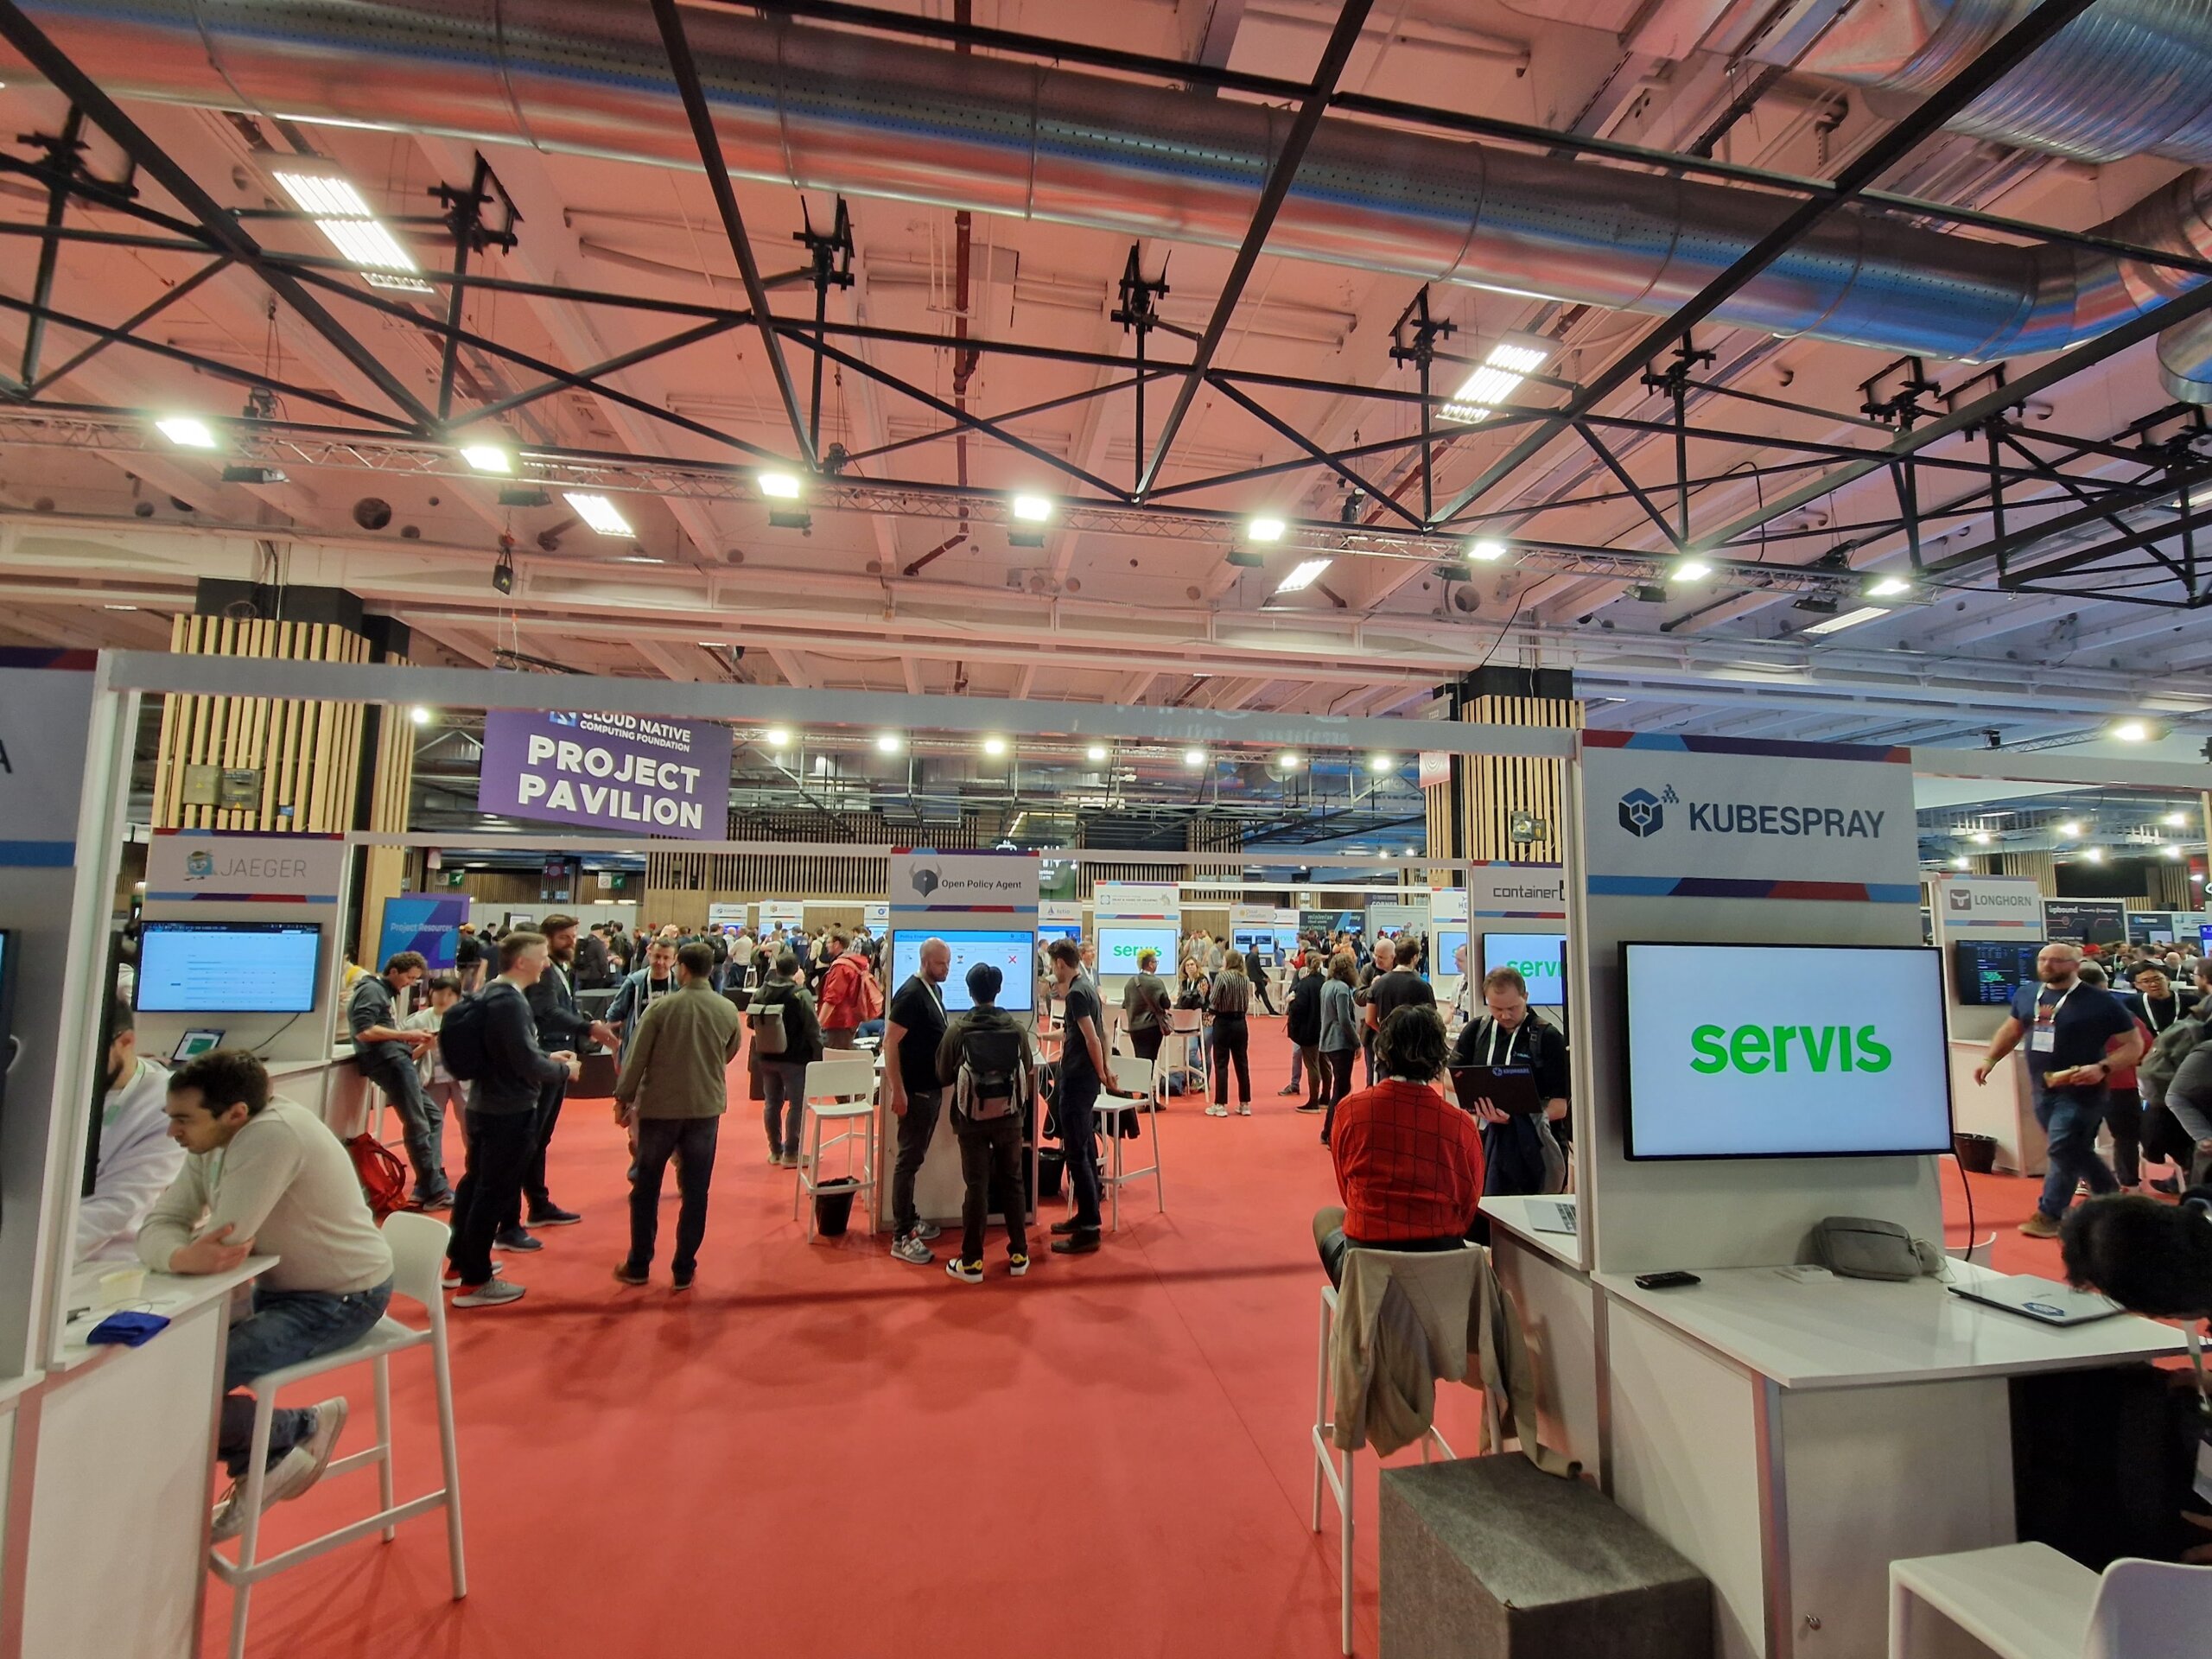
A few impressions
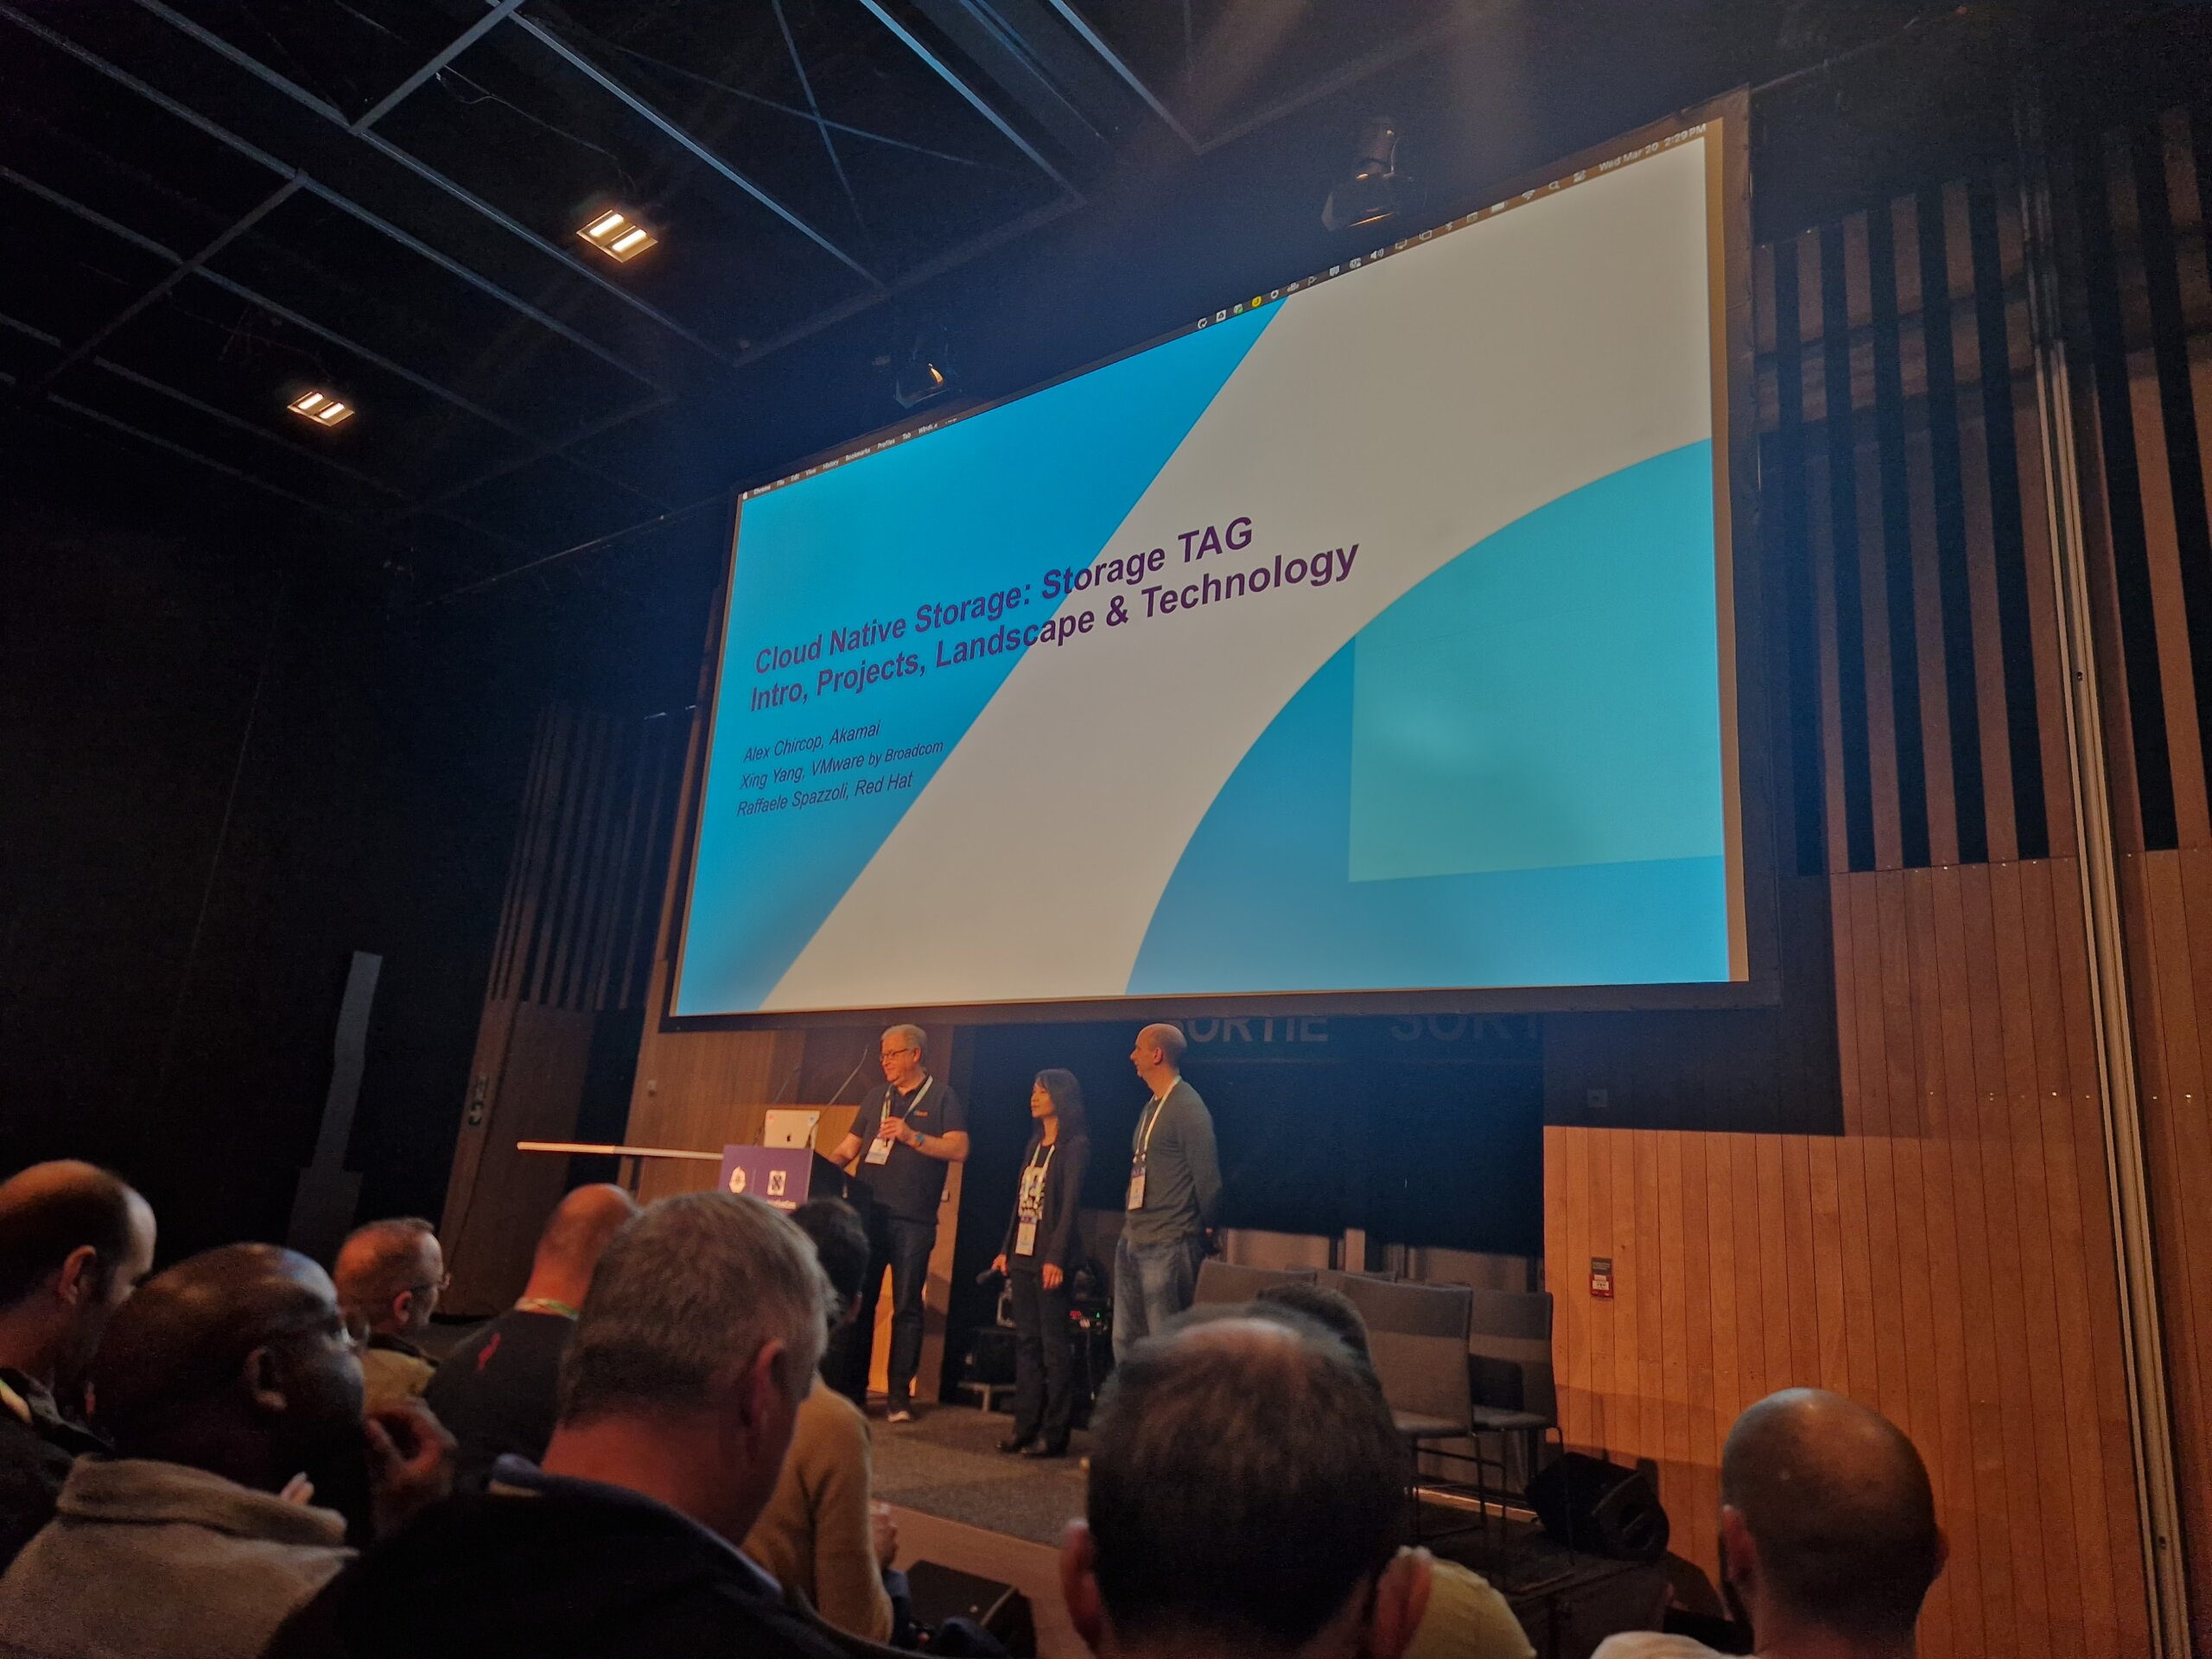
The CNCF Storage TAG and the Storage SIG reported on current developments in the storage sector and mentioned various white papers (“CNCF Storage Whitepaper, Performance and Benchmarking whitepaper, Cloud Native Disaster Recovery whitepaper, and the Data on Kubernetes whitepaper.”). Among other things, it was shown how “PersistendVolumeAttributes” can be used to adjust PersistentVolume attributes, for example to adjust the number of IOPS for a volume during operation.
In the Contribfest slot on Metal3 (Metal Kubed), the maintainers of the project gave a first insight and showed how a development environment can be set up. Among other things, Metal3 offers a ClusterAPI (CAPI) implementation that can be used to manage bare-metal systems. Ironic, which originates from the OpenStack project, is used in the background.
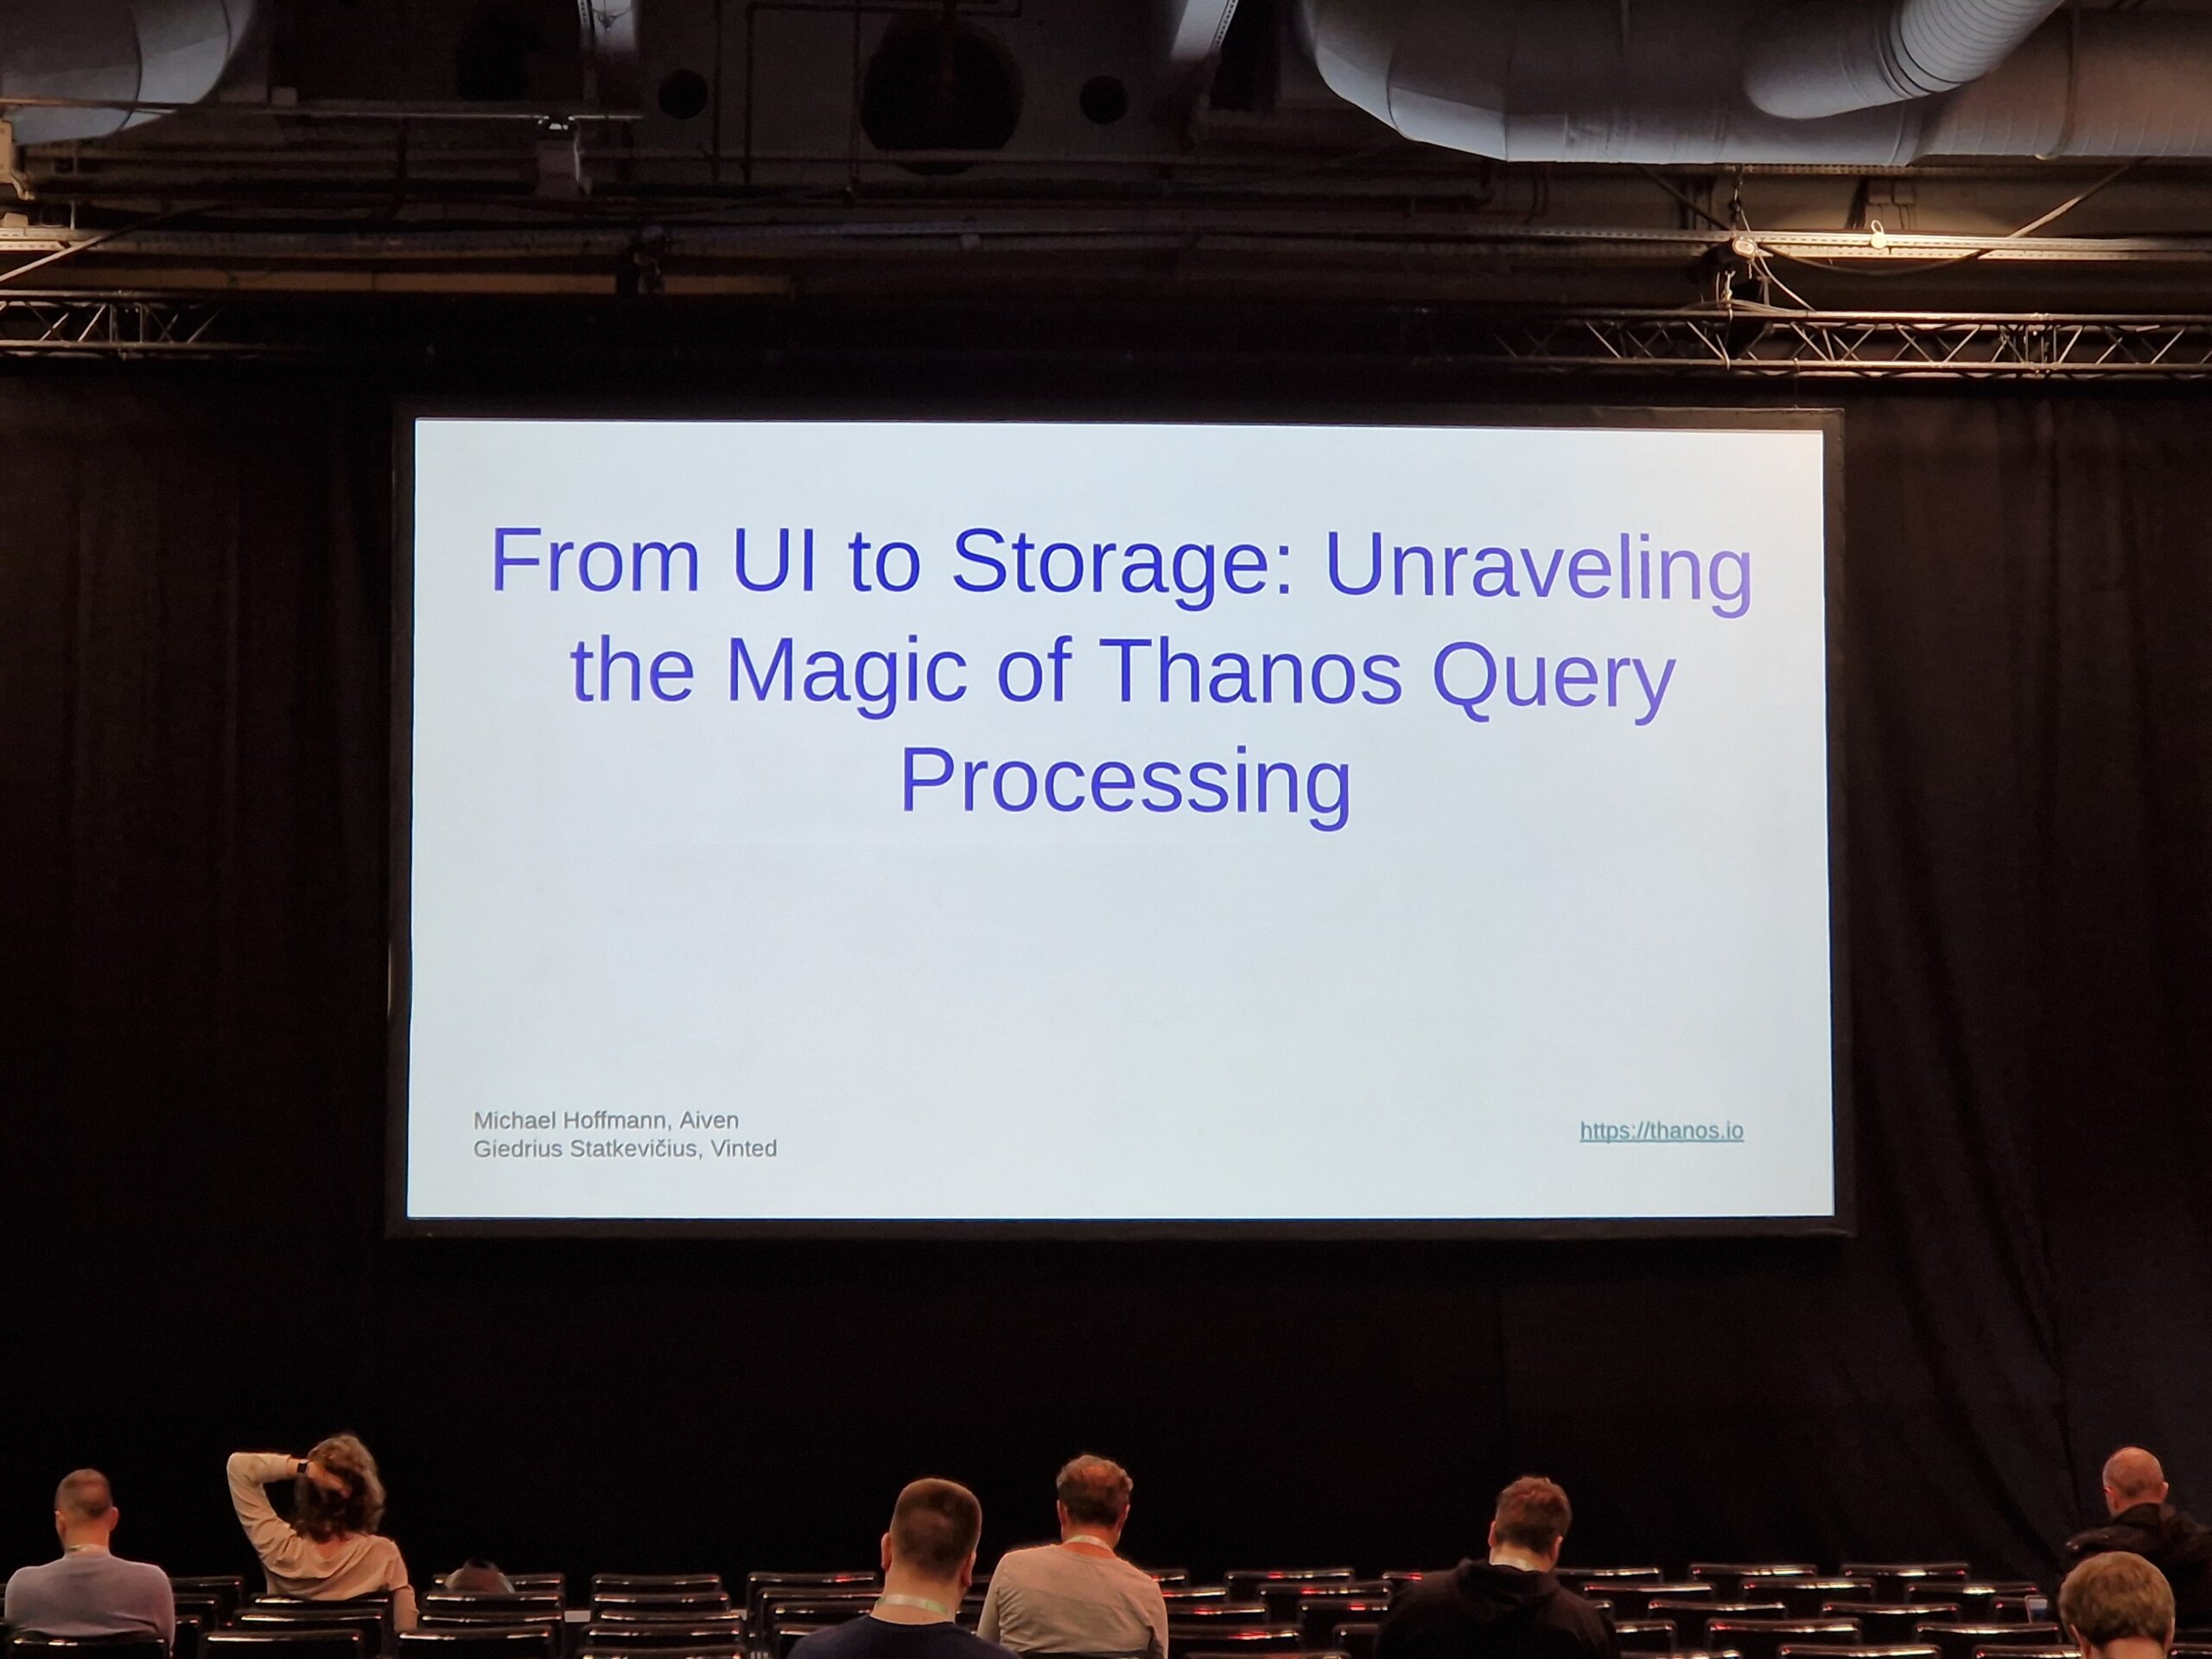
At the “From UI to Storage” talk Thanos maintainers gave an insight into the current implementation and potential future improvements.
In the “CRI-O Odyssey”, the CRI-O maintainers talked about innovations within the Container Runtime. This included the topic of “Confidential Containers” and “Podman-in-Kubernetes”. The topic of WASM integration was also on the agenda.
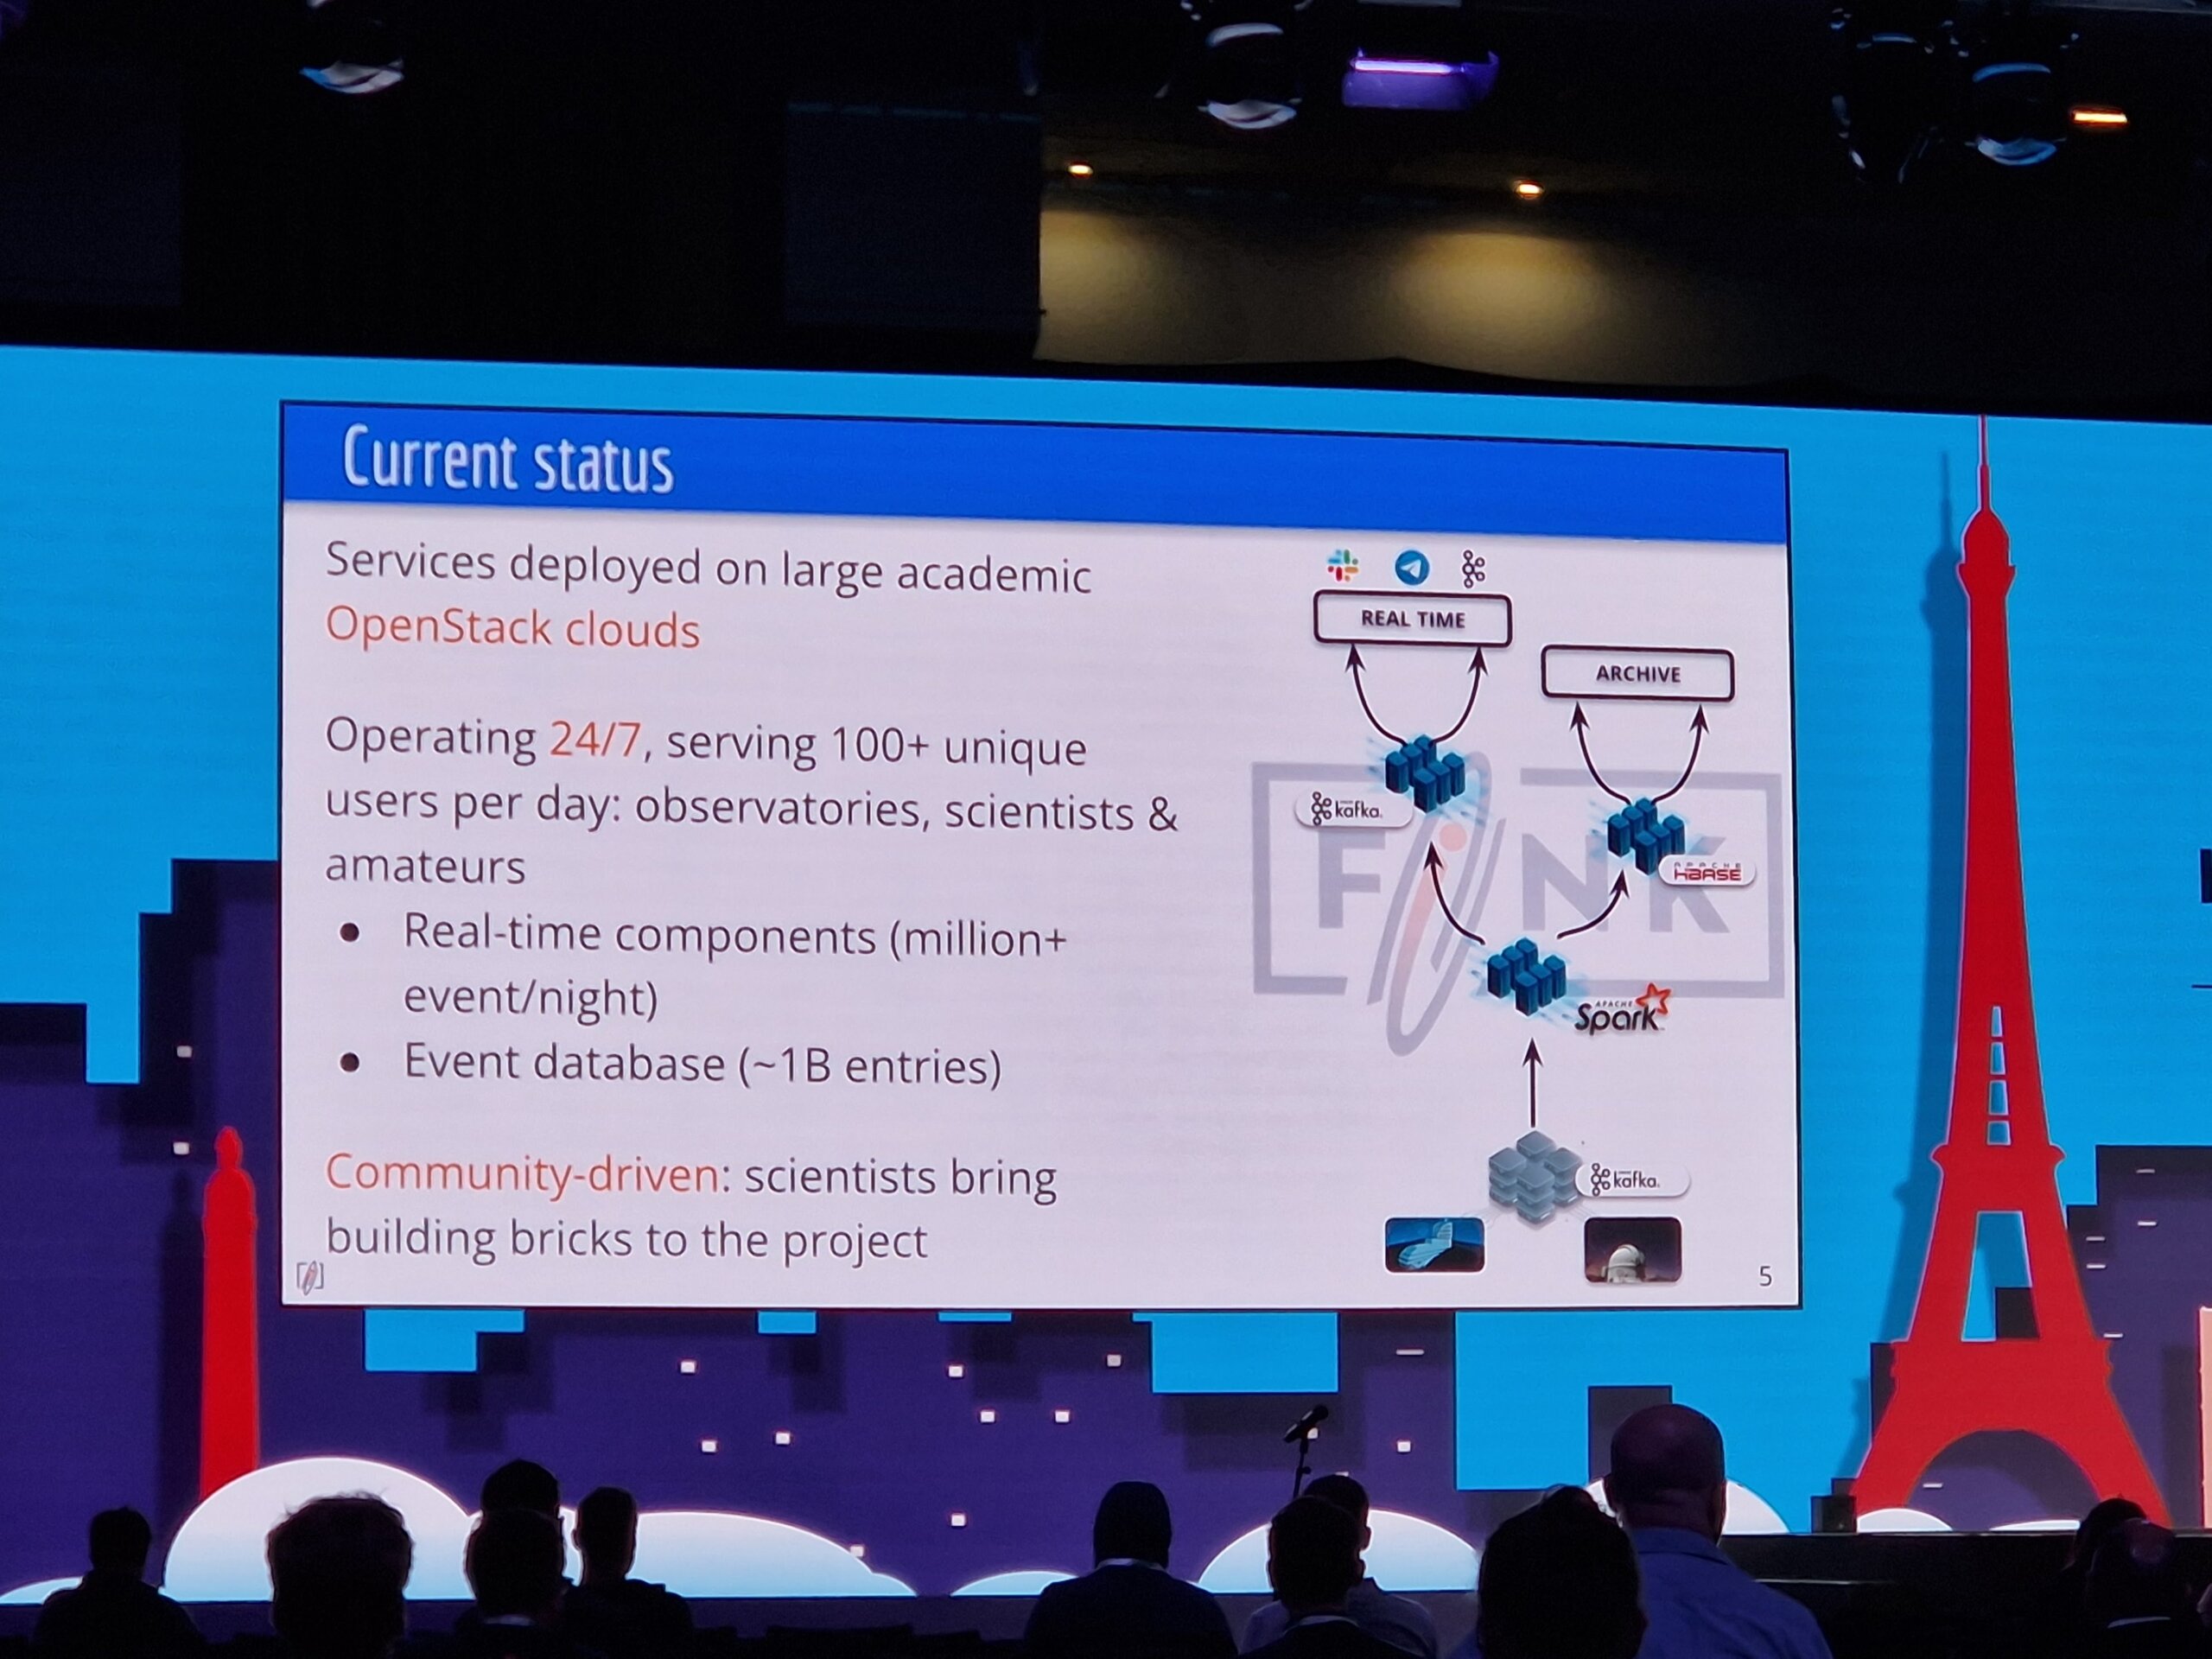
The maintainers of Fink reported on “Fink on Kubernetes” and how the system is used to classify objects like astroids or supernovas in the field of astronomy.
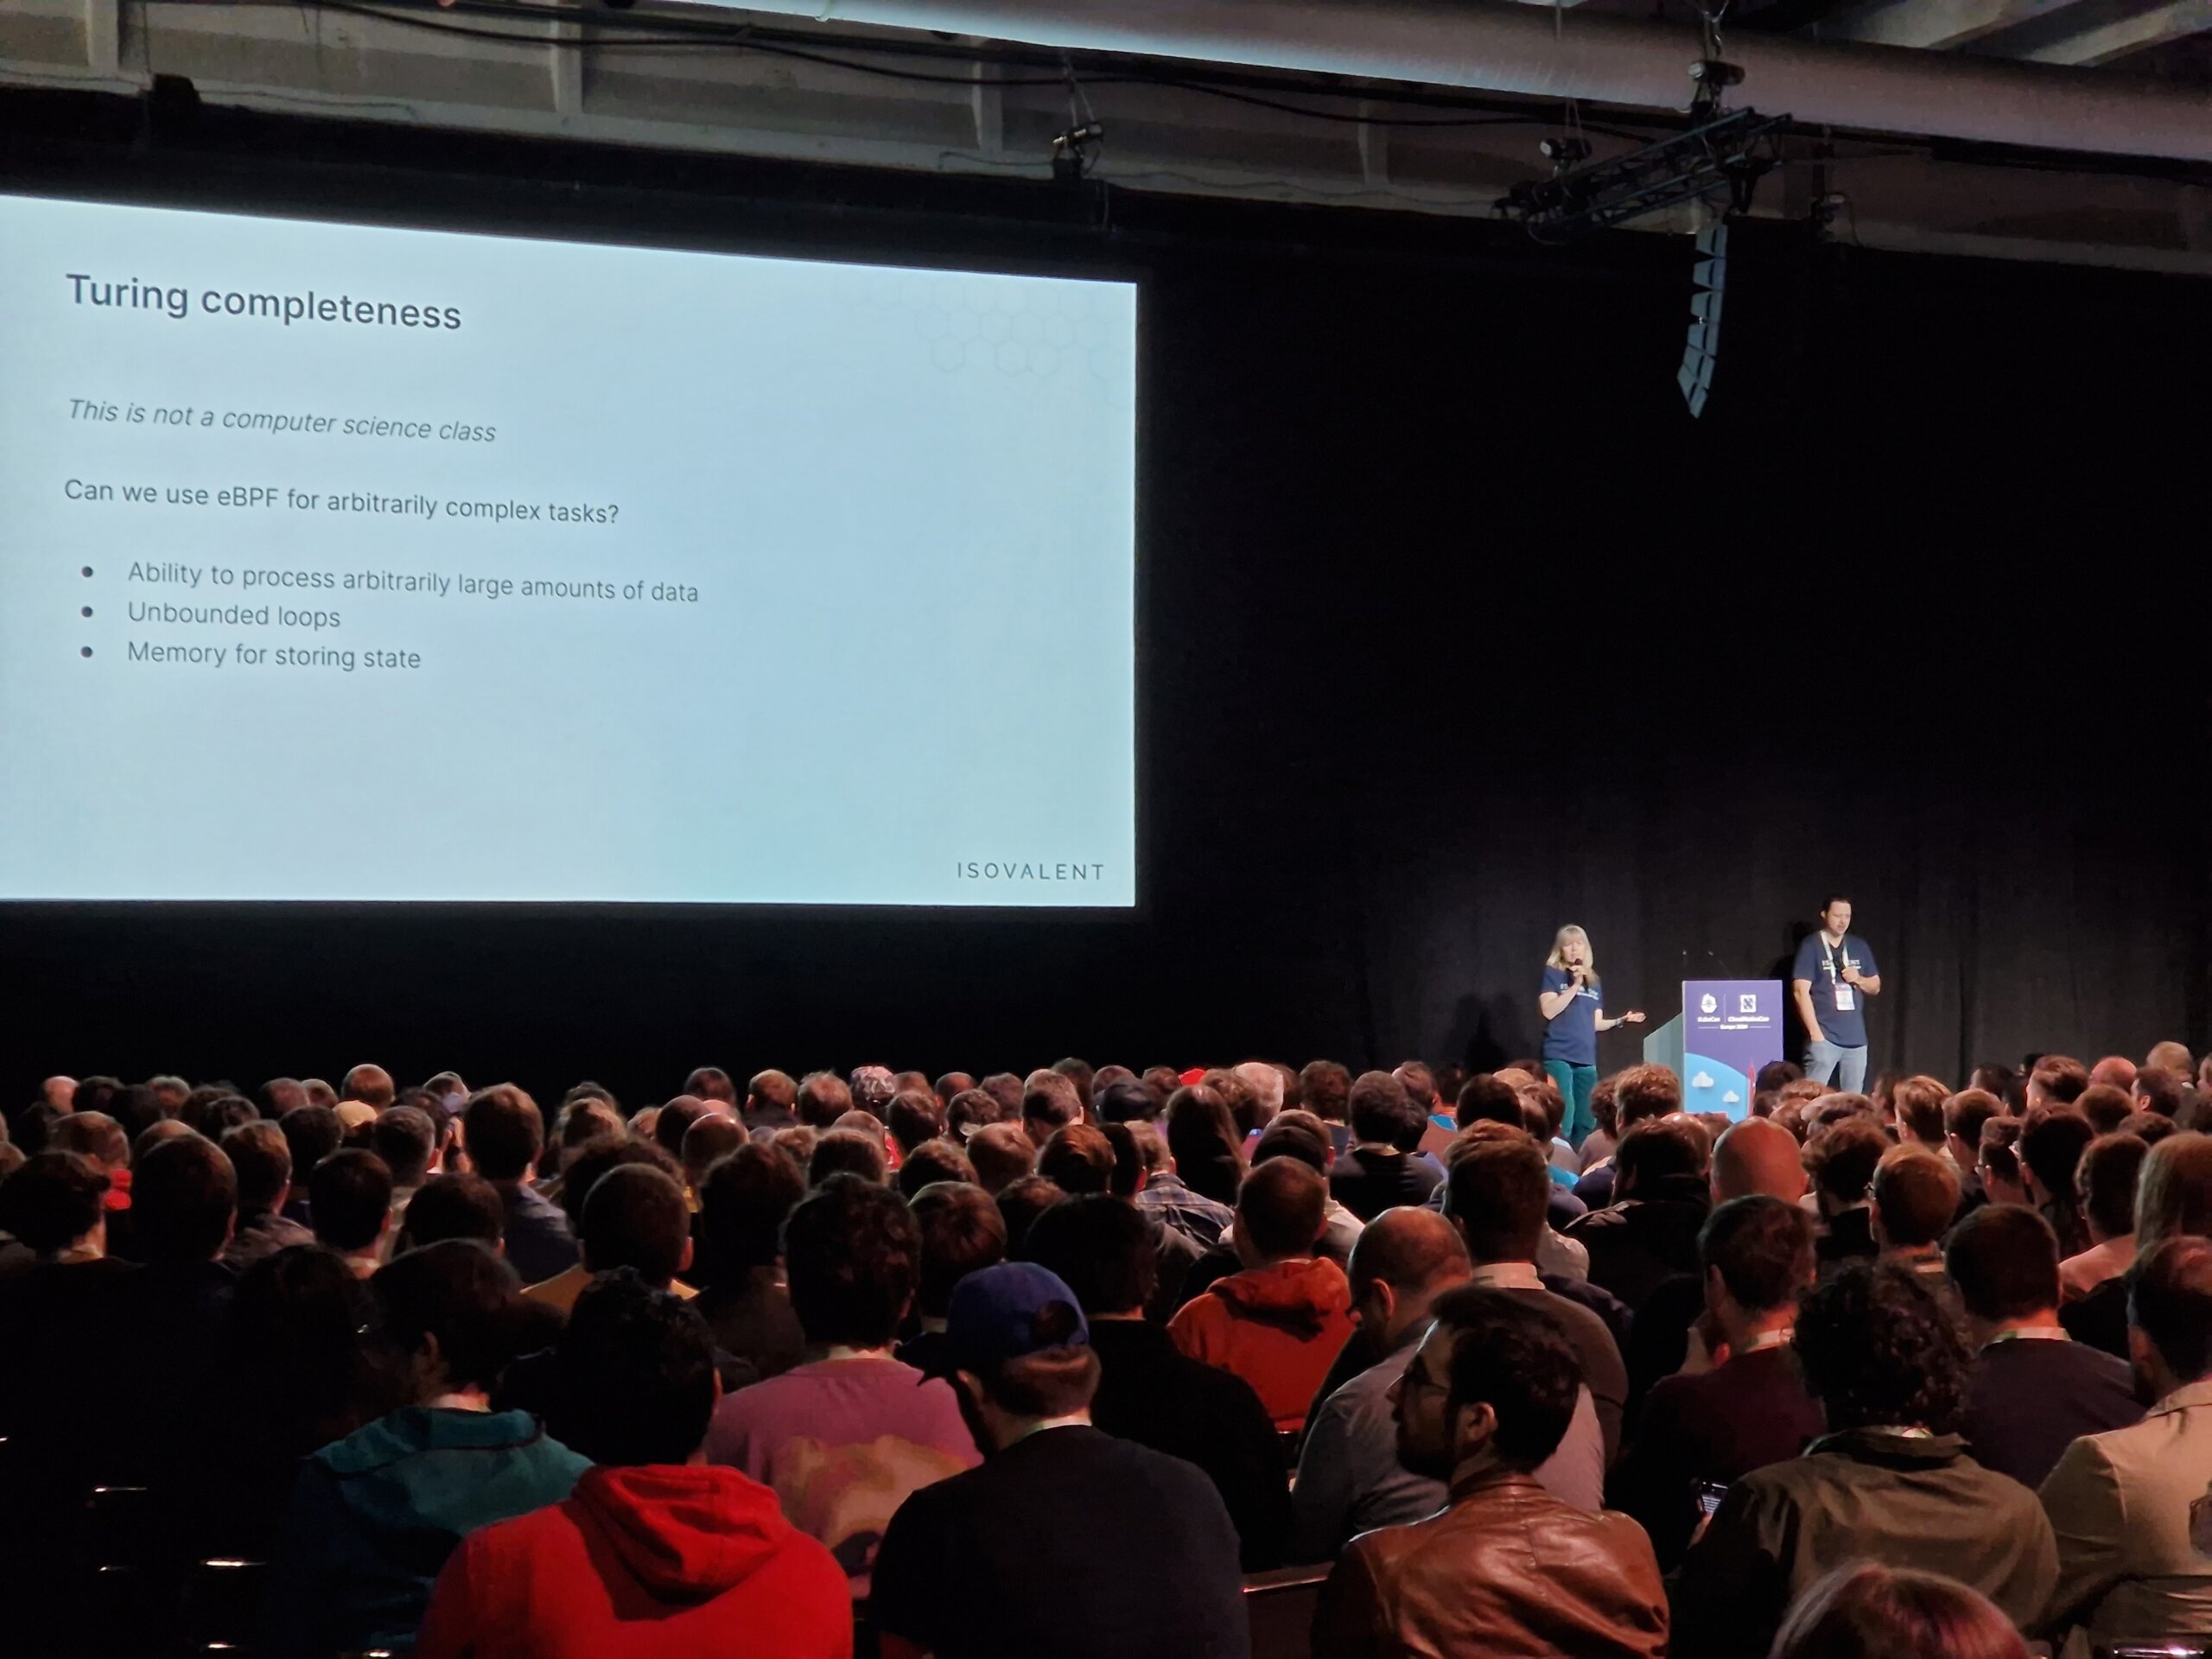
In the talk “eBPF: Abilities and Limitations”, not only general misconceptions were clarified, but also ways to work around existing limitations were pointed out. In addition, the question of whether eBPF touring is complete was raised and a version of Conway’s “Game of Life” in eBPF was presented.
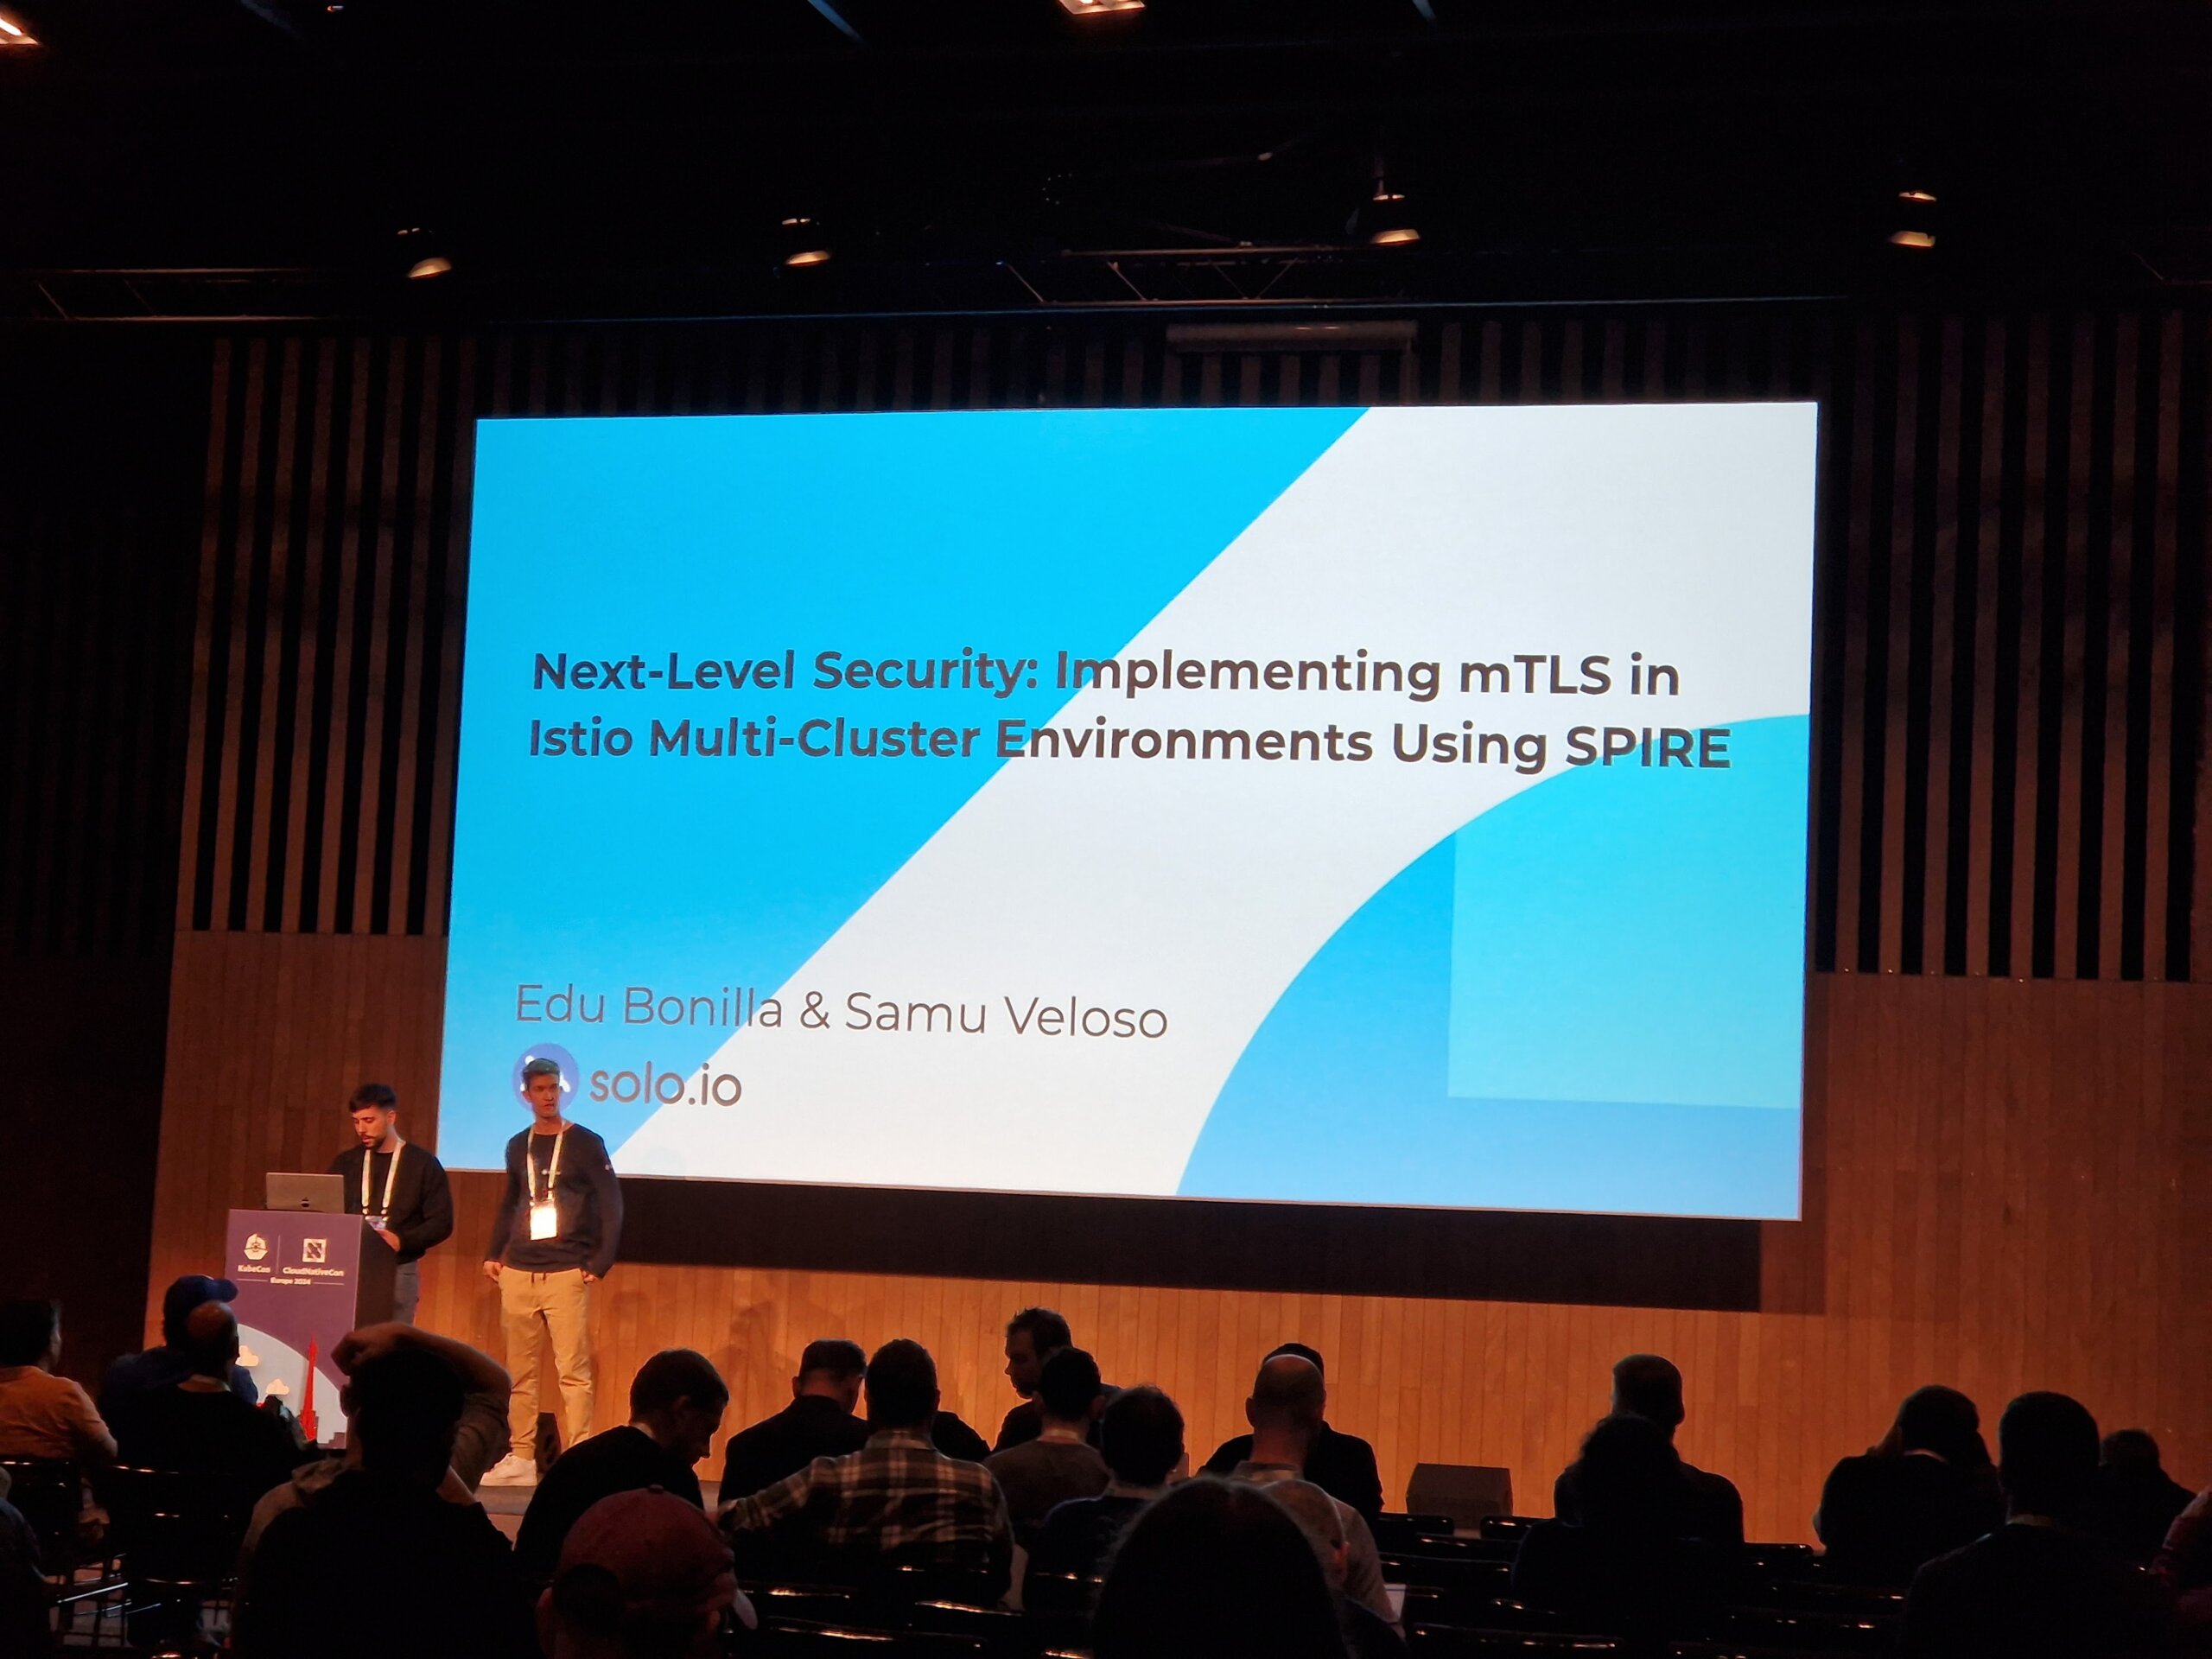
Those who have always wanted to know how Istio mTLS can be implemented in multi-cluster environments with the help of SPIRE found what they were looking for in room D. After a short introduction to SPIFFE and SPIRE, it was shown how Istio components can be connected to the SPIRE agent.
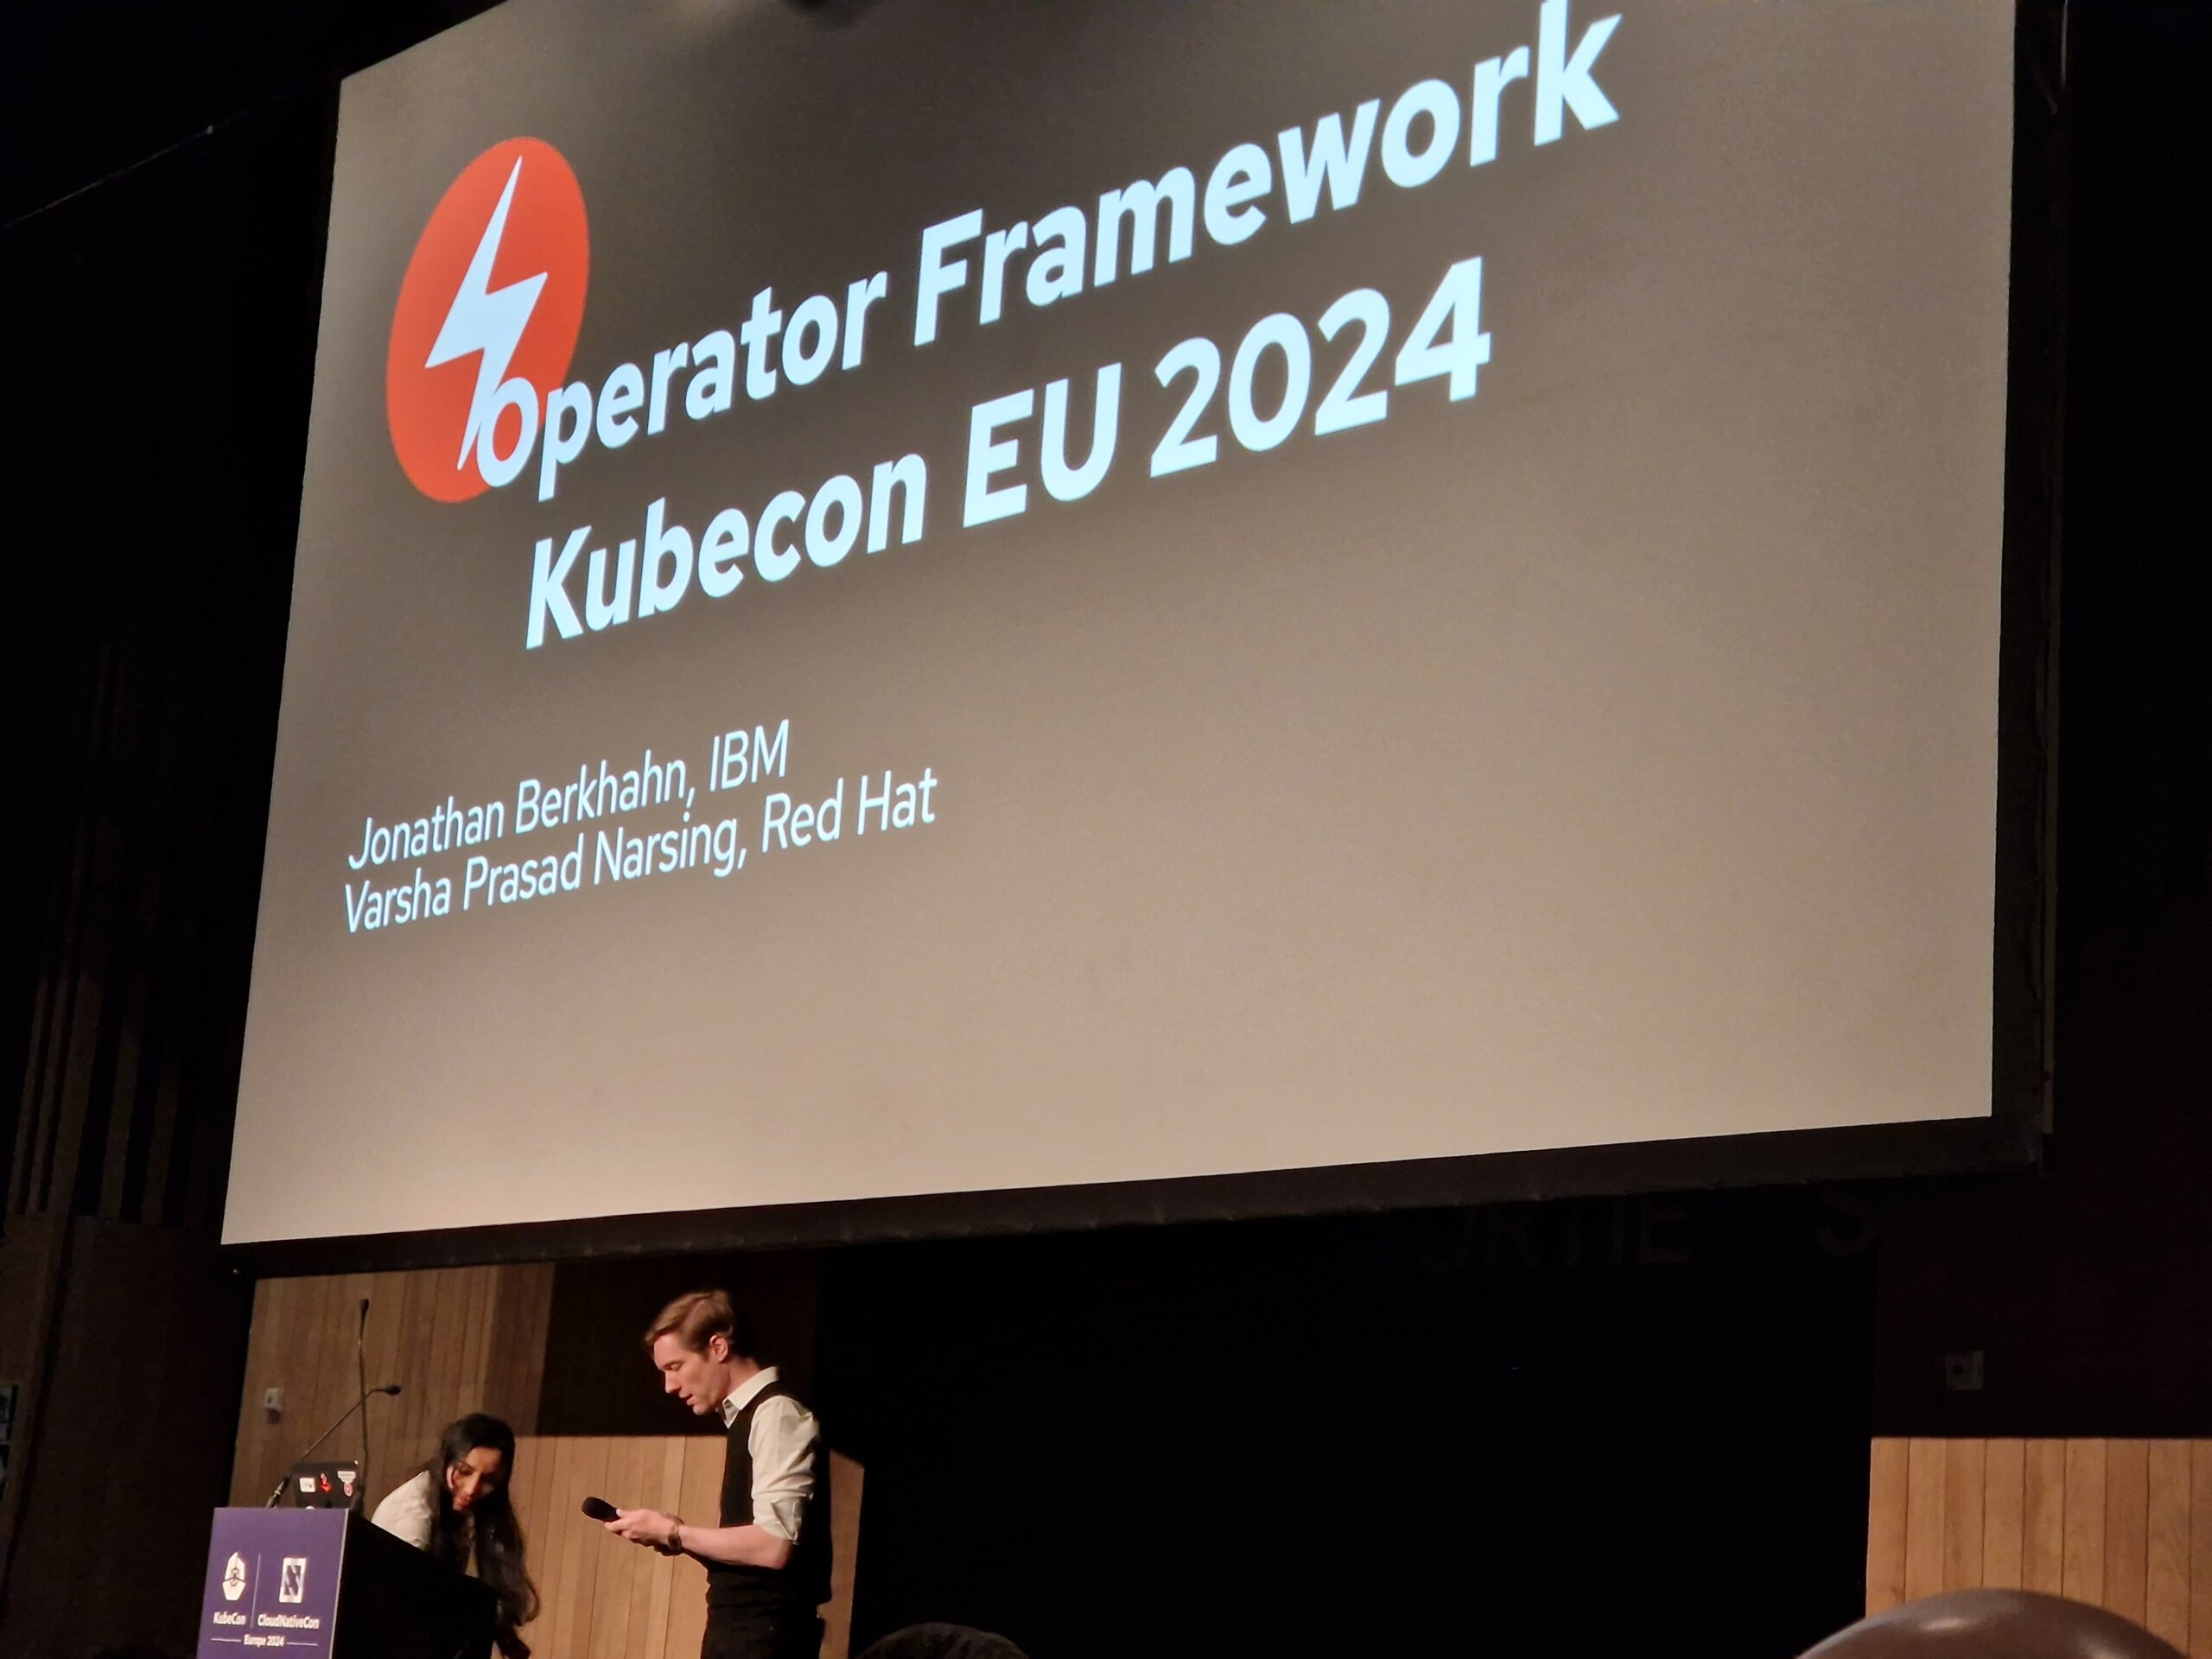
Maintainers of operator-sdk talked about current innovations in operator-SDK and OLM V1. Particularly interesting were the changes in the Operator Lifecycle Manger that have been introduced in version 1 (previously version 0). Among other things, OLM v1 is now able to manage packaged operators via Helm, even without prior preparation by the operator maintainers.
Conclusion
In addition to many interesting talks, there were plenty of opportunities for lively discussions with other conference attendees and exchanges with exhibitors or project maintainers.
We are already looking forward to KubeCon 2025 in London!


For some time now, a large part of the IT landscape has been talking only about “containers”, “microservices” and “Kubernetes.”
But what exactly are containers and what technical basis are they based on?
General
Simply put, a container is an isolated runtime environment for processes. There are various areas that can be separated – the most important being processes (pid), network (net), volumes / hard disks (mnt) and user / group IDs (user).
The technology behind this is called “namespaces” and was first implemented in the Linux Kernel since version 2.4.19 (2002) and later expanded, but only since version 3.8 (2013) in userspace, i.e. meaningfully usable for users. In addition, the cgroups technology plays a major role here. This makes it possible to provide the separate areas with resources such as CPU and RAM, or to define them.
A well-known and early implementation of these features is lxc (linux containers), which is still being developed today and implements these features close to the system.
Linux Namespaces
A namespace is a way to divide resources and objects into logical groups. You could also describe it as a system context in which a process is started. It is not a problem to create your own namespaces within a namespace for newly started processes.
An example from daily practice:
When a Linux host starts, an instance is created for each namespace type. The init process with PID 1 (usually systemd today) is then assigned to the instances accordingly. This is transparent and only of limited relevance for most users. This is because all system resources are available to these namespaces and new resources are initially assigned to them.
To view a list of the namespaces currently running on the system, there is the tool lsns.
In the following example, we see the initially created namespaces and the assignment of the init process.
[root@buildah ~]# lsns -p1
        NS TYPE   NPROCS PID USER COMMAND
4026531835 cgroup     96   1 root /usr/lib/systemd/systemd --switched-root --system --deserialize 18
4026531836 pid        96   1 root /usr/lib/systemd/systemd --switched-root --system --deserialize 18
4026531837 user       95   1 root /usr/lib/systemd/systemd --switched-root --system --deserialize 18
4026531838 uts        96   1 root /usr/lib/systemd/systemd --switched-root --system --deserialize 18
4026531839 ipc        96   1 root /usr/lib/systemd/systemd --switched-root --system --deserialize 18
4026531840 mnt        90   1 root /usr/lib/systemd/systemd --switched-root --system --deserialize 18
4026531992 net        96   1 root /usr/lib/systemd/systemd --switched-root --system --deserialize 18
A process can only ever be assigned to one namespace per type. For example, the process with PID 1 from the example above cannot be assigned an additional pid namespace.
The different types have no interactions or dependencies with each other. For example, you can assign a new process (e.g. a shell) only its own net-namespace.
To create a new namespace as a user, there is the tool unshare. Using parameters, it is possible to specify which namespace types should be created for the process.
The following is an example of how a container-like environment (in which all possible areas are separated from the host system) can be created manually.
To do this, we start a bash shell with the parameters shown as a normal user without root permissions.
[podmanager@buildah ~]$ unshare --mount --uts --ipc --net --pid --fork --user --map-root-user /bin/bash

[root@buildah ~]# id
uid=0(root) gid=0(root) Gruppen=0(root) Kontext=unconfined_u:unconfined_r:unconfined_t:s0-s0:c0.c1023

[root@buildah ~]# ip a
1: lo: <LOOPBACK> mtu 65536 qdisc noop state DOWN group default qlen 1000
    link/loopback 00:00:00:00:00:00 brd 00:00:00:00:00:00

[root@buildah ~]# lsns
        NS TYPE   NPROCS   PID USER COMMAND
4026531835 cgroup      3   952 root unshare --mount --uts --ipc --net --pid --fork --user --map-root-user /bin/bash
4026531836 pid         1   952 root unshare --mount --uts --ipc --net --pid --fork --user --map-root-user /bin/bash
4026532192 user        3   952 root unshare --mount --uts --ipc --net --pid --fork --user --map-root-user /bin/bash
4026532193 mnt         3   952 root unshare --mount --uts --ipc --net --pid --fork --user --map-root-user /bin/bash
4026532194 uts         3   952 root unshare --mount --uts --ipc --net --pid --fork --user --map-root-user /bin/bash
4026532196 ipc         3   952 root unshare --mount --uts --ipc --net --pid --fork --user --map-root-user /bin/bash
4026532198 pid         2   953 root /bin/bash
4026532200 net         3   952 root unshare --mount --uts --ipc --net --pid --fork --user --map-root-user /bin/bash
As you can see, the process is now in an encapsulated area with its own IDs and network area. However, the entire hard disk configuration was also transferred to the new area, including the /proc folder, in which the processes of the host system are listed.
[root@buildah ~]# ps -ef f  | head
UID        PID  PPID  C STIME TTY      STAT   TIME CMD
nobody       2     0  0 14:22 ?        S      0:00 [kthreadd]
nobody       3     2  0 14:22 ?        I<     0:00  \_ [rcu_gp]
nobody       4     2  0 14:22 ?        I<     0:00  \_ [rcu_par_gp]
nobody       6     2  0 14:22 ?        I<     0:00  \_ [kworker/0:0H-kblockd]
nobody       8     2  0 14:22 ?        I<     0:00  \_ [mm_percpu_wq]
nobody       9     2  0 14:22 ?        S      0:00  \_ [ksoftirqd/0]
nobody      10     2  0 14:22 ?        I      0:00  \_ [rcu_sched]
nobody      11     2  0 14:22 ?        S      0:00  \_ [migration/0]
nobody      12     2  0 14:22 ?        S      0:00  \_ [watchdog/0]
To correct this, a mount -t proc proc /proc is required. This overlays the /proc of the host system, meaning that only the processes of the new environment are visible.
[root@buildah ~]# mount -t proc proc /proc
[root@buildah ~]# ps -ef f
UID        PID  PPID  C STIME TTY      STAT   TIME CMD
root         1     0  0 15:05 pts/1    S      0:00 /bin/bash
root        27     1  0 15:11 pts/1    R+     0:00 ps -ef f
To leave the environment, simply type exit, or the key combination STRG+D.
[root@buildah ~]# exit
exit
[podmanager@buildah ~]$
cgroups
Control Groups (cgroups for short) are not a direct namespace, but allow processes to be grouped in a type of namespace and the available resources such as CPU and / or RAM to be limited or prioritized.
There is now an updated version of cgroups (cgroupsV2) in the kernel. However, this is probably only used productively by Fedora >= 31, as there are some incompatibilities with Docker here, but not with Podman.
However, the setup is somewhat more complex and will therefore not be explained here, but will be the subject of a separate article.
Further information can be found for those interested here (cgroupsv1) and here (cgroupsv2)
The file system of a container
Each container contains all the components necessary for the operation of the binaries, such as libraries and binaries.
The only dependency on the host system is generally that the applications must be able to run on the kernel of the host system.
However, the file system is not a separate hard disk or similar, but merely an archive that contains a directory tree.
This archive is then unpacked into a folder at the latest when a container is started and used as a new file system on this folder by means of an mnt namespace and chroot. The chroot changes the entry point for the file system to which the user has access. For example, /var/lib/docker/container1/dateisystem on the host becomes the new / within the container.
Here is an example with the separated environment from the previous section.
First, we export the file system of the Postgres container as a tar archive and then unpack it into a subfolder.
[podmanager@buildah ~]$ podman export 3b62694339c6 -o postgres_container.tar
[podmanager@buildah ~]$ ls -l postgres_container.tar
-rw-r--r--. 1 podmanager podmanager 313597440 31. Mär 15:31 postgres_container.tar
[podmanager@buildah ~]$ mkdir postgres_root
[podmanager@buildah ~]$ tar -xf postgres_container.tar -C postgres_root/
[podmanager@buildah ~]$ ls -l postgres_root/
insgesamt 12
drwxr-xr-x.  2 podmanager podmanager 4096  3. Mär 01:27 bin
drwxr-xr-x.  2 podmanager podmanager    6  1. Feb 18:09 boot
drwxr-xr-x.  2 podmanager podmanager    6 24. Feb 01:00 dev
drwxr-xr-x.  2 podmanager podmanager    6  3. Mär 01:27 docker-entrypoint-initdb.d
lrwxrwxrwx.  1 podmanager podmanager   34  4. Mär 18:35 docker-entrypoint.sh -> usr/local/bin/docker-entrypoint.sh
drwxr-xr-x. 37 podmanager podmanager 4096 31. Mär 14:24 etc
drwxr-xr-x.  2 podmanager podmanager    6  1. Feb 18:09 home
drwxr-xr-x.  8 podmanager podmanager   96 26. Feb 01:54 lib
drwxr-xr-x.  2 podmanager podmanager   34 24. Feb 01:00 lib64
drwxr-xr-x.  2 podmanager podmanager    6 24. Feb 01:00 media
drwxr-xr-x.  2 podmanager podmanager    6 24. Feb 01:00 mnt
drwxr-xr-x.  2 podmanager podmanager    6 24. Feb 01:00 opt
drwxr-xr-x.  2 podmanager podmanager    6  1. Feb 18:09 proc
drwx------.  2 podmanager podmanager   76 31. Mär 14:44 root
drwxr-xr-x.  5 podmanager podmanager   84 31. Mär 14:24 run
drwxr-xr-x.  2 podmanager podmanager 4096  3. Mär 01:27 sbin
drwxr-xr-x.  2 podmanager podmanager    6 24. Feb 01:00 srv
drwxr-xr-x.  2 podmanager podmanager    6  1. Feb 18:09 sys
drwxrwxr-x.  2 podmanager podmanager    6  3. Mär 01:27 tmp
drwxr-xr-x. 10 podmanager podmanager  105 24. Feb 01:00 usr
drwxr-xr-x. 11 podmanager podmanager  139 24. Feb 01:00 var
Now we create a shell with its own namespaces again and execute the chroot.
[podmanager@buildah ~]$ unshare --mount --uts --ipc --net --pid --fork --user --map-root-user /bin/bash

[root@buildah ~]# cat /etc/redhat-release
CentOS Linux release 8.1.1911 (Core)

[root@buildah ~]# chroot postgres_root

root@buildah:/var/lib/postgresql/data# /bin/cat /etc/issue
Debian GNU/Linux 10 \n \l
Finally, the /proc file system must be corrected, as mentioned.
Once this is done, we have the same working environment that we would have in a container.
root@buildah:/var/lib/postgresql/data# /bin/mount -t proc proc /proc

root@buildah:/var/lib/postgresql/data# /bin/ps -ef f
UID        PID  PPID  C STIME TTY      STAT   TIME CMD
root         1     0  0 13:34 ?        S      0:00 /bin/bash
root        27     1  0 13:35 ?        S      0:00 /bin/bash -i
root        54    27  0 13:43 ?        R+     0:00  \_ /bin/ps -ef f
Conclusion
This is of course only a quick overview of the technical framework of container technology, which is based on known features of the Linux kernel.
Docker and also Podman use these features, but offer many more functions and, above all, convenience functions for handling them.
At the latest when using container orchestration tools such as Kubernetes or okd, several layers of complexity are also added.
If you have any questions about the use of containers, please do not hesitate to contact us. Contact us!
In our previous article on Buildah, we explained how to create containers without Docker and root privileges.
This article will focus on how to use those very containers without elevated privileges.
Alongside the already mentioned Buildah and Skopeo, Podman is part of the Red Hat Container Tools and is, in short, a daemonless runtime environment for containers. Like the Docker daemon, it is designed for operating a single host and does not offer cluster functionality.
Development
Podman version 1.0 was released on January 11, 2019, and is also licensed under Apache 2.0.
The implementation is done in Golang and is primarily driven by the “containers organization”. This includes both Red Hat employees and external developers.
The code can be viewed on Github. Development does not follow a fixed release cycle. Thus, there can be months or weeks between versions, depending on when it is decided that enough new features have been implemented for a release.
Podman itself is built entirely on libpod, or one could say that it is the tool for libpod. Therefore, the repository’s name is libpod and not podman.
Containers without Root Privileges
A central component of both Buildah and Podman is libpod, which allows starting containers and creating images with user privileges only.
This relies on slirp4netns, fuse-overlayfs, and /etc/sub(u|g)id.
This topic has already been extensively covered in the Buildah article, which is why it is only referenced here to avoid repetition.
Installation
Podman is directly available in the repositories of common Red Hat distributions.
These can be installed there, depending on the version, via dnf install podman or yum install podman installed.
It should be noted that the packages in CentOS distributions are not necessarily up-to-date. Therefore, it is advisable to switch to Kubic here as well.
For Debian and derivatives, as well as Suse, packages are available in Kubic, similar to Buildah.
Further information can be found in the documentation
[podmanager@buildah ~]$ podman -v
podman version 1.8.2
Configuration
The configuration file for Podman is, similar to Builder, located under /etc/containers/libpod.conf for the global and under ~/.config/containers/libpod.conf for the user-specific configuration.
The template with default values can be found under /usr/share/containers/libpod.conf. However, this should not be adjusted directly, but rather through the two alternatives.
Various parameters for Podman can be configured in the file; such as which CNI plugin should be used, which container runtime, or where the container volumes are located.
An online example can be found on Github
However, no changes are required here for an initial test operation; it merely serves to adapt Podman to your own preferences if necessary.
Working with Podman
Podman was designed as a drop-in replacement for Docker, and therefore most commands like ps, rm, inspect, logs or exec are analogous to Docker and will only be briefly mentioned here if at all. The functionality is not limited to operating containers; it is also possible to create containers to a limited extent. In the background, Podman relies on Buildah’s functionality, but it can only create containers from a Containerfile.
Details can be found in the documentation.
A podman top $ContainerID also works, as does creating, migrating, and restoring a checkpoint.
[user@system1 ~]$ podman container checkpoint <container_id> -e /tmp/checkpoint.tar.gz
[user@system1 ~]$ scp /tmp/checkpoint.tar.gz <destination_system>:/tmp

[user@system2 ~]$ podman container restore -i /tmp/checkpoint.tar.gz
Therefore, the following sections will primarily focus on the differences in container handling between Docker and Podman.
Starting a Container
To start a container of choice (here, postgres), we pull the image and then start it.
[podmanager@buildah ~]$ podman pull postgres
...
Copying config 73119b8892 done
Writing manifest to image destination
Storing signatures
73119b8892f9cda38bb0f125b1638c7c0e71f4abe9a5cded9129c3f28a6d35c3

[podmanager@buildah ~]$ podman inspect postgres | grep "PG_VERSION="
 "PG_VERSION=12.2-2.pgdg100+1",
 "created_by": "/bin/sh -c #(nop) ENV PG_VERSION=12.2-2.pgdg100+1",

[podmanager@buildah ~]$ podman run -d -e POSTGRES_PASSWORD=SuperDB --name=postgres_dev postgres
c8b9732b6ad253710ae6e75f934a74e8469e61bc5b5d88c2fa92c7257d00d2e7
[podmanager@buildah ~]$ podman ps
CONTAINER ID IMAGE COMMAND CREATED STATUS PORTS NAMES
c8b9732b6ad2 docker.io/library/postgres:latest postgres 5 seconds ago Up 4 seconds ago postgres_dev
A PostgreSQL® container named “postgres_dev” is now running. This does not differ from Docker so far.
Podman’s unique feature only becomes apparent in the process list:
podmana+ 2209 1 0 13:11 ? Ssl 0:00 /usr/bin/conmon --api-version 1 -c c8b9732b6ad253710ae6e75f934a74e8469e61bc5b5d88c2fa92c7257d00d2e7 -u c8b9732b6ad253710ae6e75f934a74e8469e61bc5b5d88c2fa92c7257d00d2e7 -r /usr/bin/runc -b

232070 2219 2209 0 13:11 ? Ss 0:00 \_ postgres
The PostgreSQL® process does not run as a child of a daemon process, but rather as a child of the “conmon” component.
This monitors the container’s state after startup. It also provides the socket for communication and the stream for output, which
are written to the log configured by Podman.
Further information on conmon can be found on Github.
If we now start a second container (postgres_prod) via Podman, another conmon process will be started:
[podmanager@buildah ~]$ podman run -d -e POSTGRES_PASSWORD=SuperDB --name=postgres_prod postgres
6581a25c82620c725fe1cfb6546479edac856228ecb3c11ad63ab95a453c1b64

[podmanager@buildah ~]$ podman ps
CONTAINER ID IMAGE COMMAND CREATED STATUS PORTS NAMES
6581a25c8262 docker.io/library/postgres:latest postgres 15 seconds ago Up 15 seconds ago postgres_prod
c8b9732b6ad2 docker.io/library/postgres:latest postgres 7 minutes ago Up 7 minutes ago postgres_dev
podmana+ 2209 1 0 13:11 ? Ssl 0:00 /usr/bin/conmon --api-version 1 -c c8b9732b6ad253710ae6e75f934a74e8469e61bc5b5d88c2fa92c7257d00d2e7 -u c8b9732b6ad253710ae6e75f934a74e8469e61bc5b5d88c2fa92c7257d00d2e7 -r /usr/bin/runc -b
232070 2219 2209 0 13:11 ? Ss 0:00 \_ postgres
...
podmana+ 2337 1 0 13:19 ? Ssl 0:00 /usr/bin/conmon --api-version 1 -c 6581a25c82620c725fe1cfb6546479edac856228ecb3c11ad63ab95a453c1b64 -u 6581a25c82620c725fe1cfb6546479edac856228ecb3c11ad63ab95a453c1b64 -r /usr/bin/runc -b
232070 2348 2337 0 13:19 ? Ss 0:00 \_ postgres
...
Here, the UUIDs of the containers can be found in the process.
The cmdline of the process is, of course, much longer than shown here. Below is a complete example, manually formatted:
[podmanager@buildah ~]$ ps -ef f | grep conmon
...
podmana+ 2209 1 0 13:11 ? Ssl 0:00 /usr/bin/conmon
--api-version 1
-c c8b9732b6ad253710ae6e75f934a74e8469e61bc5b5d88c2fa92c7257d00d2e7
-u c8b9732b6ad253710ae6e75f934a74e8469e61bc5b5d88c2fa92c7257d00d2e7
-r /usr/bin/runc
-b /home/podmanager/.local/share/containers/storage/overlay-containers/c8b9732b6ad253710ae6e75f934a74e8469e61bc5b5d88c2fa92c7257d00d2e7/userdata
-p /var/tmp/run-1002/containers/overlay-containers/c8b9732b6ad253710ae6e75f934a74e8469e61bc5b5d88c2fa92c7257d00d2e7/userdata/pidfile
-l k8s-file:/home/podmanager/.local/share/containers/storage/overlay-containers/c8b9732b6ad253710ae6e75f934a74e8469e61bc5b5d88c2fa92c7257d00d2e7/userdata/ctr.log
--exit-dir /var/tmp/run-1002/libpod/tmp/exits
--socket-dir-path /var/tmp/run-1002/libpod/tmp/socket
--log-level error
--runtime-arg --log-format=json
--runtime-arg --log
--runtime-arg=/var/tmp/run-1002/containers/overlay-containers/c8b9732b6ad253710ae6e75f934a74e8469e61bc5b5d88c2fa92c7257d00d2e7/userdata/oci-log
--conmon-pidfile /var/tmp/run-1002/containers/overlay-containers/c8b9732b6ad253710ae6e75f934a74e8469e61bc5b5d88c2fa92c7257d00d2e7/userdata/conmon.pid
--exit-command /usr/bin/podman
--exit-command-arg --root
--exit-command-arg /home/podmanager/.local/share/containers/storage
--exit-command-arg --runroot
--exit-command-arg /var/tmp/run-1002/containers
--exit-command-arg --log-level
--exit-command-arg error
--exit-command-arg --cgroup-manager
--exit-command-arg cgroupfs
--exit-command-arg --tmpdir
--exit-command-arg /var/tmp/run-1002/libpod/tmp
--exit-command-arg --runtime
--exit-command-arg runc
--exit-command-arg --storage-driver
--exit-command-arg overlay
--exit-command-arg --storage-opt
--exit-command-arg overlay.mount_program=/usr/bin/fuse-overlayfs
--exit-command-arg --storage-opt
--exit-command-arg overlay.mount_program=/usr/bin/fuse-overlayfs
--exit-command-arg --events-backend
--exit-command-arg file
--exit-command-arg container
--exit-command-arg cleanup
--exit-command-arg c8b9732b6ad253710ae6e75f934a74e8469e61bc5b5d88c2fa92c7257d00d2e7
...
The formatting clearly shows how parameters are passed between Podman and conmon via *args.
In addition to conmon, an instance of slirp4netns and fuse-overlayfs is also started for each container to provide network and storage without root privileges.
podmana+ 2201 1 0 13:11 ? Ss 0:00 /usr/bin/fuse-overlayfs -o lowerdir=/home/podmanager/.local/share/containers/storage/overlay/l/FX4RZGGJ5HSNVMGVFG6K3I7PIL:/home/podmanager/.local/share/containers/storage/overlay/l/AIHUOS

podmana+ 2206 1 0 13:11 pts/0 S 0:00 /usr/bin/slirp4netns --disable-host-loopback --mtu 65520 --enable-sandbox -c -e 3 -r 4 --netns-type=path /tmp/run-1002/netns/cni-18902a12-5b1b-15d3-0c31-138efe1d66ba tap0

podmana+ 2209 1 0 13:11 ? Ssl 0:00 /usr/bin/conmon --api-version 1 -c c8b9732b6ad253710ae6e75f934a74e8469e61bc5b5d88c2fa92c7257d00d2e7 -u c8b9732b6ad253710ae6e75f934a74e8469e61bc5b5d88c2fa92c7257d00d2e7 -r /usr/bin/runc -b

232070 2219 2209 0 13:11 ? Ss 0:00 \_ postgres
Creating a Systemd Service File
Since containers run without a daemon and can be started individually, it is also natural to control them via Systemd rather than Docker.
However, writing service files is generally tedious, which is why Podman has a built-in function for this.
Below is an example for our postgres_dev
[podmanager@buildah ~]$ podman generate systemd postgres_dev
# container-c8b9732b6ad253710ae6e75f934a74e8469e61bc5b5d88c2fa92c7257d00d2e7.service
# autogenerated by Podman 1.8.2
# Tue Mar 24 13:47:11 CET 2020

[Unit]
Description=Podman container-c8b9732b6ad253710ae6e75f934a74e8469e61bc5b5d88c2fa92c7257d00d2e7.service
Documentation=man:podman-generate-systemd(1)
Wants=network.target
After=network-online.target

[Service]
Environment=PODMAN_SYSTEMD_UNIT=%n
Restart=on-failure
ExecStart=/usr/bin/podman start c8b9732b6ad253710ae6e75f934a74e8469e61bc5b5d88c2fa92c7257d00d2e7
ExecStop=/usr/bin/podman stop -t 10 c8b9732b6ad253710ae6e75f934a74e8469e61bc5b5d88c2fa92c7257d00d2e7
PIDFile=/var/tmp/run-1002/containers/overlay-containers/c8b9732b6ad253710ae6e75f934a74e8469e61bc5b5d88c2fa92c7257d00d2e7/userdata/conmon.pid
KillMode=none
Type=forking

[Install]
WantedBy=multi-user.target default.target
However, there is still one error here. The user under whom the container should be started must be added to the service file, provided this is not to happen as root. To do this, only [Service] needs to be added to the User=podmanager section (or the username on your system).
To register the container as a service under CentOS 8, the following steps would need to be performed:
[podmanager@buildah ~]$ podman generate systemd --files --name postgres_dev
/home/podmanager/container-postgres_dev.service
# User= add to service file
[podmanager@buildah ~]$ sudo cp /home/podmanager/container-postgres_dev.service /etc/systemd/system/
[podmanager@buildah ~]$ sudo systemctl daemon-reload
[podmanager@buildah ~]$ sudo systemctl start container-postgres_dev.service
[podmanager@buildah ~]$ systemctl status container-postgres_dev.service
● container-postgres_dev.service - Podman container-postgres_dev.service
 Loaded: loaded (/etc/systemd/system/container-postgres_dev.service; disabled; vendor preset: disabled)
 Active: active (running) since Tue 2020-03-24 14:04:14 CET; 1s ago
 Docs: man:podman-generate-systemd(1)
 Process: 7691 ExecStart=/usr/bin/podman start postgres_dev (code=exited, status=0/SUCCESS)
 Main PID: 7717 (conmon)
 Tasks: 11 (limit: 25028)
 Memory: 46.7M
 CGroup: /system.slice/container-postgres_dev.service
 ├─7710 /usr/bin/fuse-overlayfs -o lowerdir=/home/podmanager/.local/share/containers/storage/overlay/l/FX4RZGGJ5HSNVMGVFG6K3I7PIL:/home/podmanager/.local/share/containers/storage/overlay/l/AIHUOSIVGT5DN5GCUR7PRELVKK:/home/podma>
 ├─7714 /usr/bin/slirp4netns --disable-host-loopback --mtu 65520 --enable-sandbox -c -e 3 -r 4 --netns-type=path /tmp/run-1002/netns/cni-a0ee9d78-2f8c-a563-1947-92d0766a43b7 tap0
 ├─7717 /usr/bin/conmon --api-version 1 -c c8b9732b6ad253710ae6e75f934a74e8469e61bc5b5d88c2fa92c7257d00d2e7 -u c8b9732b6ad253710ae6e75f934a74e8469e61bc5b5d88c2fa92c7257d00d2e7 -r /usr/bin/runc -b /home/podmanager/.local/share/c>
 ├─7727 postgres
 ├─7758 postgres: checkpointer
 ├─7759 postgres: background writer
 ├─7760 postgres: walwriter
 ├─7761 postgres: autovacuum launcher
 ├─7762 postgres: stats collector
 └─7763 postgres: logical replication launcher

Mär 24 14:04:13 buildah.localdomain systemd[1]: Starting Podman container-postgres_dev.service...
Mär 24 14:04:14 buildah.localdomain podman[7691]: postgres_dev
Mär 24 14:04:14 buildah.localdomain systemd[1]: Started Podman container-postgres_dev.service.
It is important to mention that containers started via Systemd can of course also be managed/accessed via podman, but that starting and stopping should be left to the service.
Creating a Pod
As the name suggests, Podman not only allows creating containers but also organizing them into pods.
Similar to Kubernetes, a pod represents an organizational grouping of containers that can share certain namespaces such as pids, network, or similar.
These are then administered via podman pod $cmd administered.
Below, we will load the image of the postgres-exporter for Prometheus and create a pod named postgres-prod-pod from it.
[podmanager@buildah ~]$ podman pull docker.io/wrouesnel/postgres_exporter

[podmanager@buildah ~]$ podman pod create --name postgres-prod-pod
727e7544515e0e683525e555934e02a341a42009a9c49fb2fd53094187a1e97c

[podmanager@buildah ~]$ podman run -d --pod postgres-prod-pod -e POSTGRES_PASSWORD=SuperDB postgres:latest
8f313260973ef6eb6fa84d2893875213cee89b48c93d08de7642b0a8b03c4a88

[podmanager@buildah ~]$ podman run -d --pod postgres-prod-pod -e DATA_SOURCE_NAME="postgresql://postgres:password@localhost:5432/postgres?sslmode=disable" postgres_exporter
fee22f24ff9b2ace599831fa022fb1261ef836846e0ba938c7b469d8dfb8a48a

[podmanager@buildah ~]$ podman pod ps
POD ID NAME STATUS CREATED # OF CONTAINERS INFRA ID
727e7544515e postgres-prod-pod Running 48 seconds ago 3 6edc862441f1

[podmanager@buildah ~]$ podman pod inspect postgres-prod-pod
{
 "Config": {
 "id": "727e7544515e0e683525e555934e02a341a42009a9c49fb2fd53094187a1e97c",
 "name": "postgres-prod-pod",
 "hostname": "postgres-prod-pod",
 "labels": {

  },
 "cgroupParent": "/libpod_parent",
 "sharesCgroup": true,
 "sharesIpc": true,
 "sharesNet": true,
 "sharesUts": true,
 "infraConfig": {
 "makeInfraContainer": true,
 "infraPortBindings": null
  },
 "created": "2020-03-24T14:44:27.01249721+01:00",
 "lockID": 0
  },
 "State": {
 "cgroupPath": "/libpod_parent/727e7544515e0e683525e555934e02a341a42009a9c49fb2fd53094187a1e97c",
 "infraContainerID": "6edc862441f18234f0c61693f11d946f601973a71b85fa9d777273feed68ed3c",
 "status": "Running"
  },
 "Containers": [
  {
 "id": "6edc862441f18234f0c61693f11d946f601973a71b85fa9d777273feed68ed3c",
 "state": "running"
  },
  {
 "id": "8f313260973ef6eb6fa84d2893875213cee89b48c93d08de7642b0a8b03c4a88",
 "state": "running"
  },
  {
 "id": "fee22f24ff9b2ace599831fa022fb1261ef836846e0ba938c7b469d8dfb8a48a",
  "state": "running"
  }
 ]
}
It can now be seen that the pod contains both the postgres and postgres-exporter containers (compare UUIDs).
The third container is the infra-container for bootstrapping and will not be discussed further here.
In the process list, this appears as follows:
podmana+ 6279 1 0 14:44 ? Ss 0:00 /usr/bin/fuse-overlayfs -o lowerdir=/home/podmanager/.local/share/containers/storage/overlay/l/
podmana+ 6281 1 0 14:44 pts/2 S 0:00 /usr/bin/slirp4netns --disable-host-loopback --mtu 65520 --enable-sandbox -c -e 3 -r 4 --netns-type=path /tmp/run-1002/netns/cni-5fe4356e-77c0-8127-f72b-7335c2ed05c4 tap0
podmana+ 6284 1 0 14:44 ? Ssl 0:00 /usr/bin/conmon --api-version 1 -c 6edc862441f18234f0c61693f11d946f601973a71b85fa9d777273feed68ed3c -u 6edc862441f18234f0c61693f11d946f601973a71b85fa9d777273feed68ed3c -r /usr/bin/runc -b
podmana+ 6296 6284 0 14:44 ? Ss 0:00 \_ /pause
podmana+ 6308 1 0 14:44 ? Ss 0:00 /usr/bin/fuse-overlayfs -o lowerdir=/home/podmanager/.local/share/containers/storage/overlay/l/FX4RZGGJ5HSNVMGVFG6K3I7PIL:/home/podmanager/.local/share/containers/storage/overlay/l/AIHUOS
podmana+ 6312 1 0 14:44 ? Ssl 0:00 /usr/bin/conmon --api-version 1 -c 8f313260973ef6eb6fa84d2893875213cee89b48c93d08de7642b0a8b03c4a88 -u 8f313260973ef6eb6fa84d2893875213cee89b48c93d08de7642b0a8b03c4a88 -r /usr/bin/runc -b
232070 6322 6312 0 14:44 ? Ss 0:00 \_ postgres
...
232070 6549 6322 0 14:44 ? Ss 0:00 \_ postgres: postgres postgres ::1(51290) idle
podmana+ 6520 1 0 14:44 ? Ss 0:00 /usr/bin/fuse-overlayfs -o lowerdir=/home/podmanager/.local/share/containers/storage/overlay/l/P5NJW4TB6JUFOBBIN2MOHW7272:/home/podmanager/.local/share/containers/storage/overlay/l/KVC54Z
podmana+ 6523 1 0 14:44 ? Ssl 0:00 /usr/bin/conmon --api-version 1 -c fee22f24ff9b2ace599831fa022fb1261ef836846e0ba938c7b469d8dfb8a48a -u fee22f24ff9b2ace599831fa022fb1261ef836846e0ba938c7b469d8dfb8a48a -r /usr/bin/runc -b
251072 6534 6523 0 14:44 ? Ssl 0:00 \_ /postgres_exporter
Here you can see that although there are several conmon and overlayfs processes for the containers, there is only one slirp4netns, as the containers share this and can also communicate via localhost.
You can also see that the PostgreSQL® database has a connection from localhost (PID 6549), which is the exporter.
Normally, when creating a pod via podman pod create, the following namespaces are grouped for the containers: net, ipc, uts, and user.
Thus, each container still has its own PID namespace despite being grouped in the pod.
However, if this is desired, the parameter --share can be used during creation to specify what should be shared.
For example, this is what the process list of the pod without a shared PID namespace looks like. Each container has its own process structure.
[podmanager@buildah ~]$ podman pod top postgres-prod-pod
USER PID PPID %CPU ELAPSED TTY TIME COMMAND
0 1 0 0.000 11m45.845291911s ? 0s /pause
postgres 1 0 0.000 11m45.854330176s ? 0s postgres
postgres 25 1 0.000 11m45.854387876s ? 0s postgres: checkpointer
postgres 26 1 0.000 11m45.854441615s ? 0s postgres: background writer
postgres 27 1 0.000 11m45.854483844s ? 0s postgres: walwriter
postgres 28 1 0.000 11m45.854525645s ? 0s postgres: autovacuum launcher
postgres 29 1 0.000 11m45.854567082s ? 0s postgres: stats collector
postgres 30 1 0.000 11m45.854613262s ? 0s postgres: logical replication launcher
postgres 31 1 0.000 11m45.854653703s ? 0s postgres: postgres postgres ::1(51292) idle
postgres_exporter 1 0 0.000 11m45.859505449s ? 0s /postgres_exporter
As an alternative, the output when creating the pod using podman pod create --name postgres-prod-pod --share=pid,net,ipc,uts,user
[podmanager@buildah ~]$ podman pod top postgres-prod-pod
USER PID PPID %CPU ELAPSED TTY TIME COMMAND
root 1 0 0.000 20.396867487s ? 0s /pause
postgres 6 0 0.000 20.396936905s pts/0 0s postgres
postgres 60 6 0.000 18.396997034s ? 0s postgres: checkpointer
postgres 61 6 0.000 18.397086198s ? 0s postgres: background writer
postgres 62 6 0.000 18.39713465s ? 0s postgres: walwriter
postgres 63 6 0.000 18.39718056s ? 0s postgres: autovacuum launcher
postgres 64 6 0.000 18.397229737s ? 0s postgres: stats collector
postgres 65 6 0.000 18.397279102s ? 0s postgres: logical replication launcher
20001 66 0 0.000 16.397325377s pts/0 0s /postgres_exporter
Available options for --share are ipc, net, pid, user, and uts.
The entire pod can now also be started and stopped via podman pod stop/start.
Similarly, systemd service files can be generated for pods as well as containers.
Podman and Kubernetes
Podman offers some support in the area of Kubernetes YAML.
For example, it is possible to generate Kubernetes Pod YAML from pods created with Podman.
[podmanager@buildah ~]$ podman generate kube postgres-prod-pod -f postgres-prod-pod.yaml
[podmanager@buildah ~]$ cat postgres-prod-pod.yaml
# Generation of Kubernetes YAML is still under development!
#
# Save the output of this file and use kubectl create -f to import
# it into Kubernetes.
#
# Created with podman-1.8.2
apiVersion: v1
kind: Pod
metadata:
 creationTimestamp: "2020-03-24T14:08:14Z"
 labels:
 app: postgres-prod-pod
 name: postgres-prod-pod
spec:
 containers:
 - command:
 - postgres
 env:
  ...
 image: docker.io/library/postgres:latest
 name: reverentptolemy
 resources: {}
 securityContext:
 allowPrivilegeEscalation: true
 capabilities: {}
 privileged: false
 readOnlyRootFilesystem: false
 seLinuxOptions: {}
 workingDir: /
 - env:
  ...
 image: docker.io/wrouesnel/postgres_exporter:latest
 name: friendlyshirley
  resources: {}
  securityContext:
  allowPrivilegeEscalation: true
  capabilities: {}
  privileged: false
  readOnlyRootFilesystem: false
 runAsGroup: 20001
 runAsUser: 20001
  seLinuxOptions: {}
  workingDir: /
status: {}
With the -s option, a service with potentially published ports is even generated:
---
apiVersion: v1
kind: Service
metadata:
 creationTimestamp: "2020-03-24T14:10:42Z"
  labels:
  app: postgres-prod-pod
  name: postgres-prod-pod
spec:
 selector:
  app: postgres-prod-pod
 type: NodePort
status:
 loadBalancer: {}
The generate-yaml functionality applies to both pods and services, and in both directions.
With podman play, it is possible to test pod and container definitions in Podman.
Conclusion
This was a brief overview of the possibilities for running containers without a daemon and root privileges on a host.
Of course, much more is possible with Podman, but explaining every option here would go beyond the scope.
It is perhaps also worth mentioning that Podman with cgroupsV2 enabled can also evaluate resource usage in pods, for example.
However, this is currently only enabled by default under Fedora 31.